This week I worked on finishing the real woodworking portion of the build.
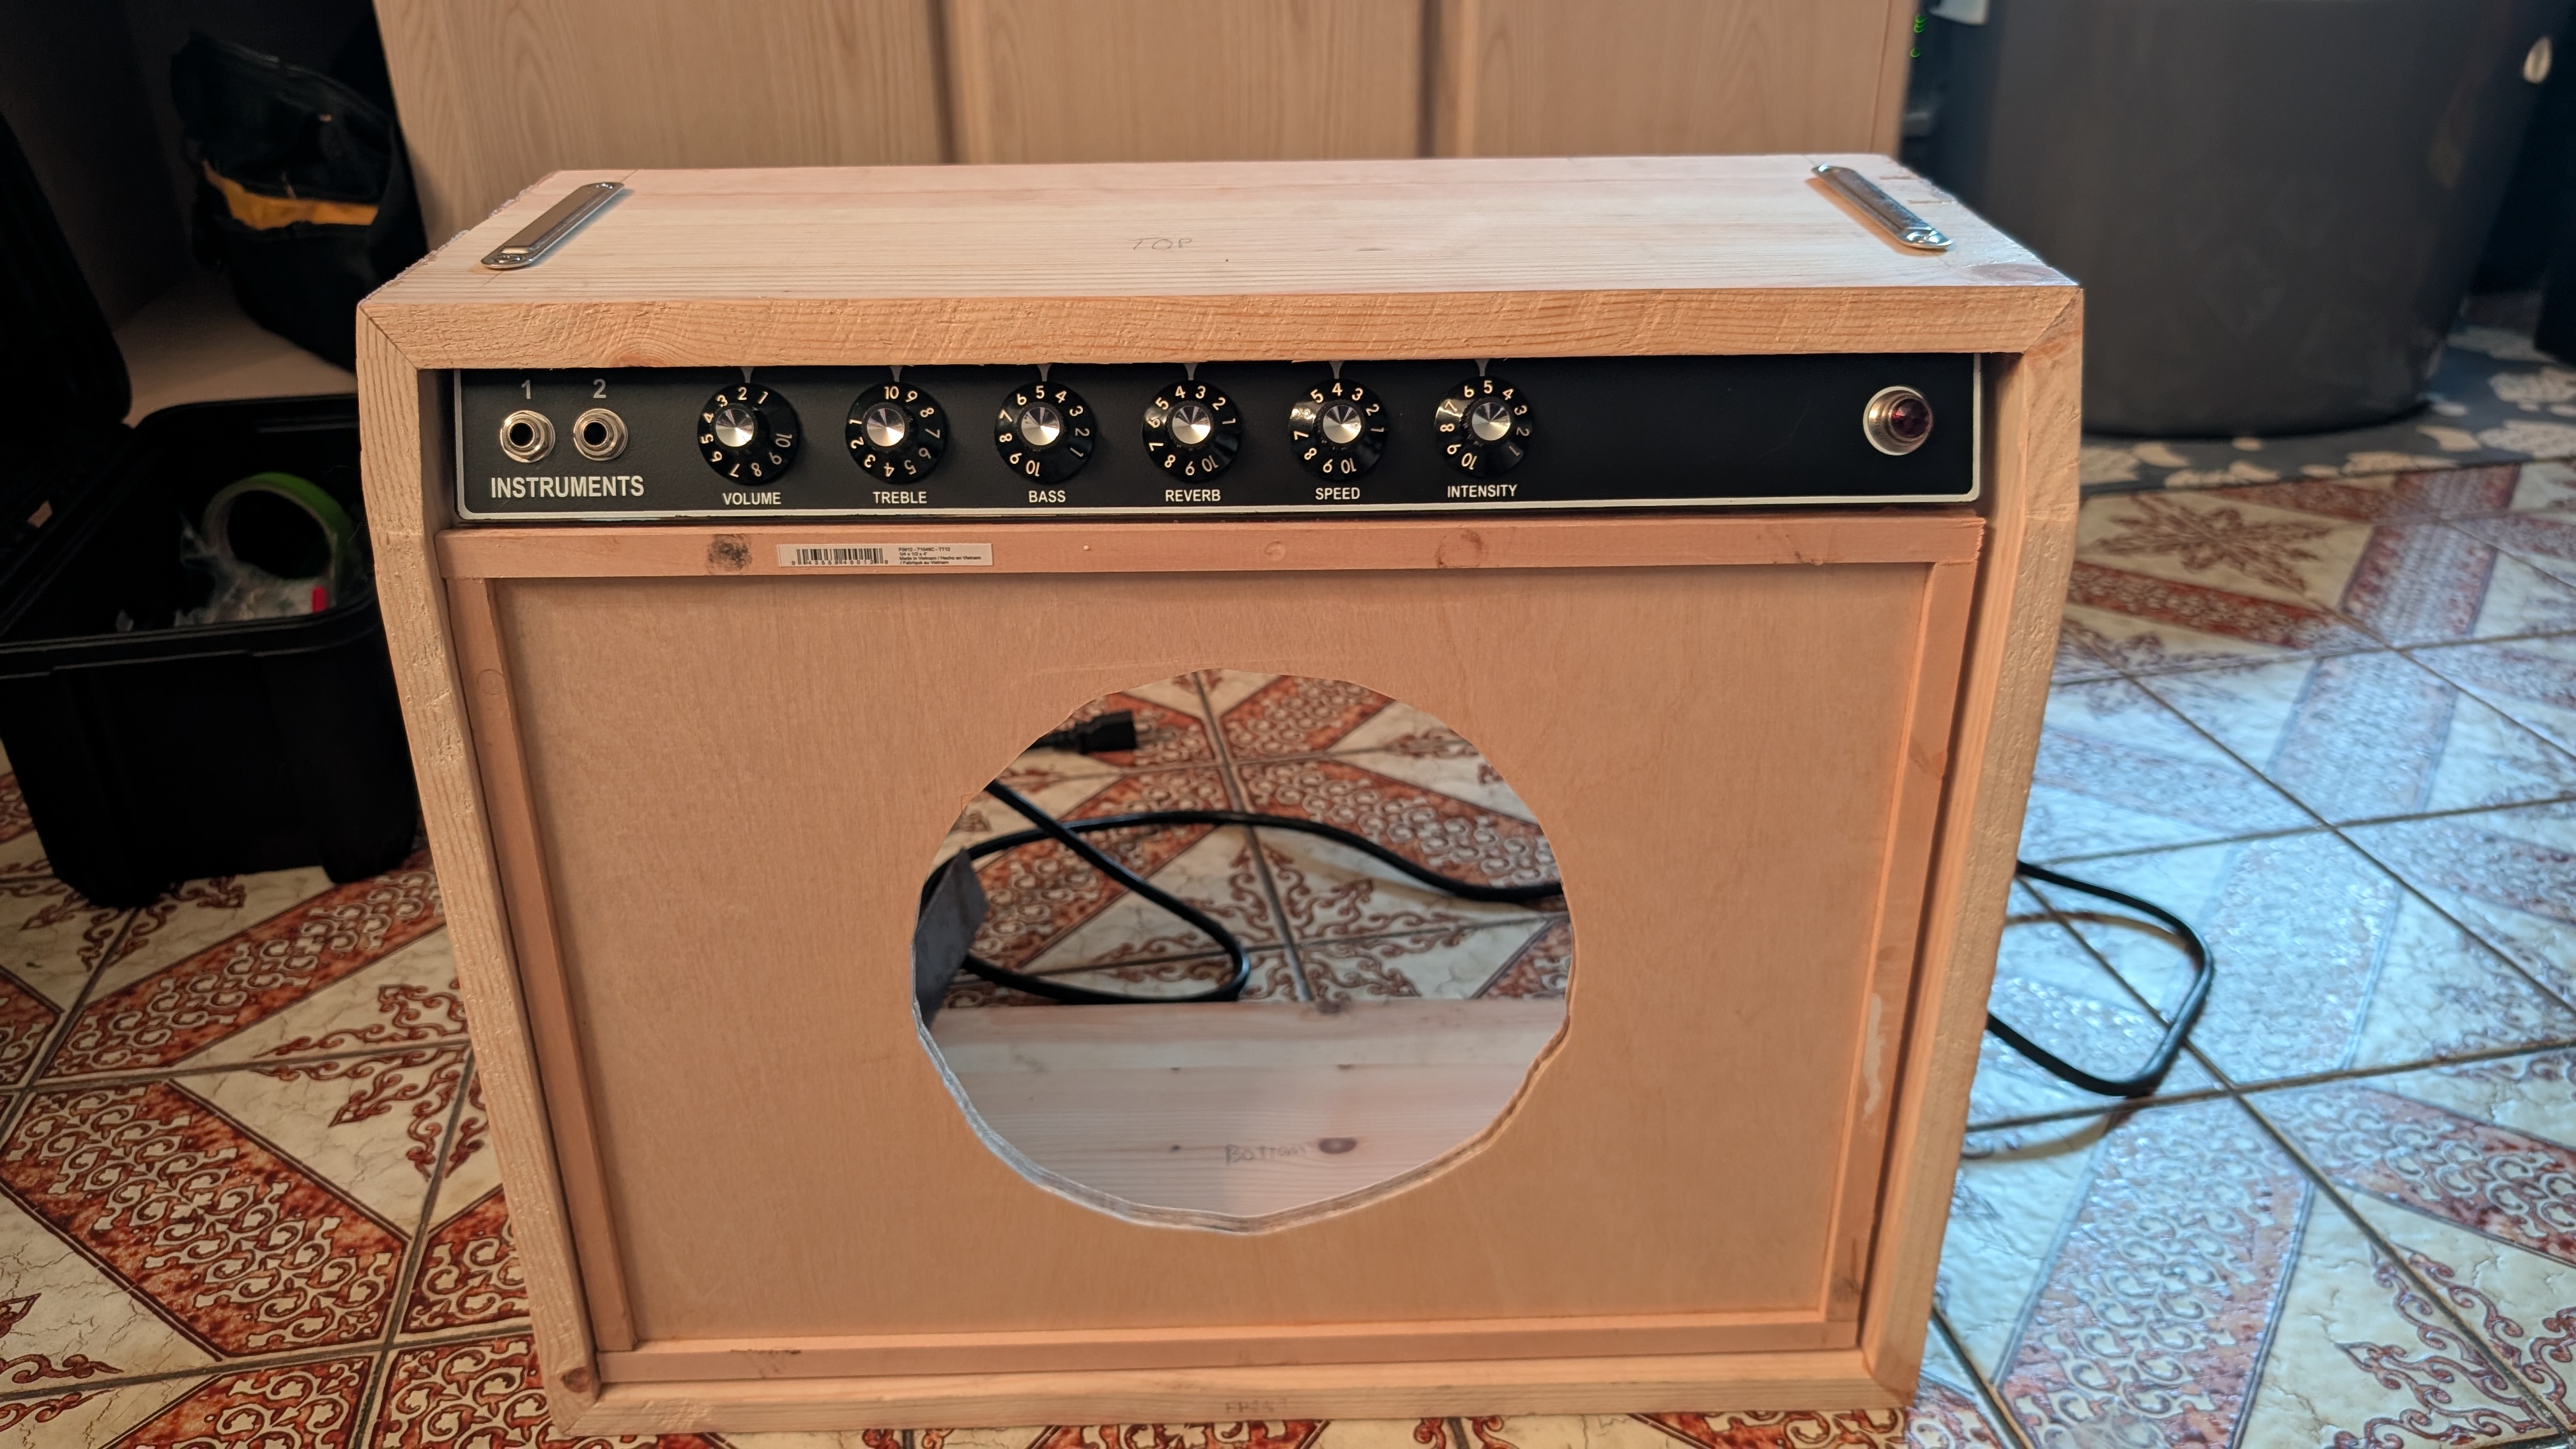
I started by putting everything together to get an idea of what the finished product will look like. Looking promising!
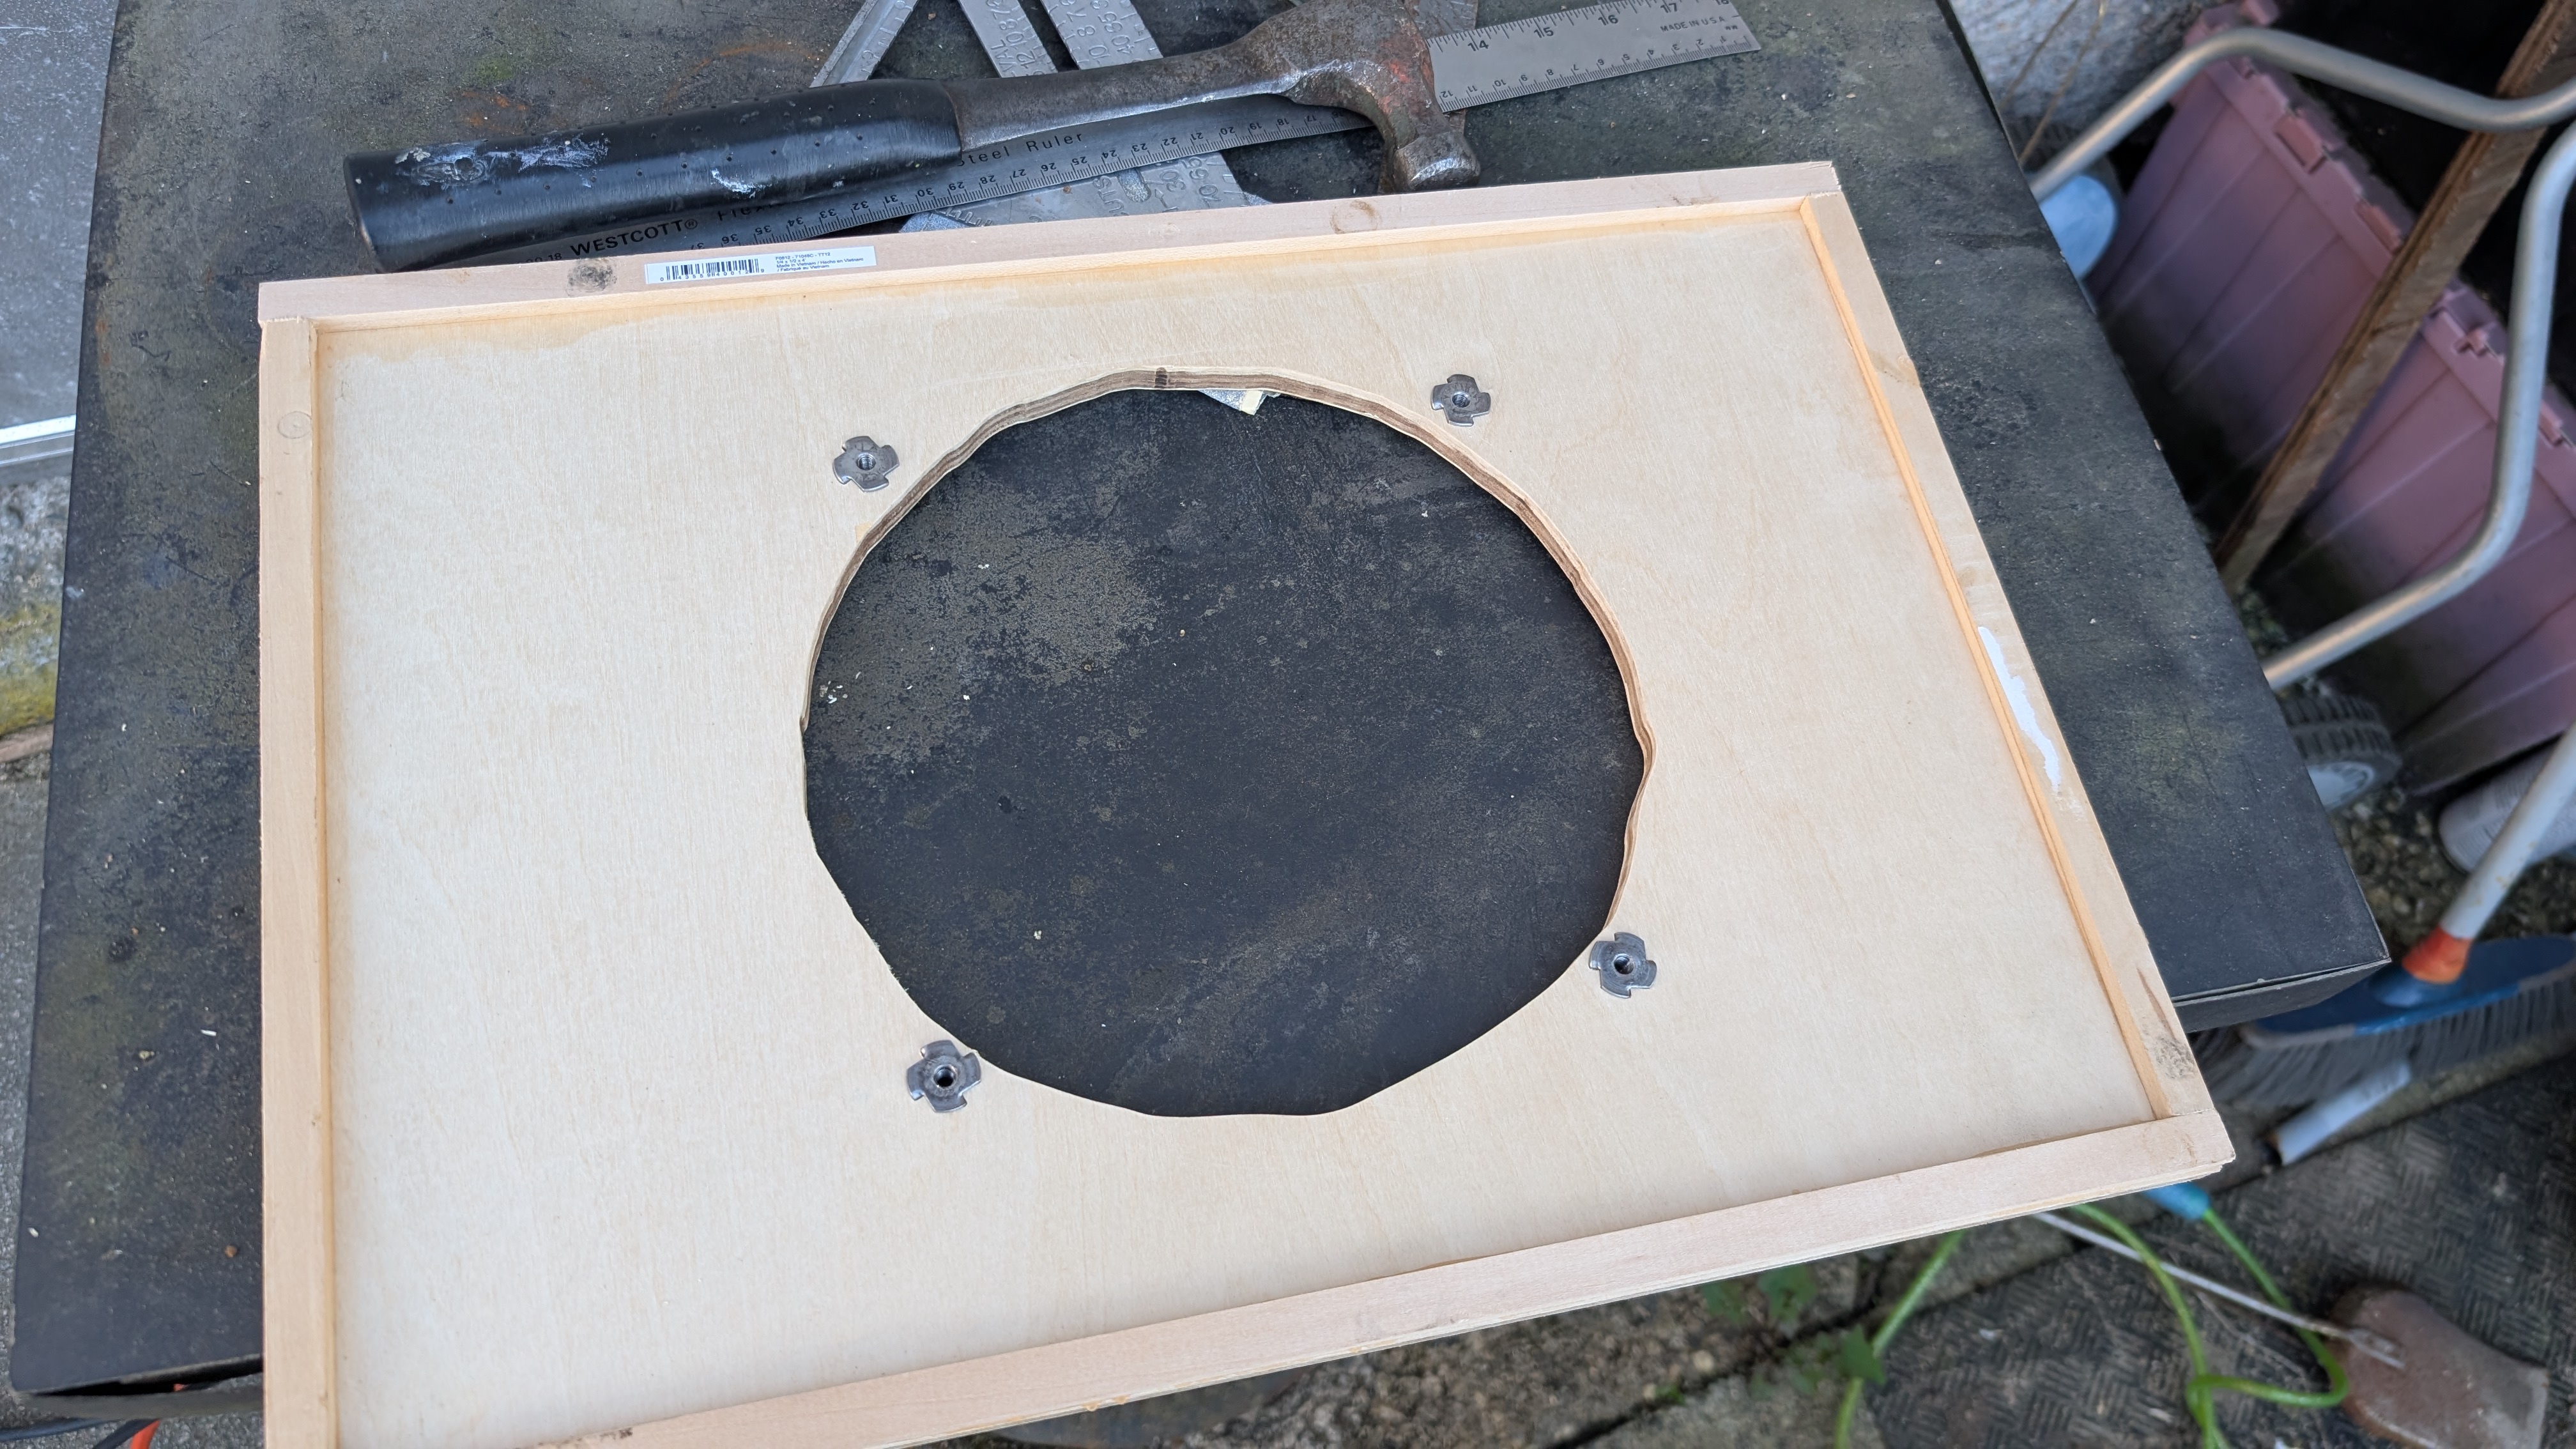
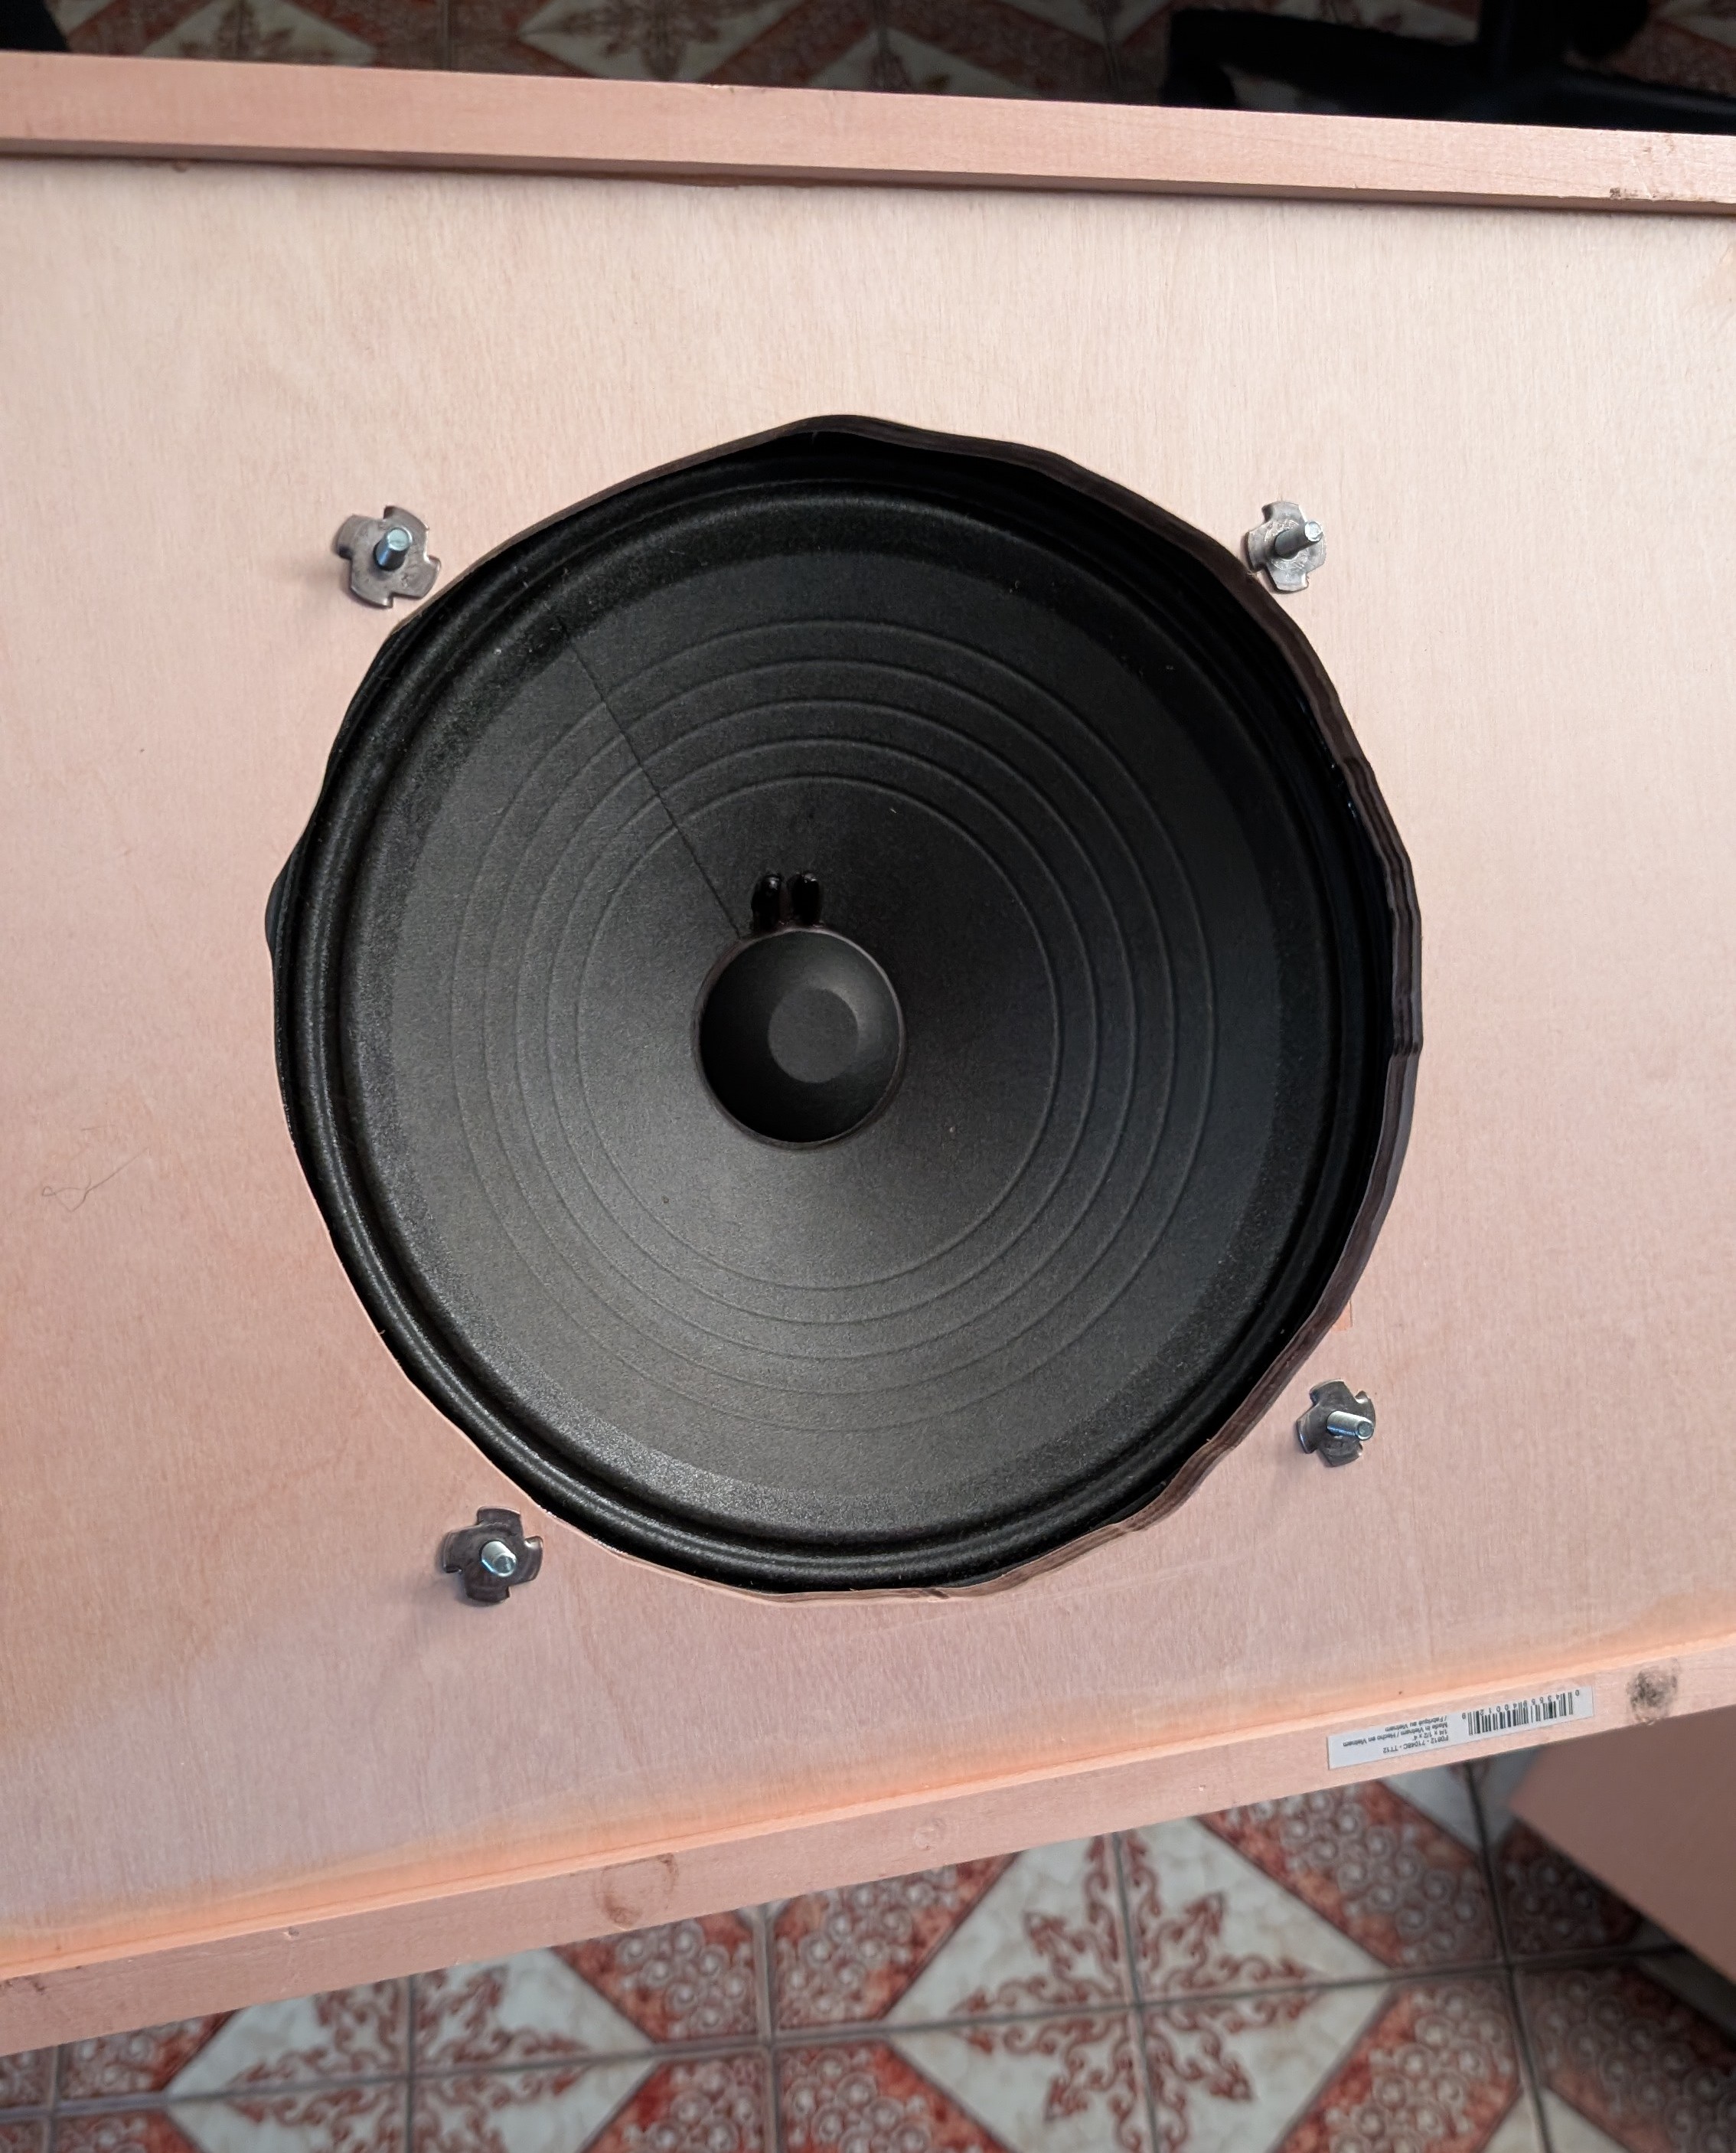
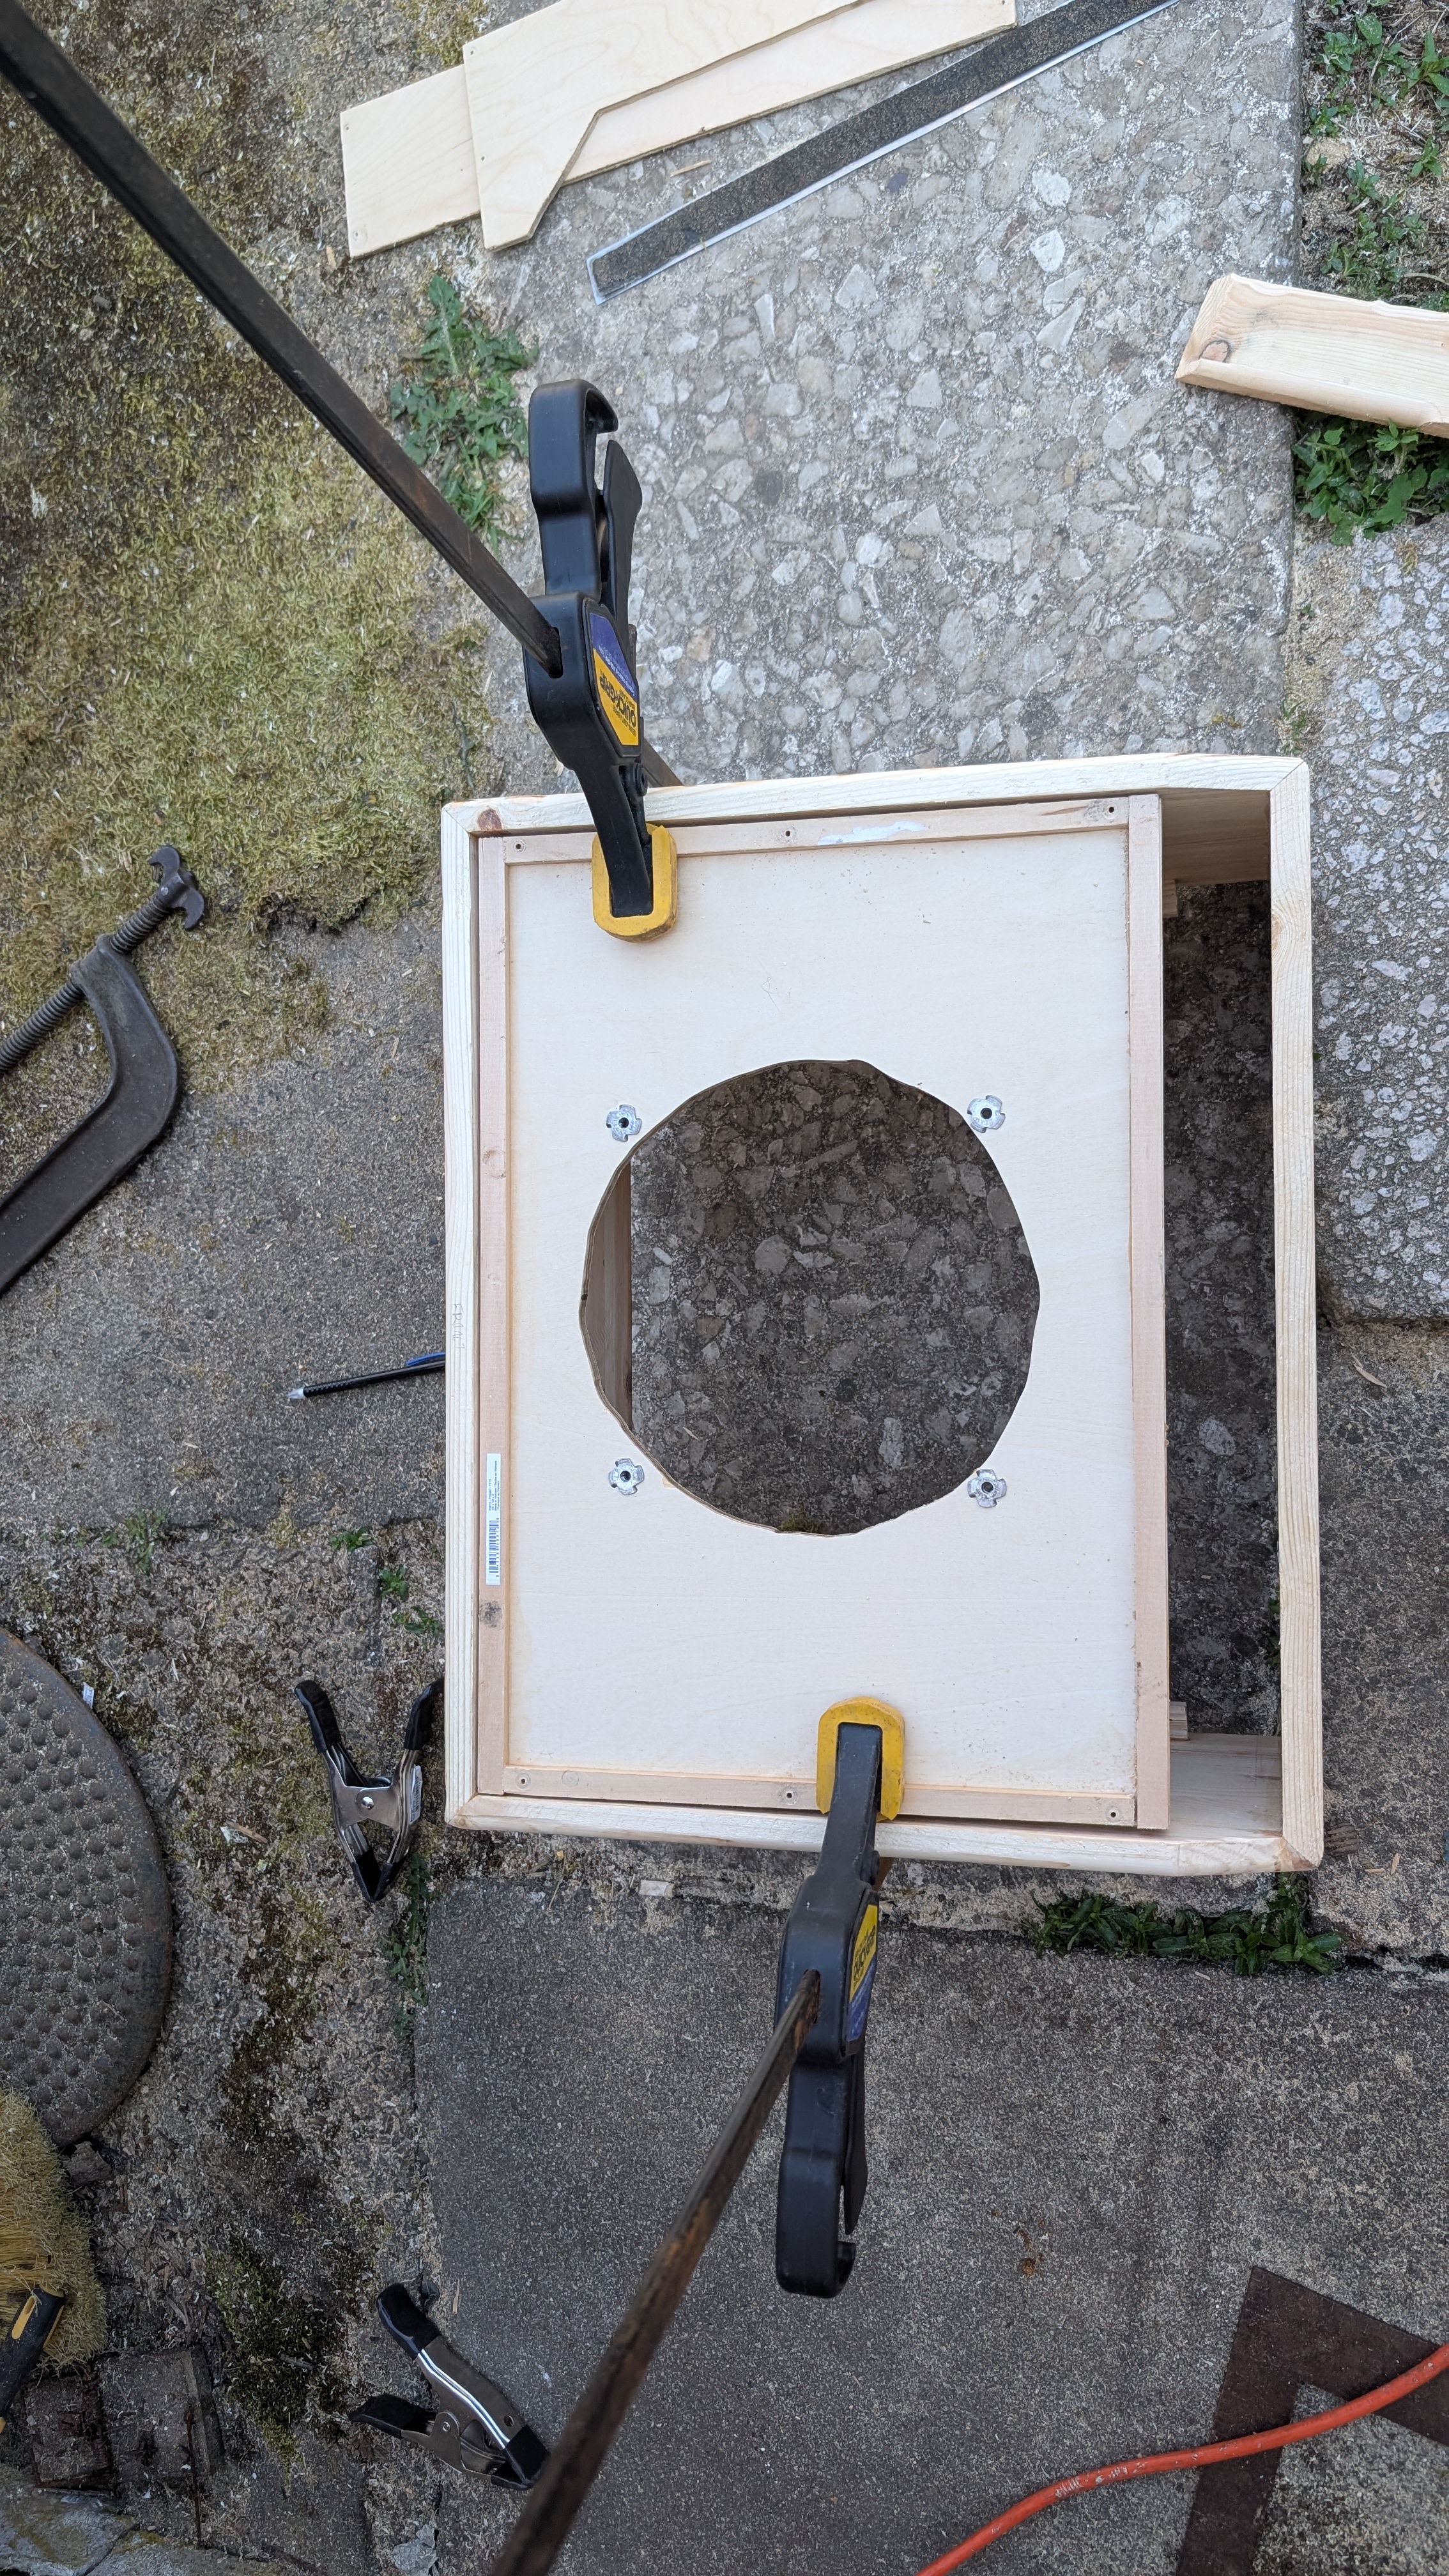
Next up I drilled the holes for the speaker and inserted the tee nuts.
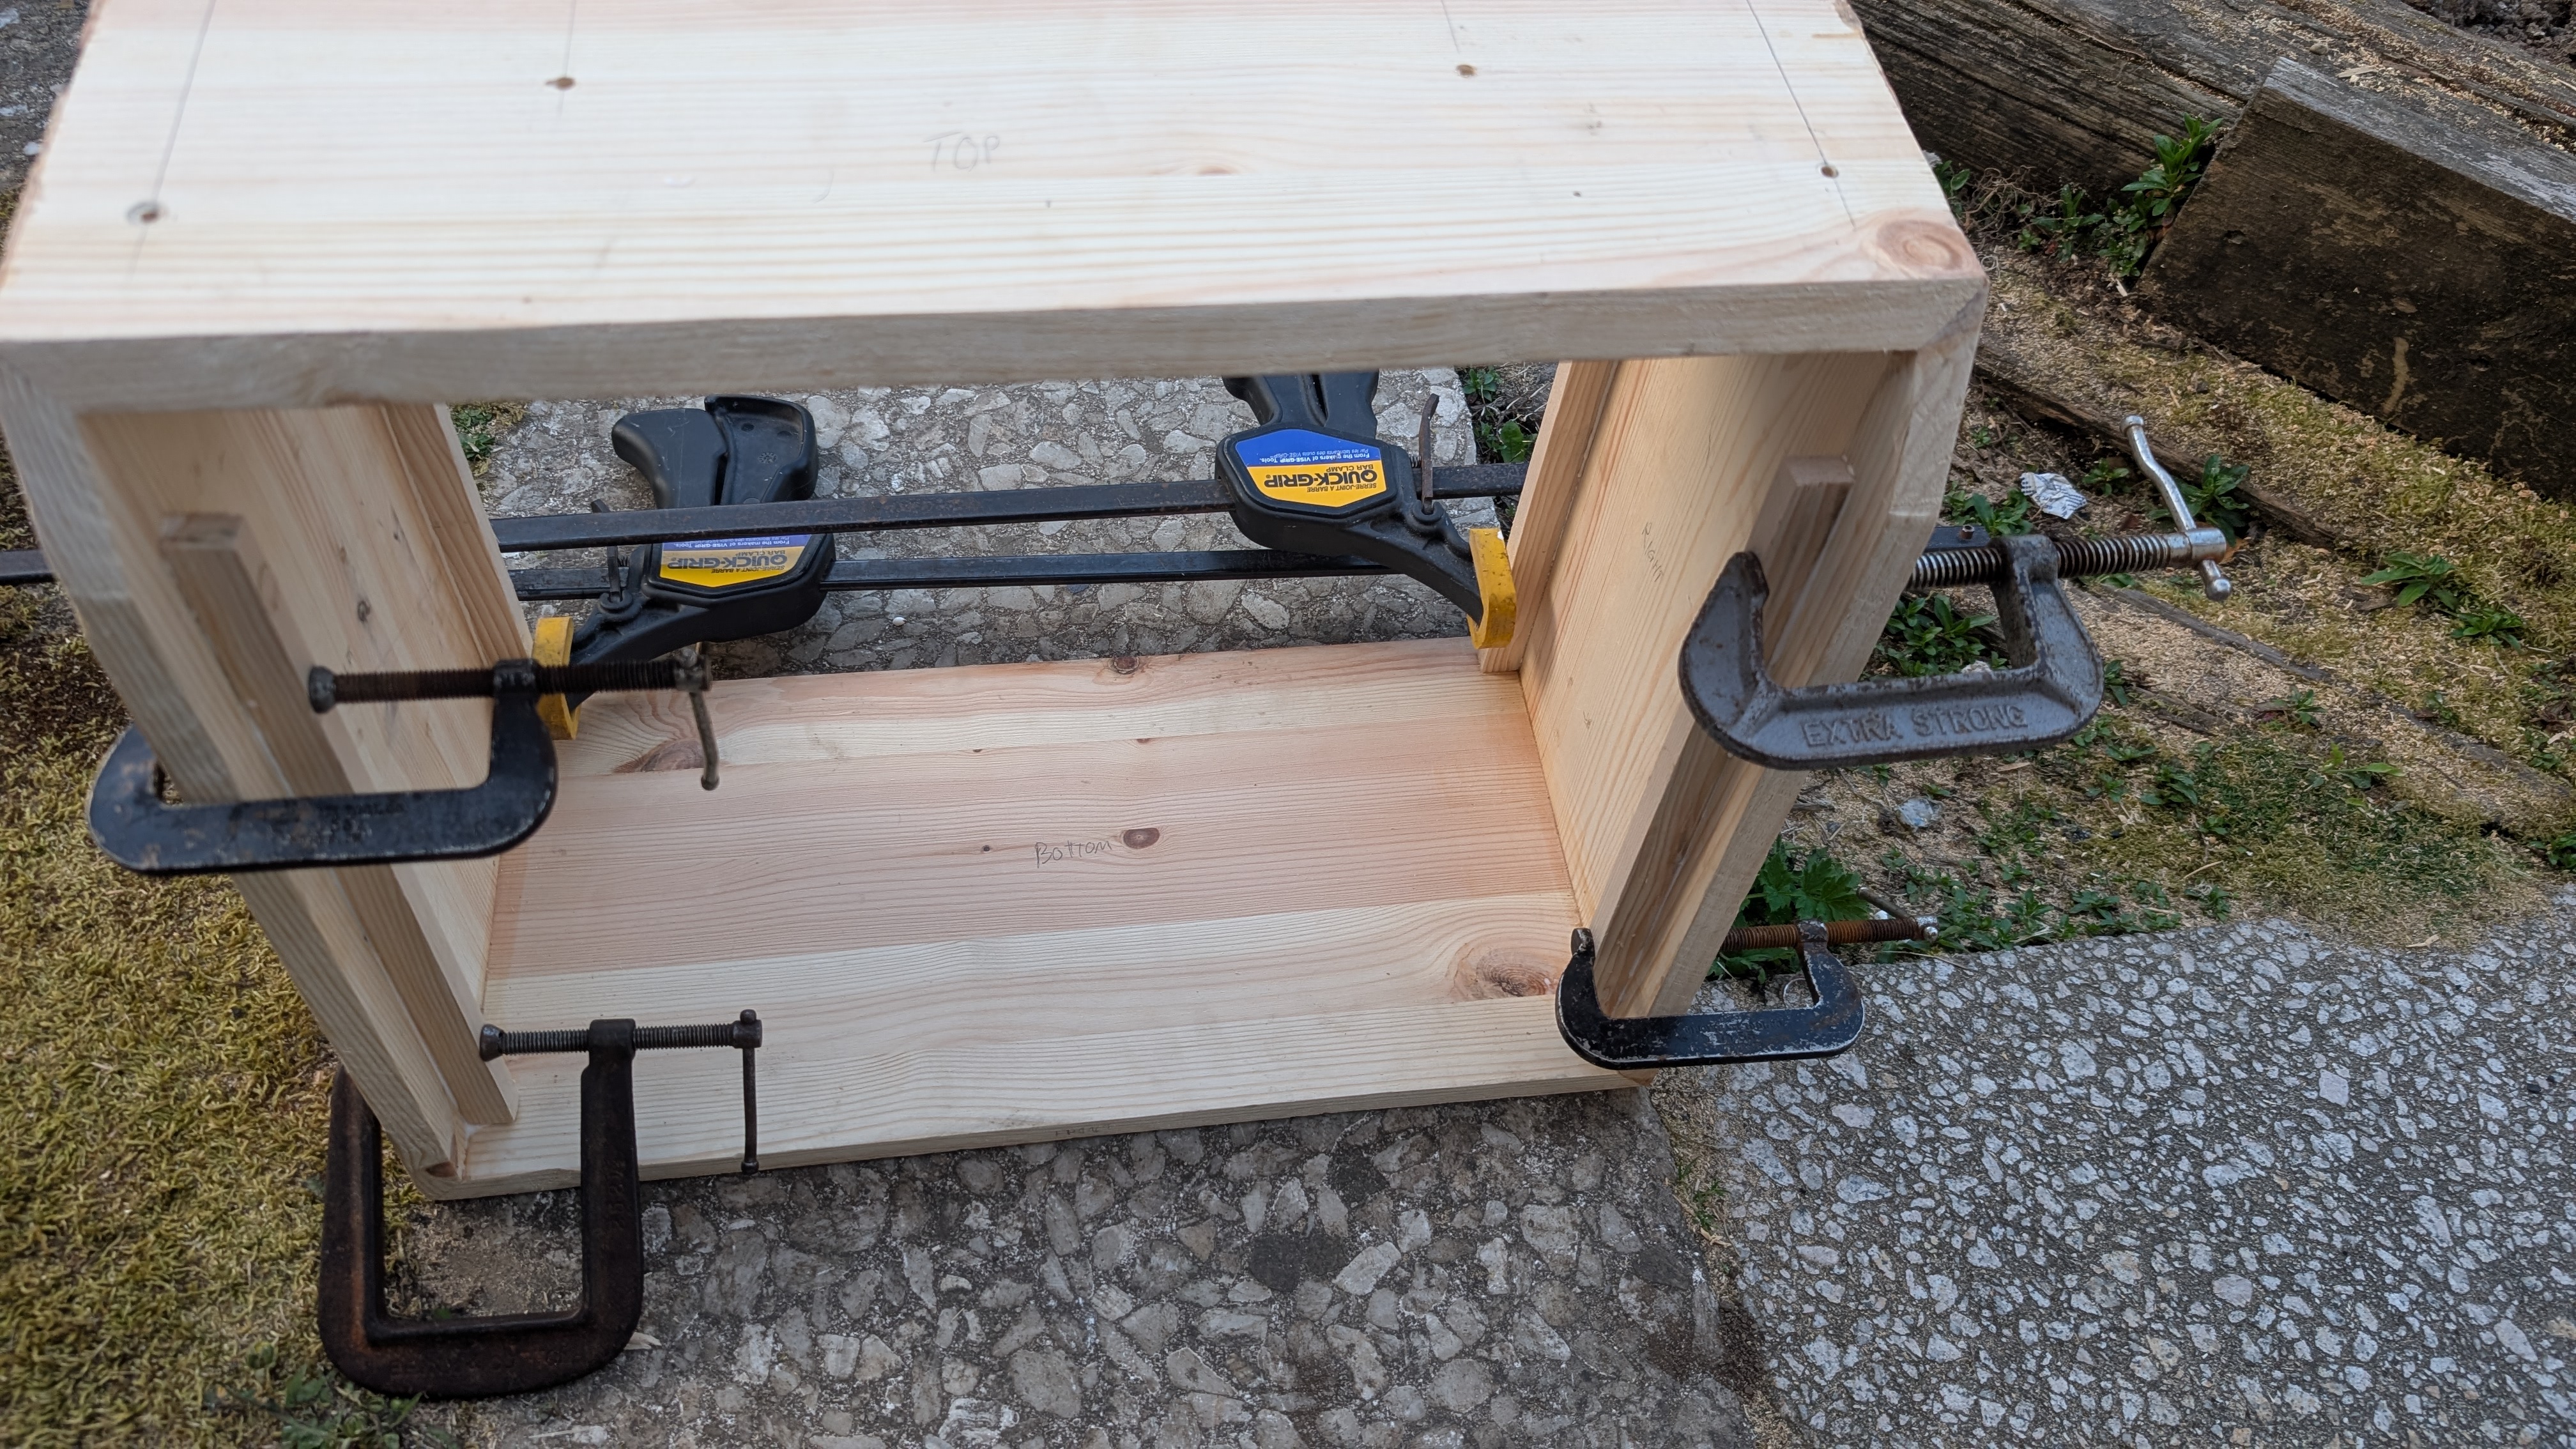
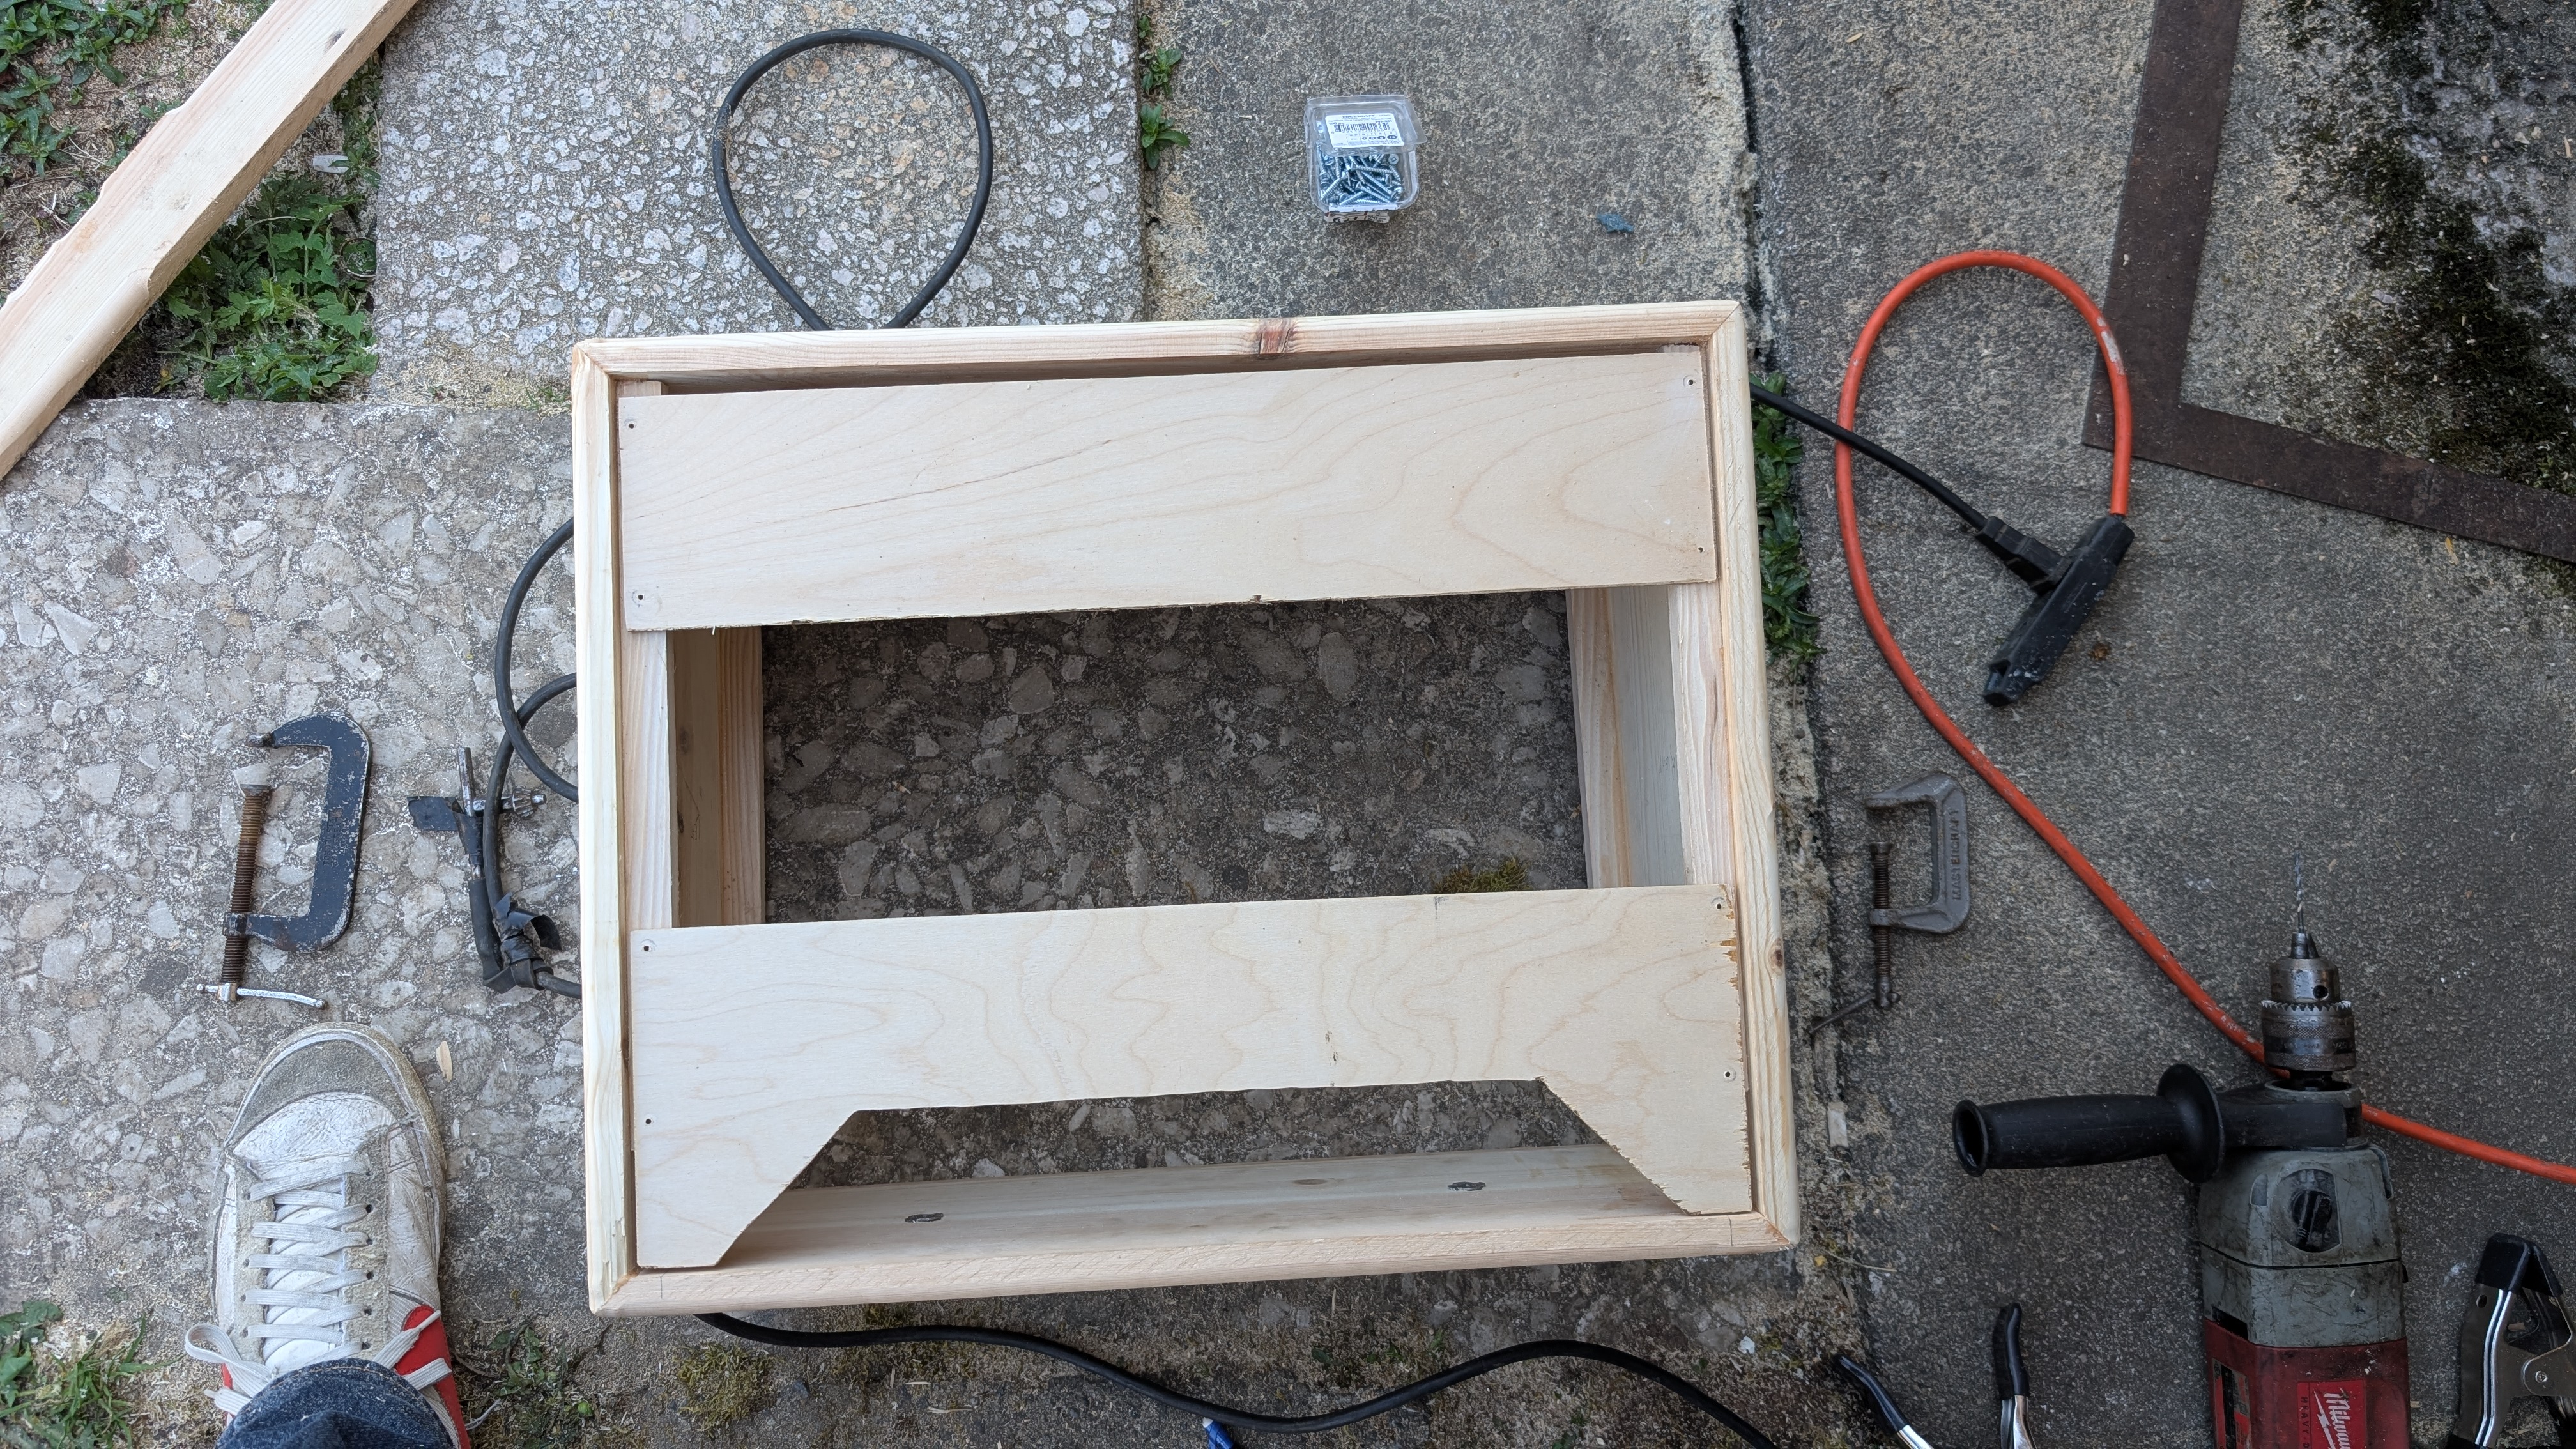
I then added the inner supports. These are for screwing the back panels and speaker baffle on later. Pretty straightforward, I just used wood glue to attach these.

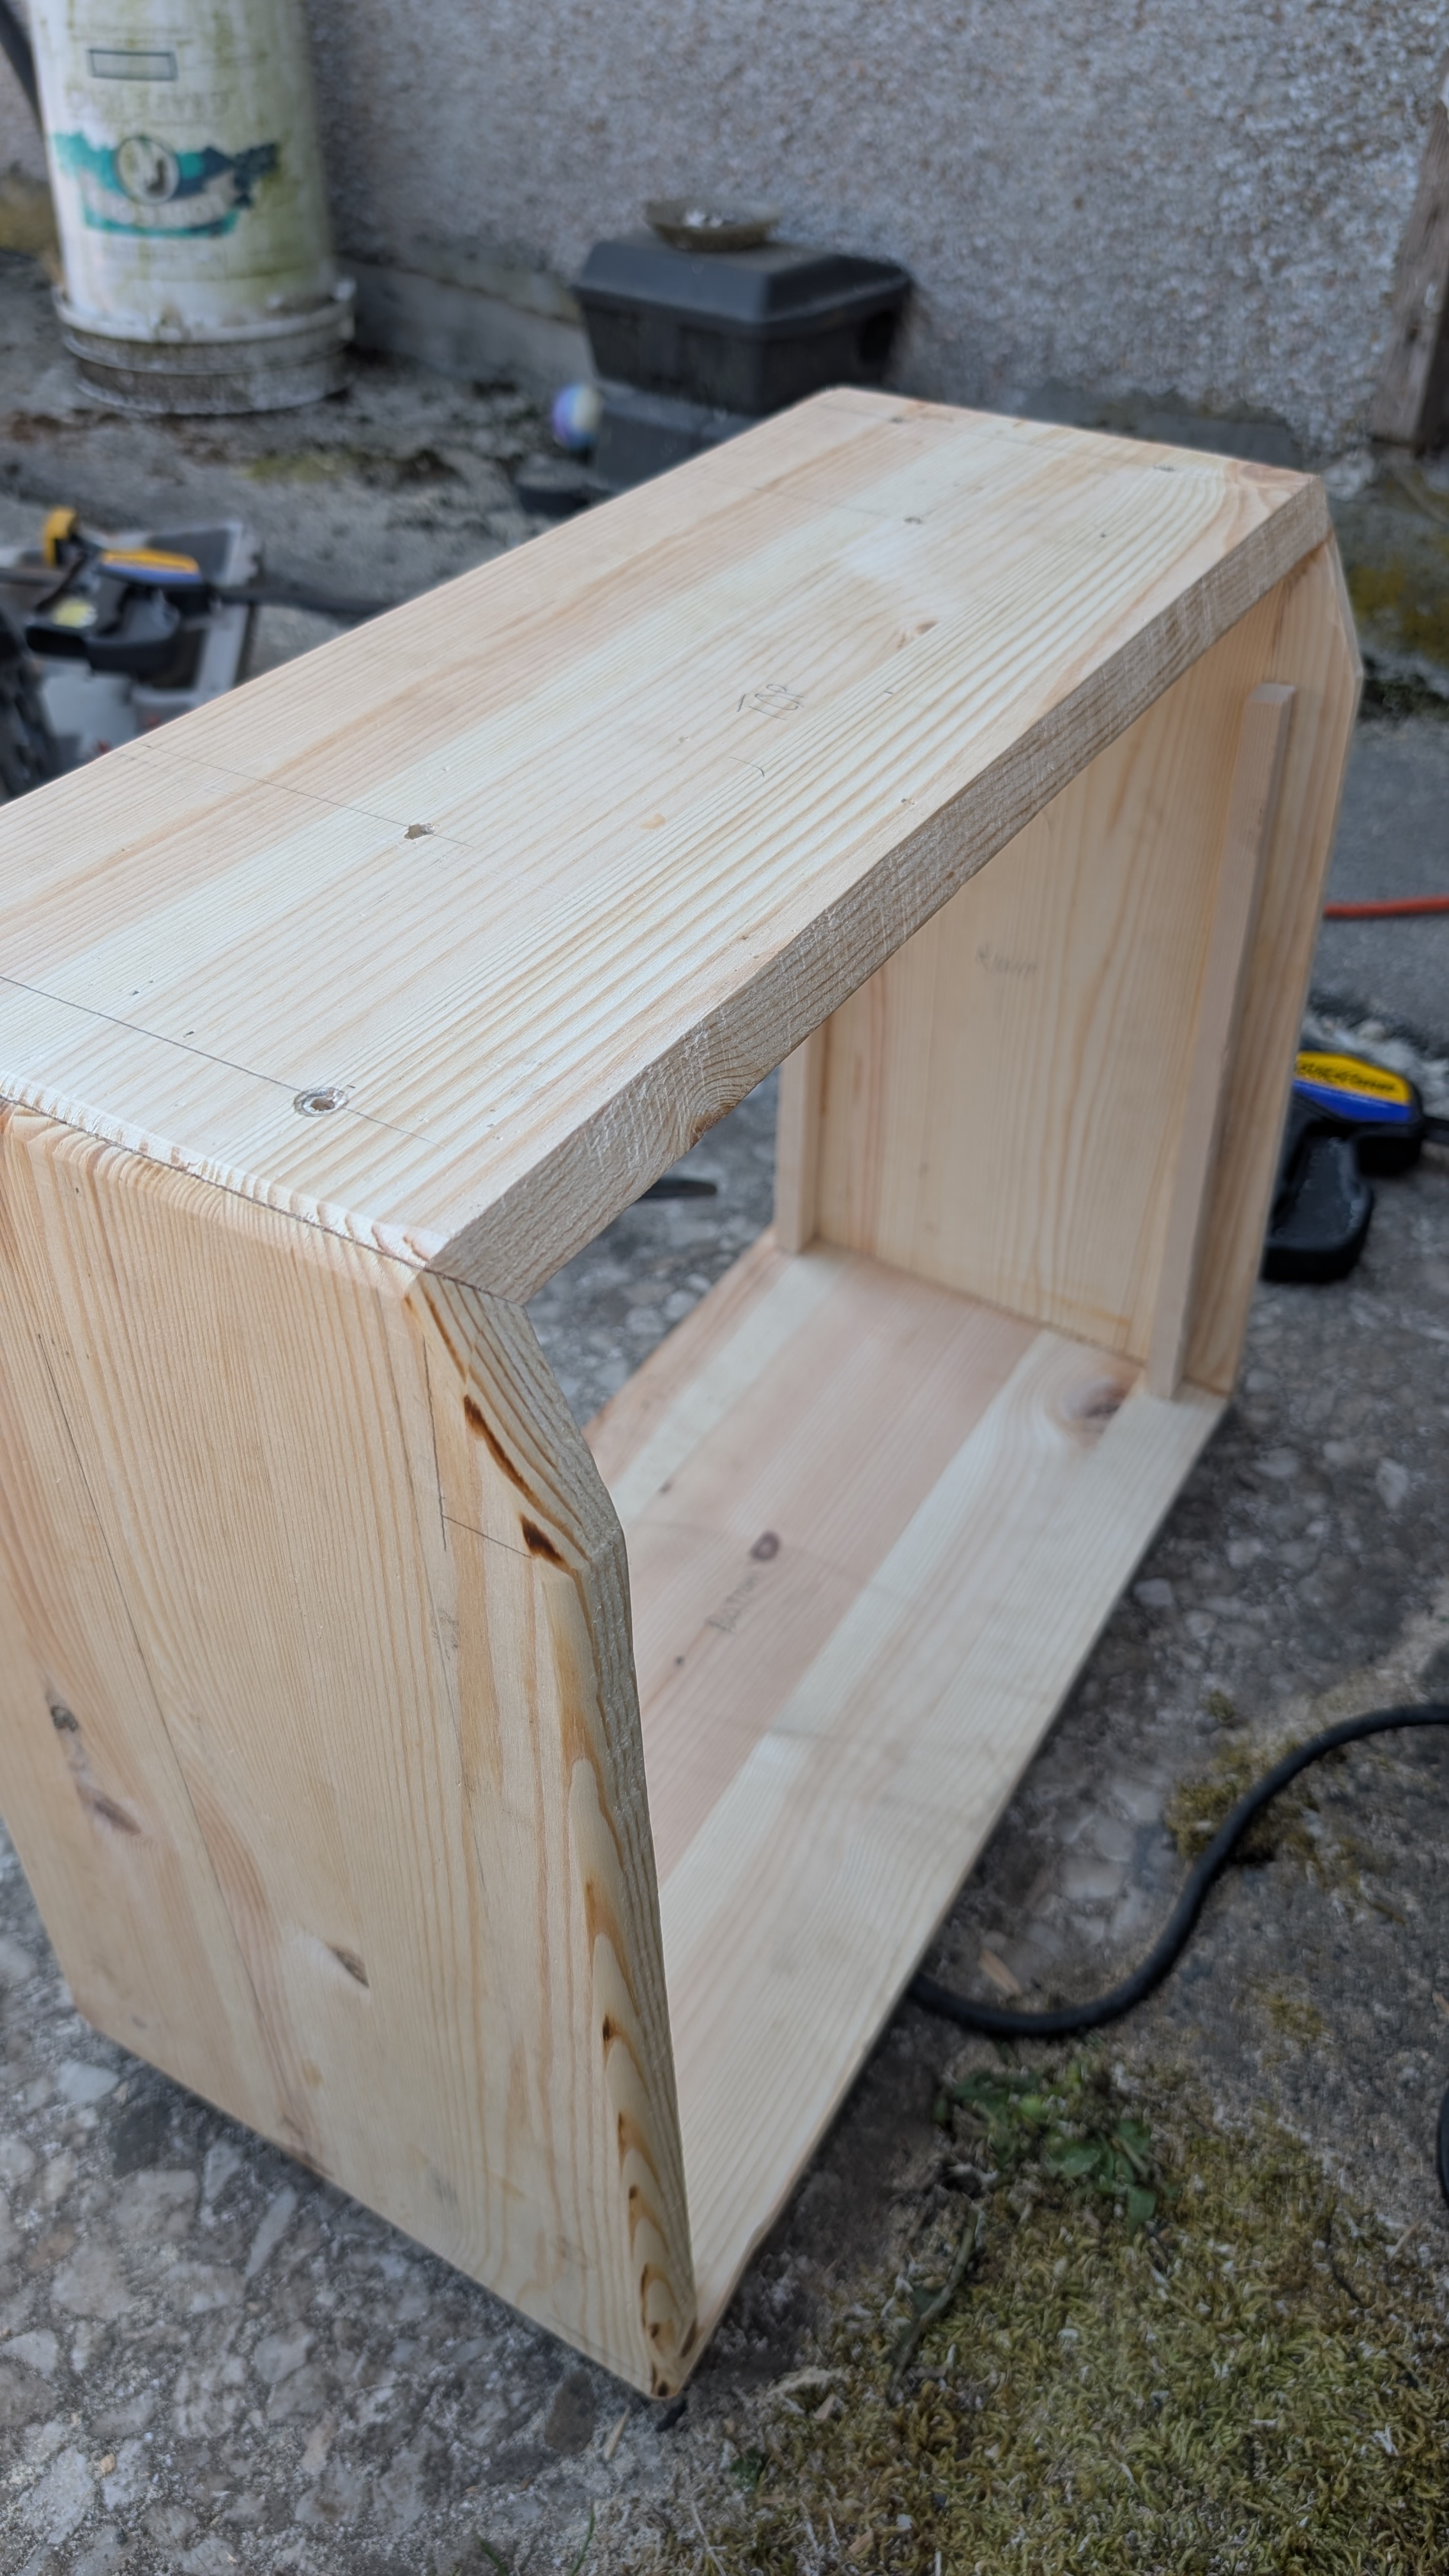
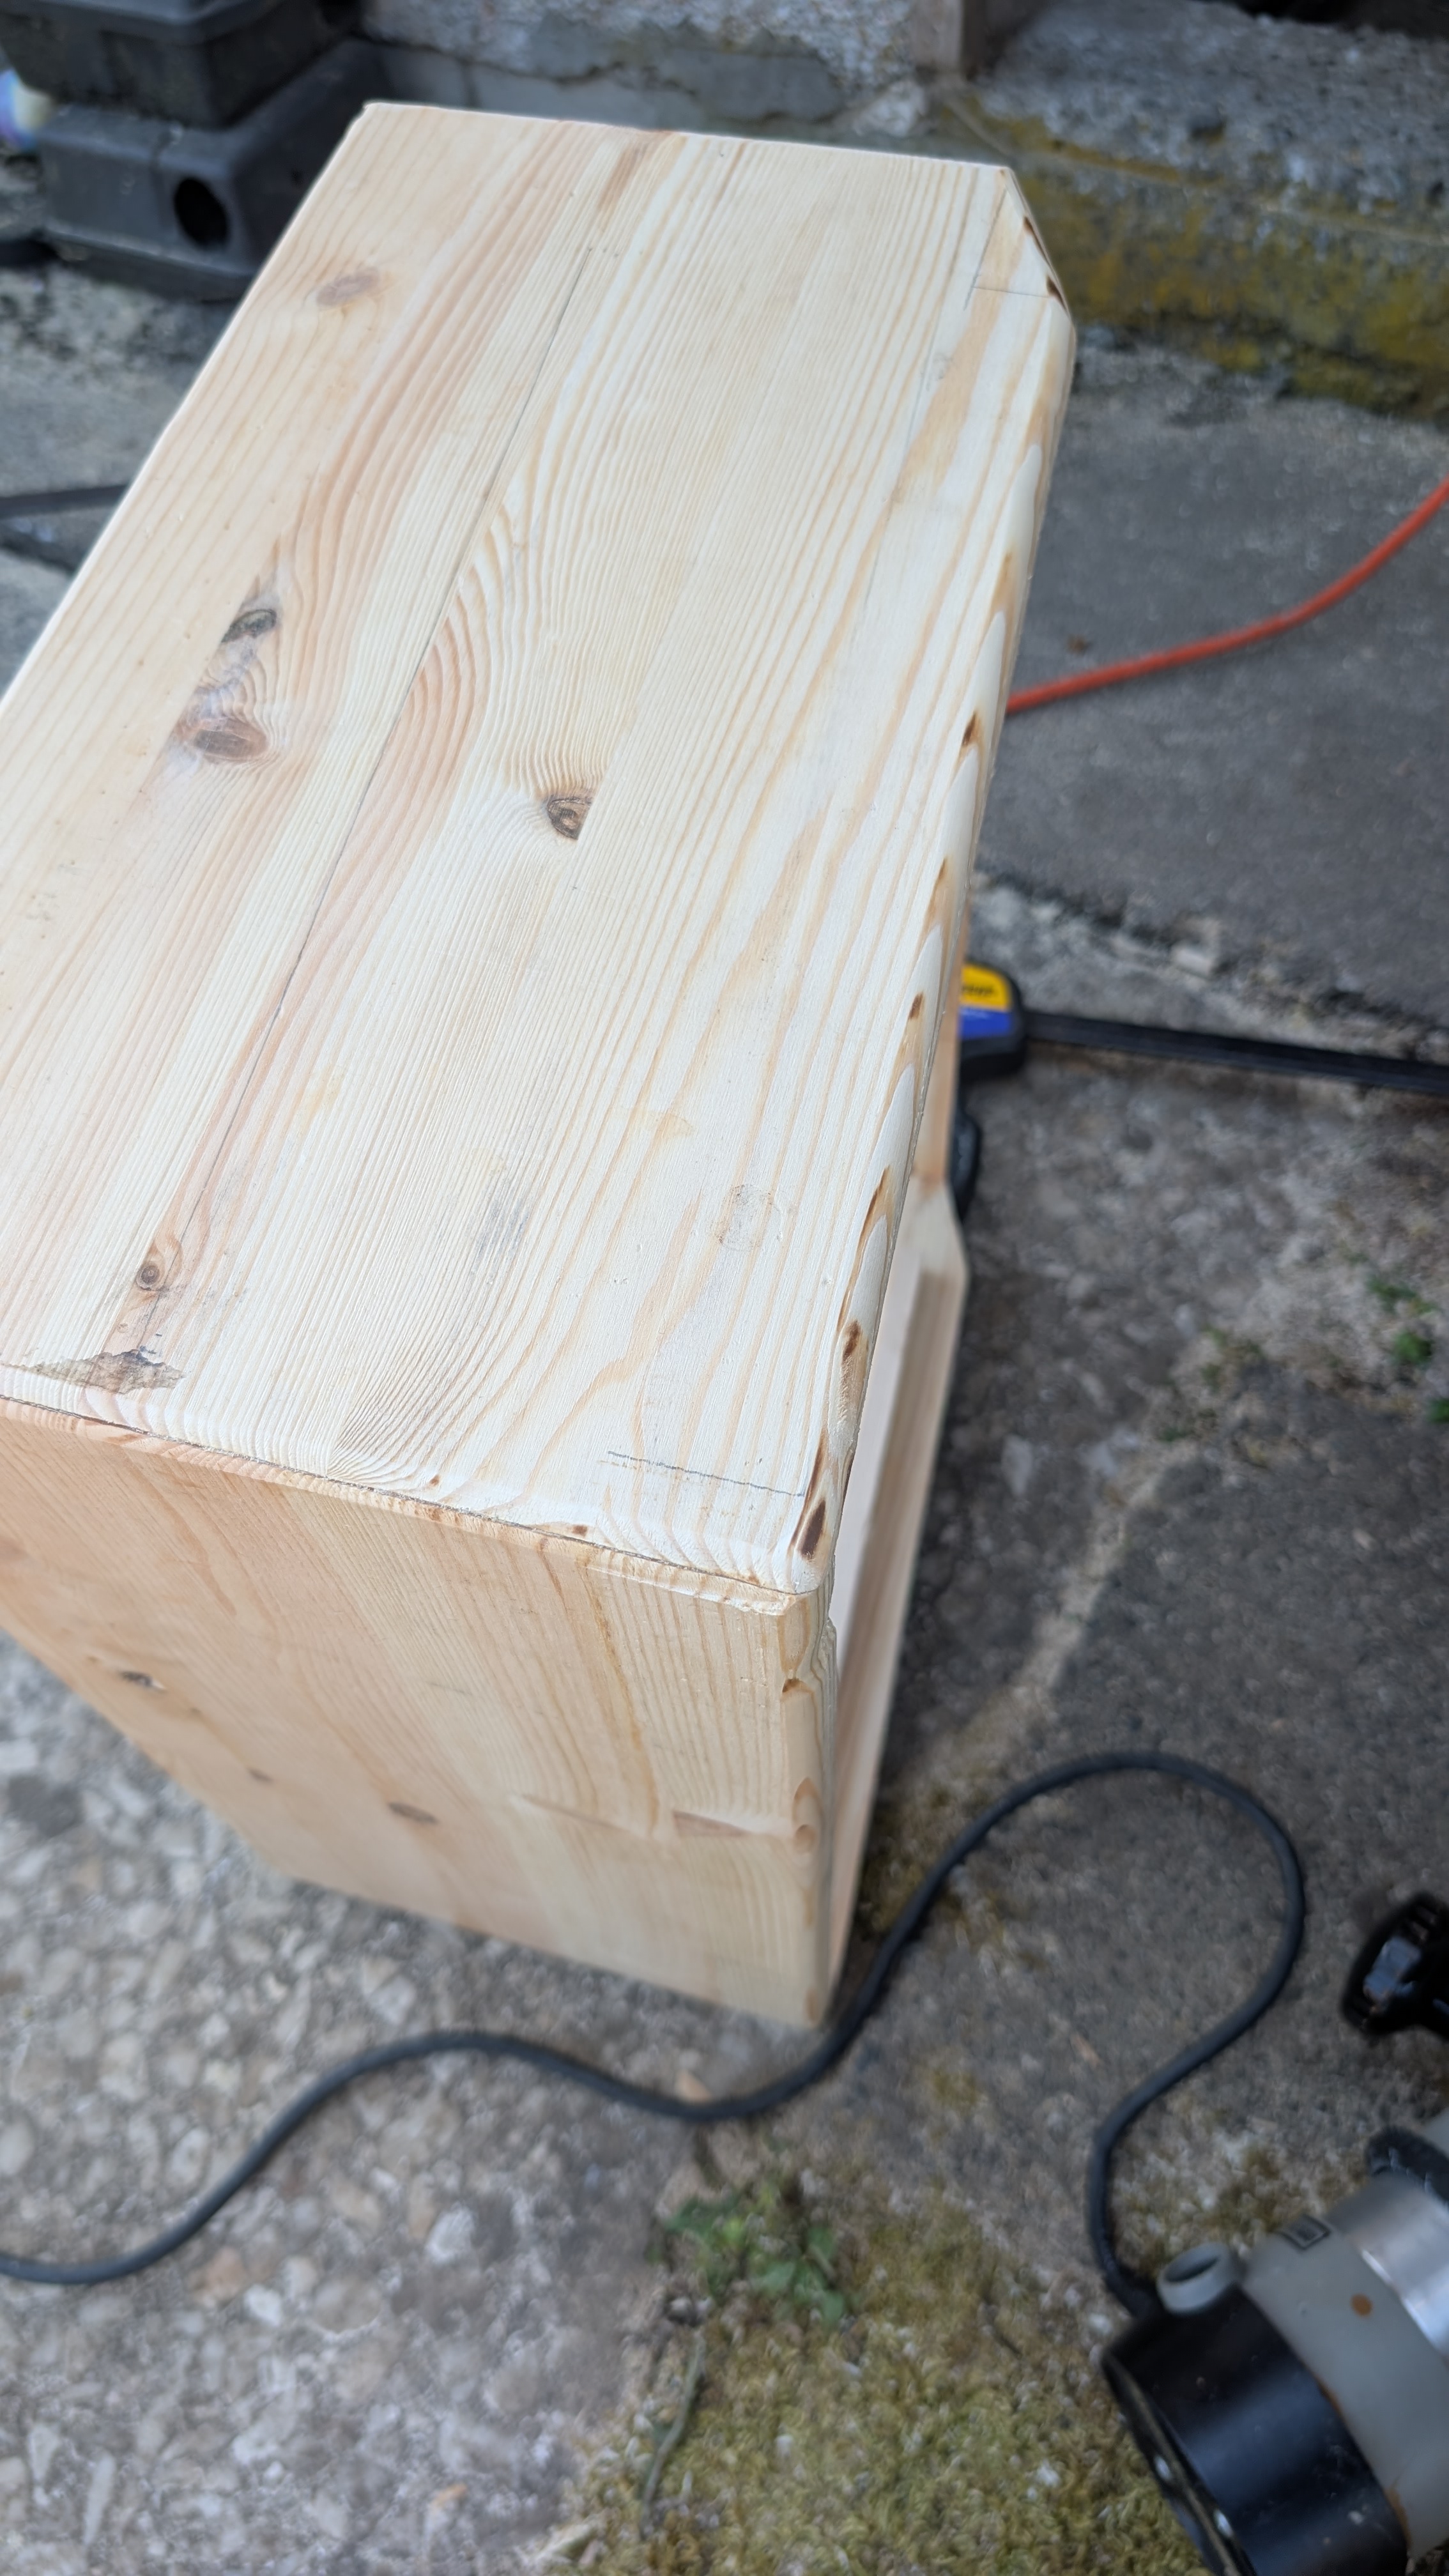
Now for a fun part! I used the router with a roundover bit to round the edges. Did a test run first to get the depth right.
Then I went at the cabinet. I rounded every outer edge except for the top front because it’s an obtuse angle and the router only works on 90 degree angles. I think I’ll take sandpaper to this.
Lastly I drilled small holes on the baffle and back panels for the wood screws to go in later.
Lastly I put everything together! The speaker baffle is only taped on for now, and it’s a little wonky. I plan to adjust the chassis mount to line everything up a little better. Thankfully the tolex will cover the extra holes
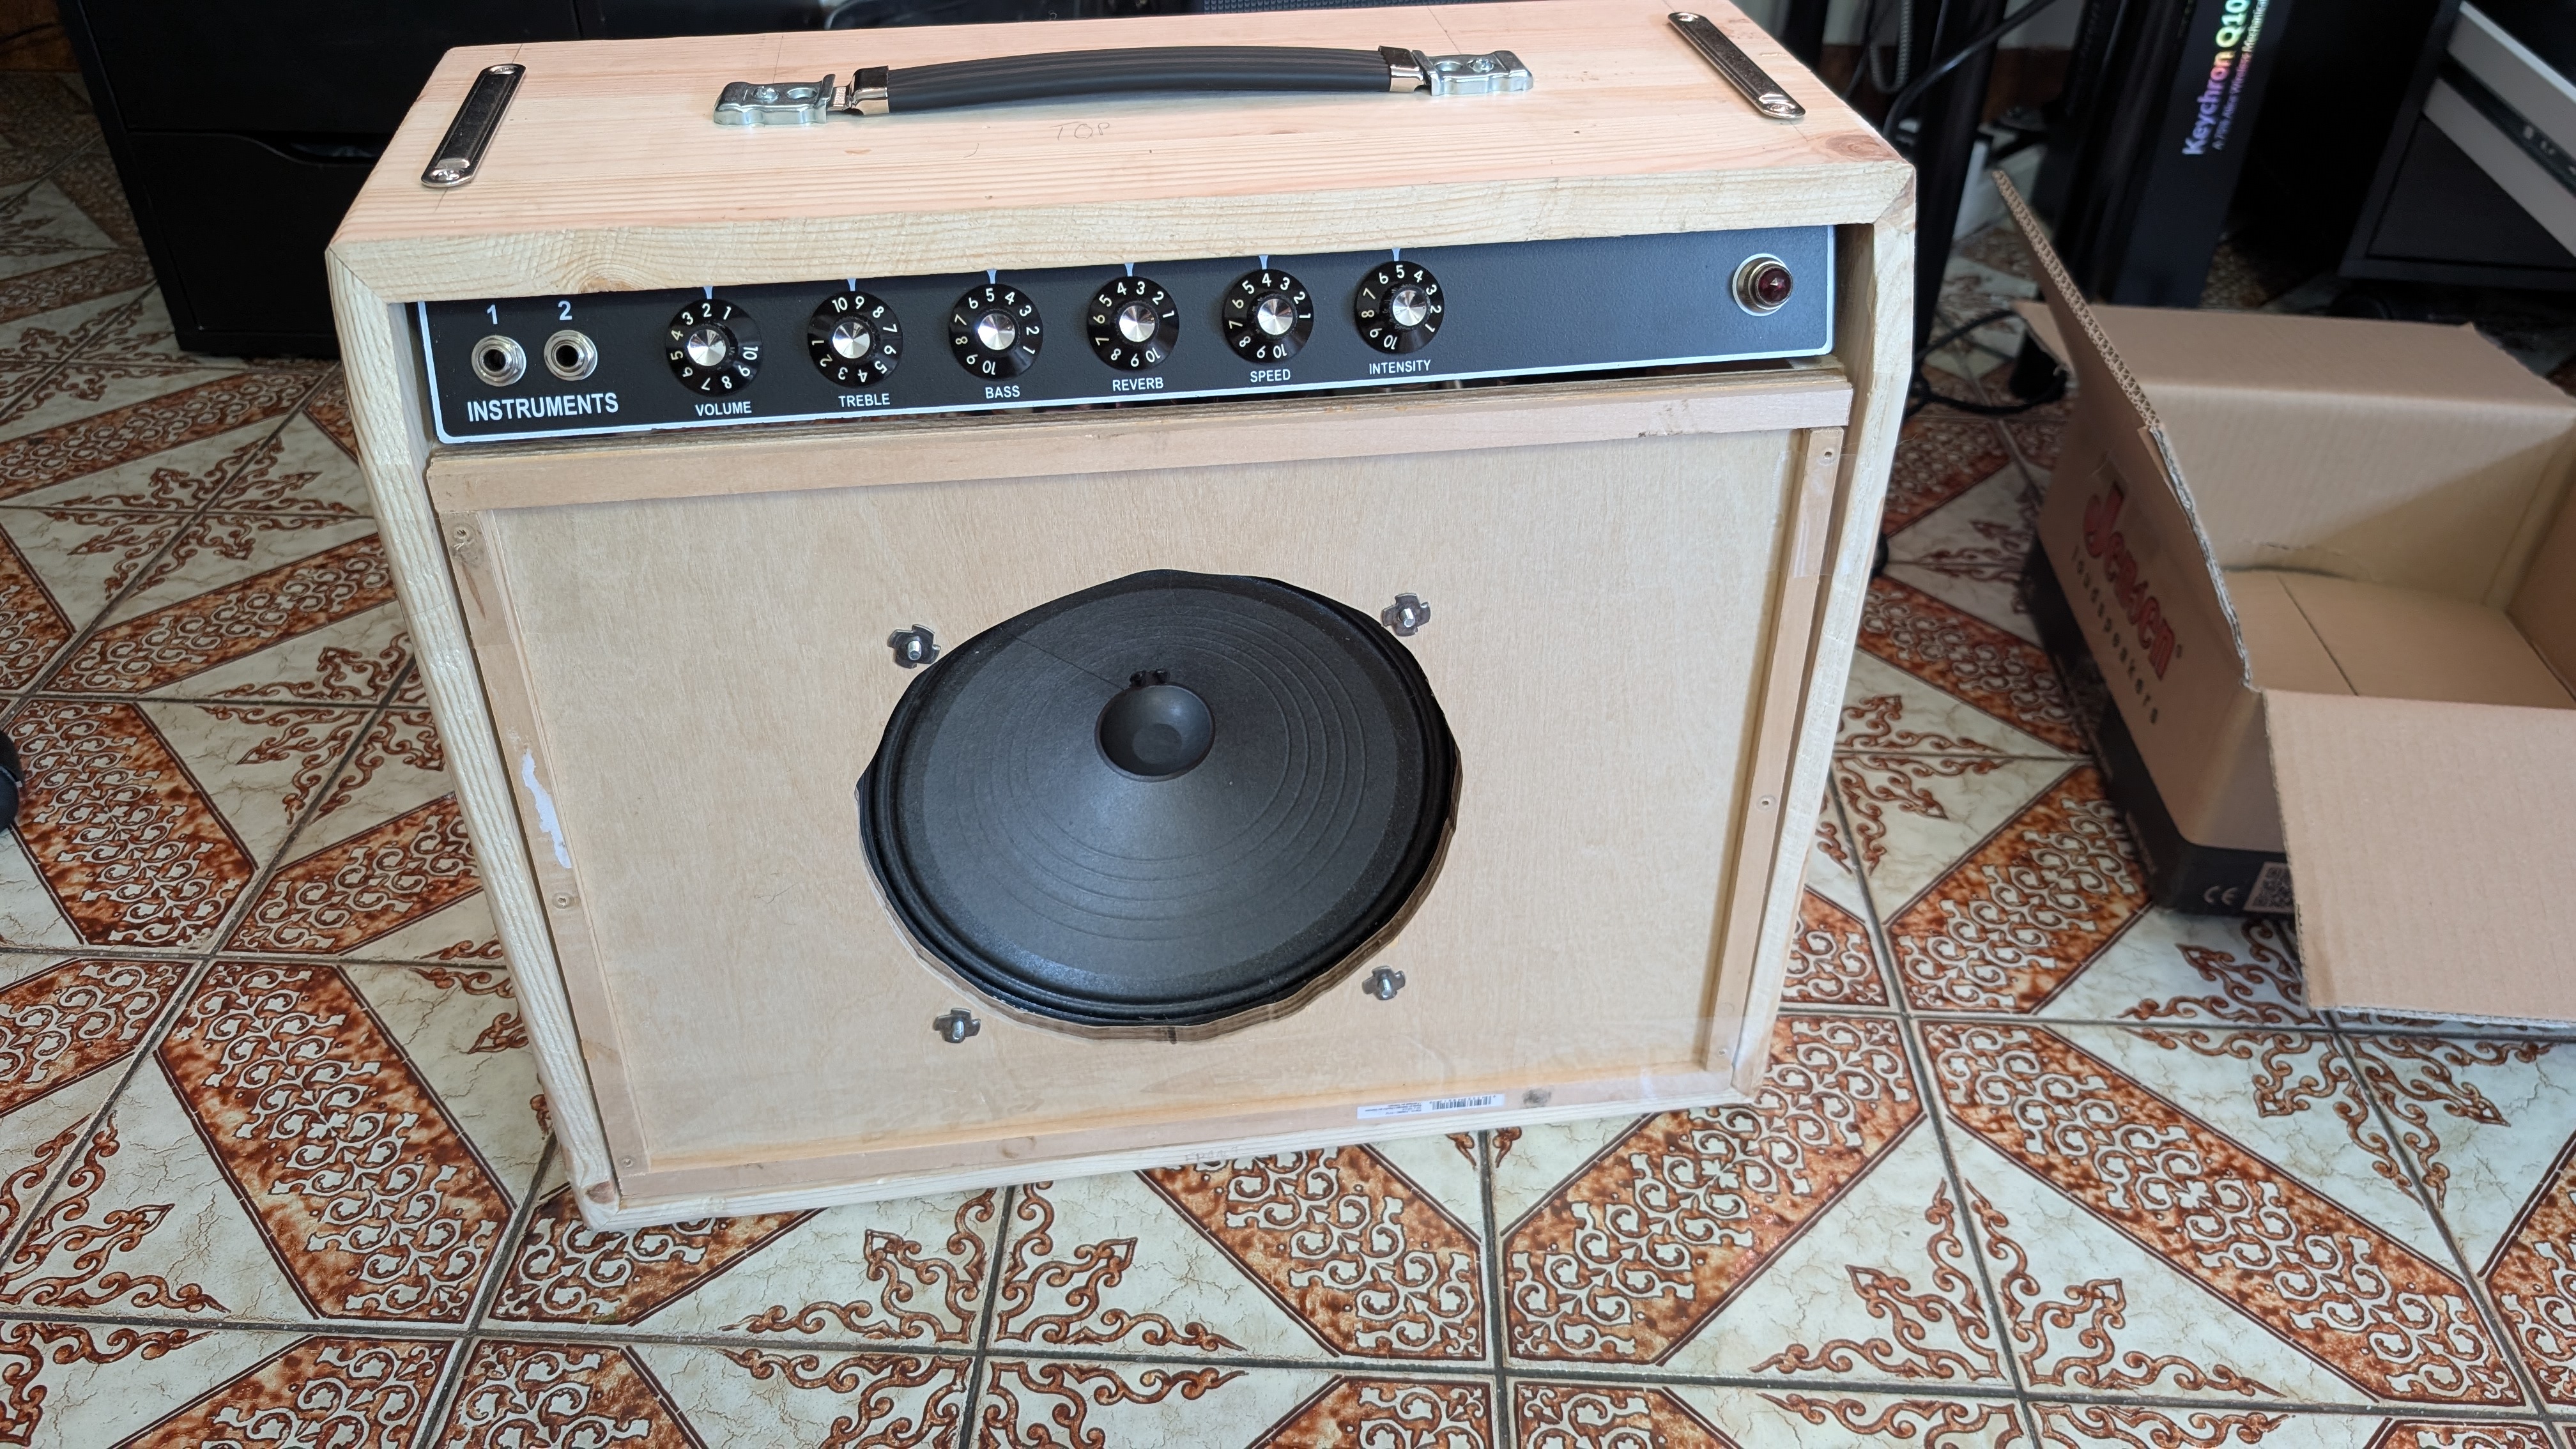
It sounds even better in a wood frame compared to the cardboard, it absolutely rocks! I played it all weekend, going to be hard to take it apart to finish the job.
Next update should be tolex and cloth!