Another week, another update
Lighter work this week, I’m preparing for the large job of wrapping. I’d like to be able to dedicate a solid block of a few hours to this this upcoming weekend.
Last week I spray painted the speaker baffle black
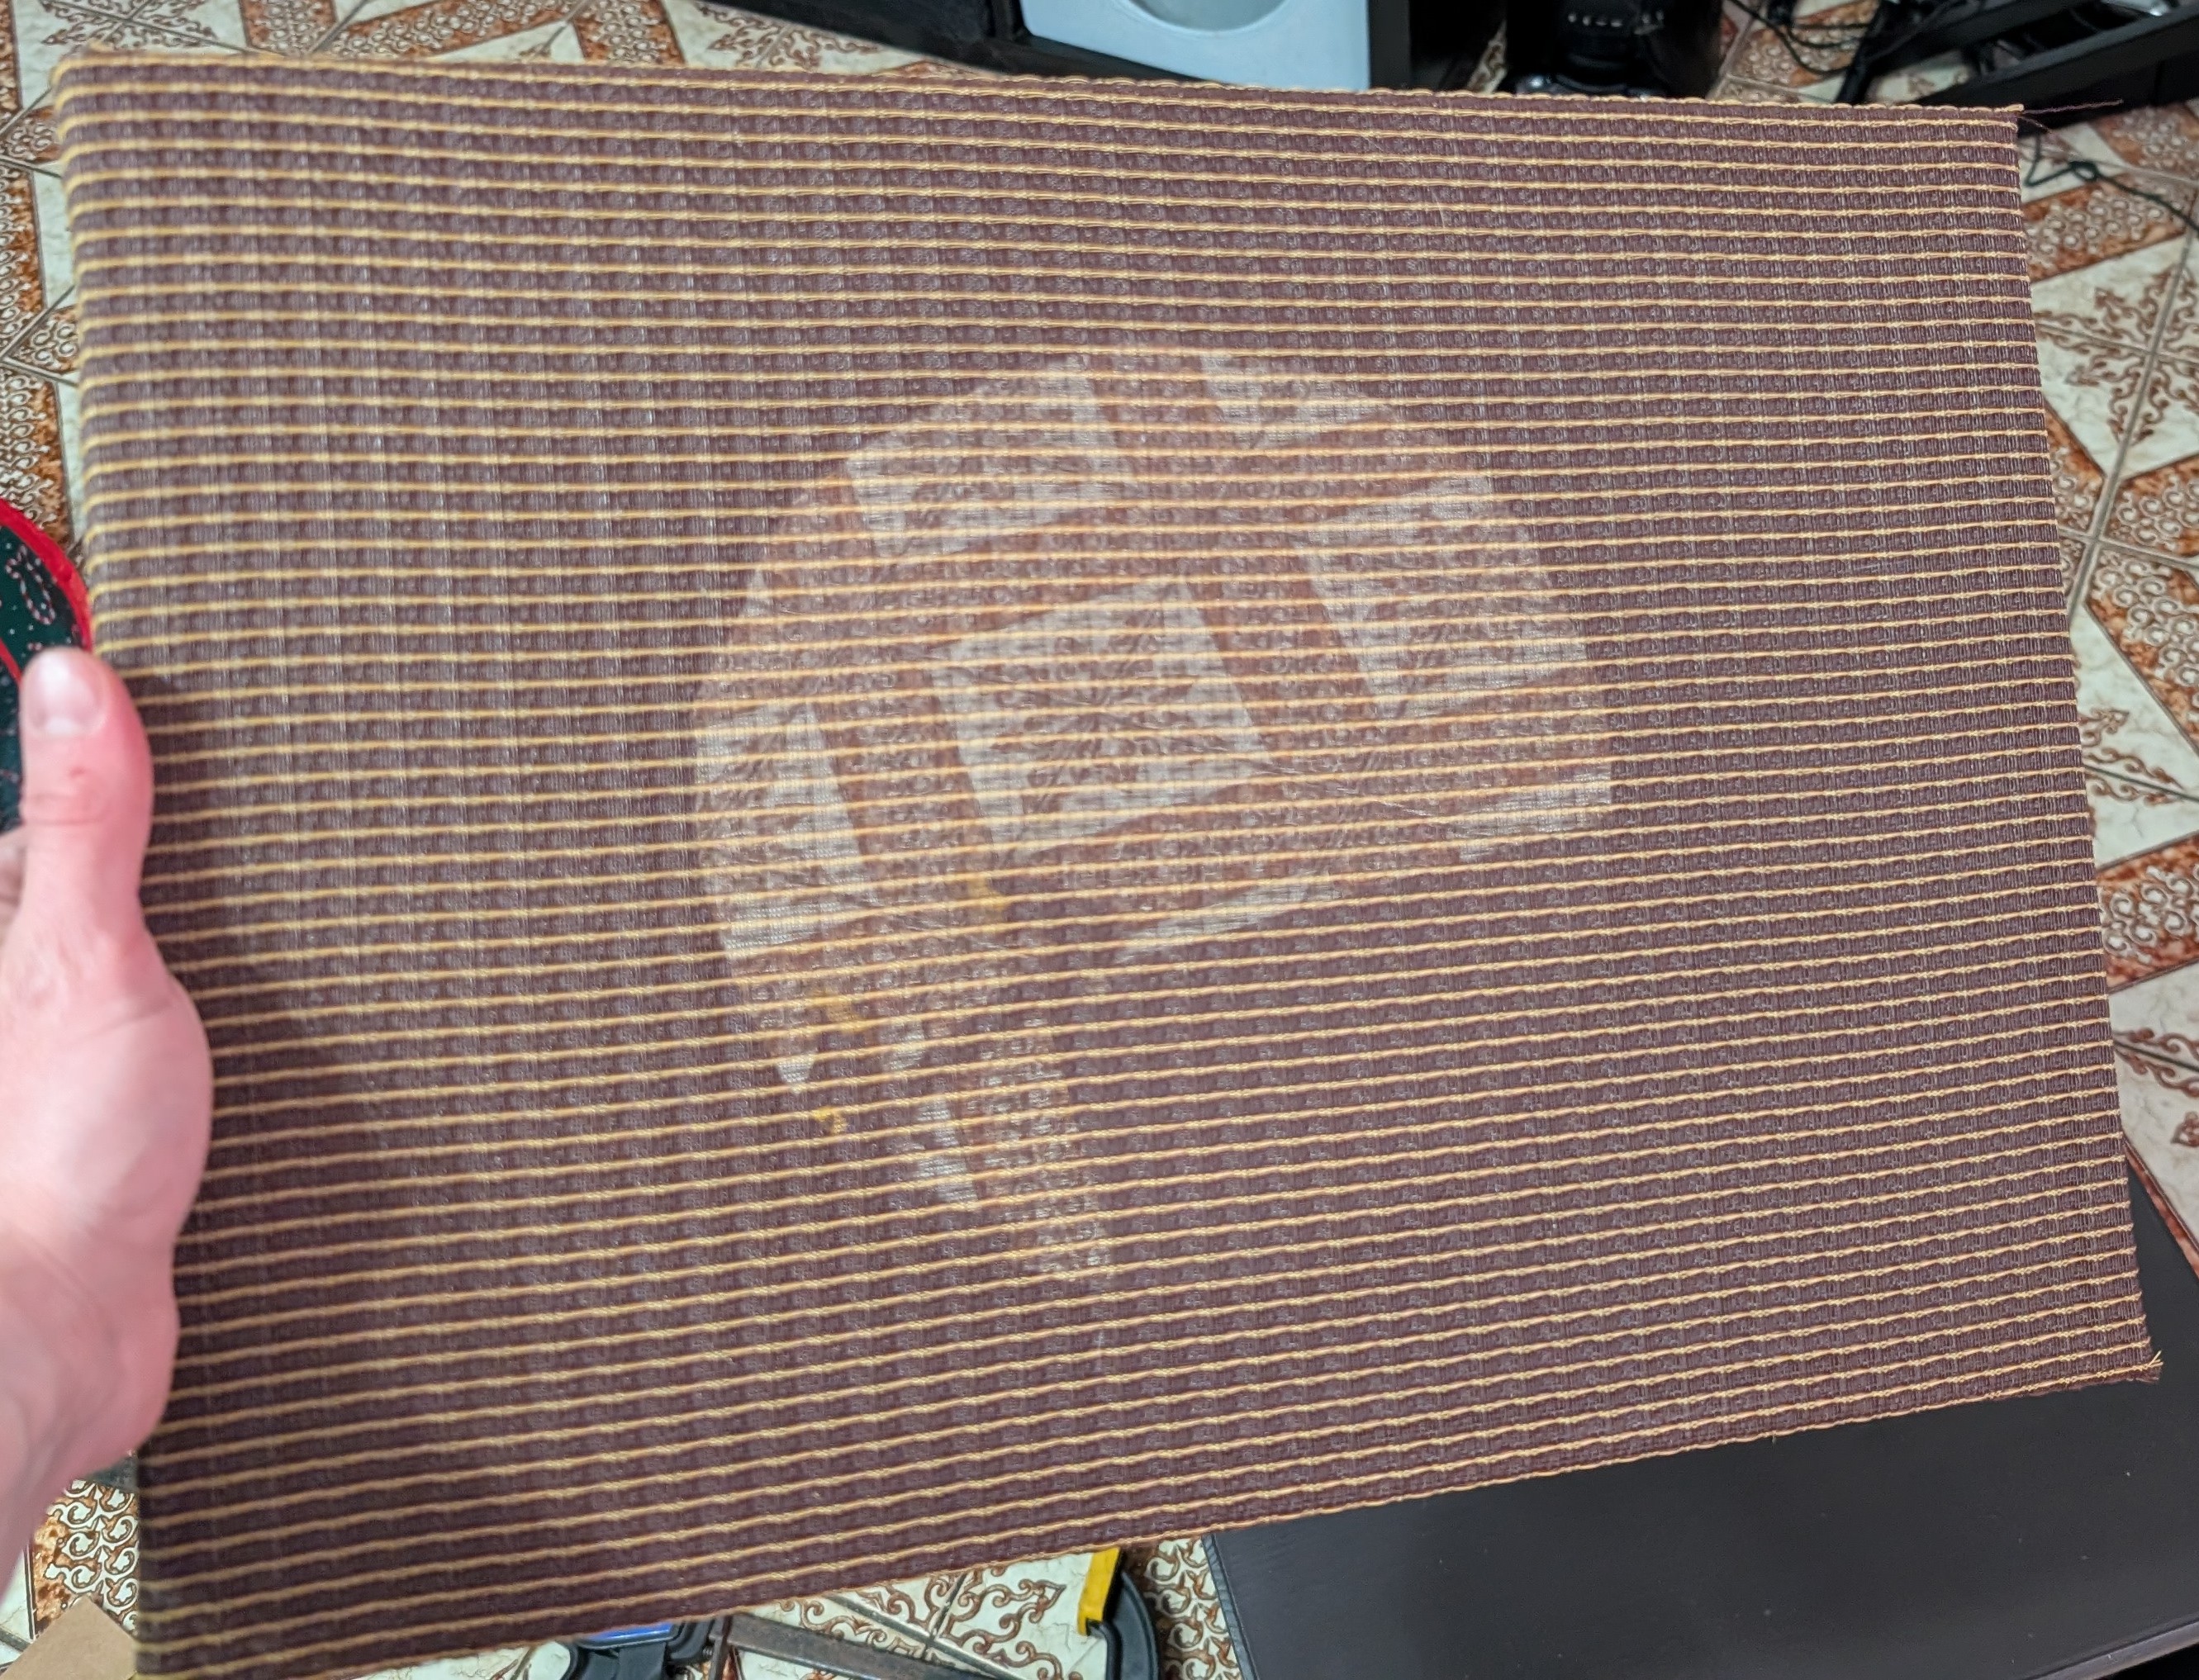
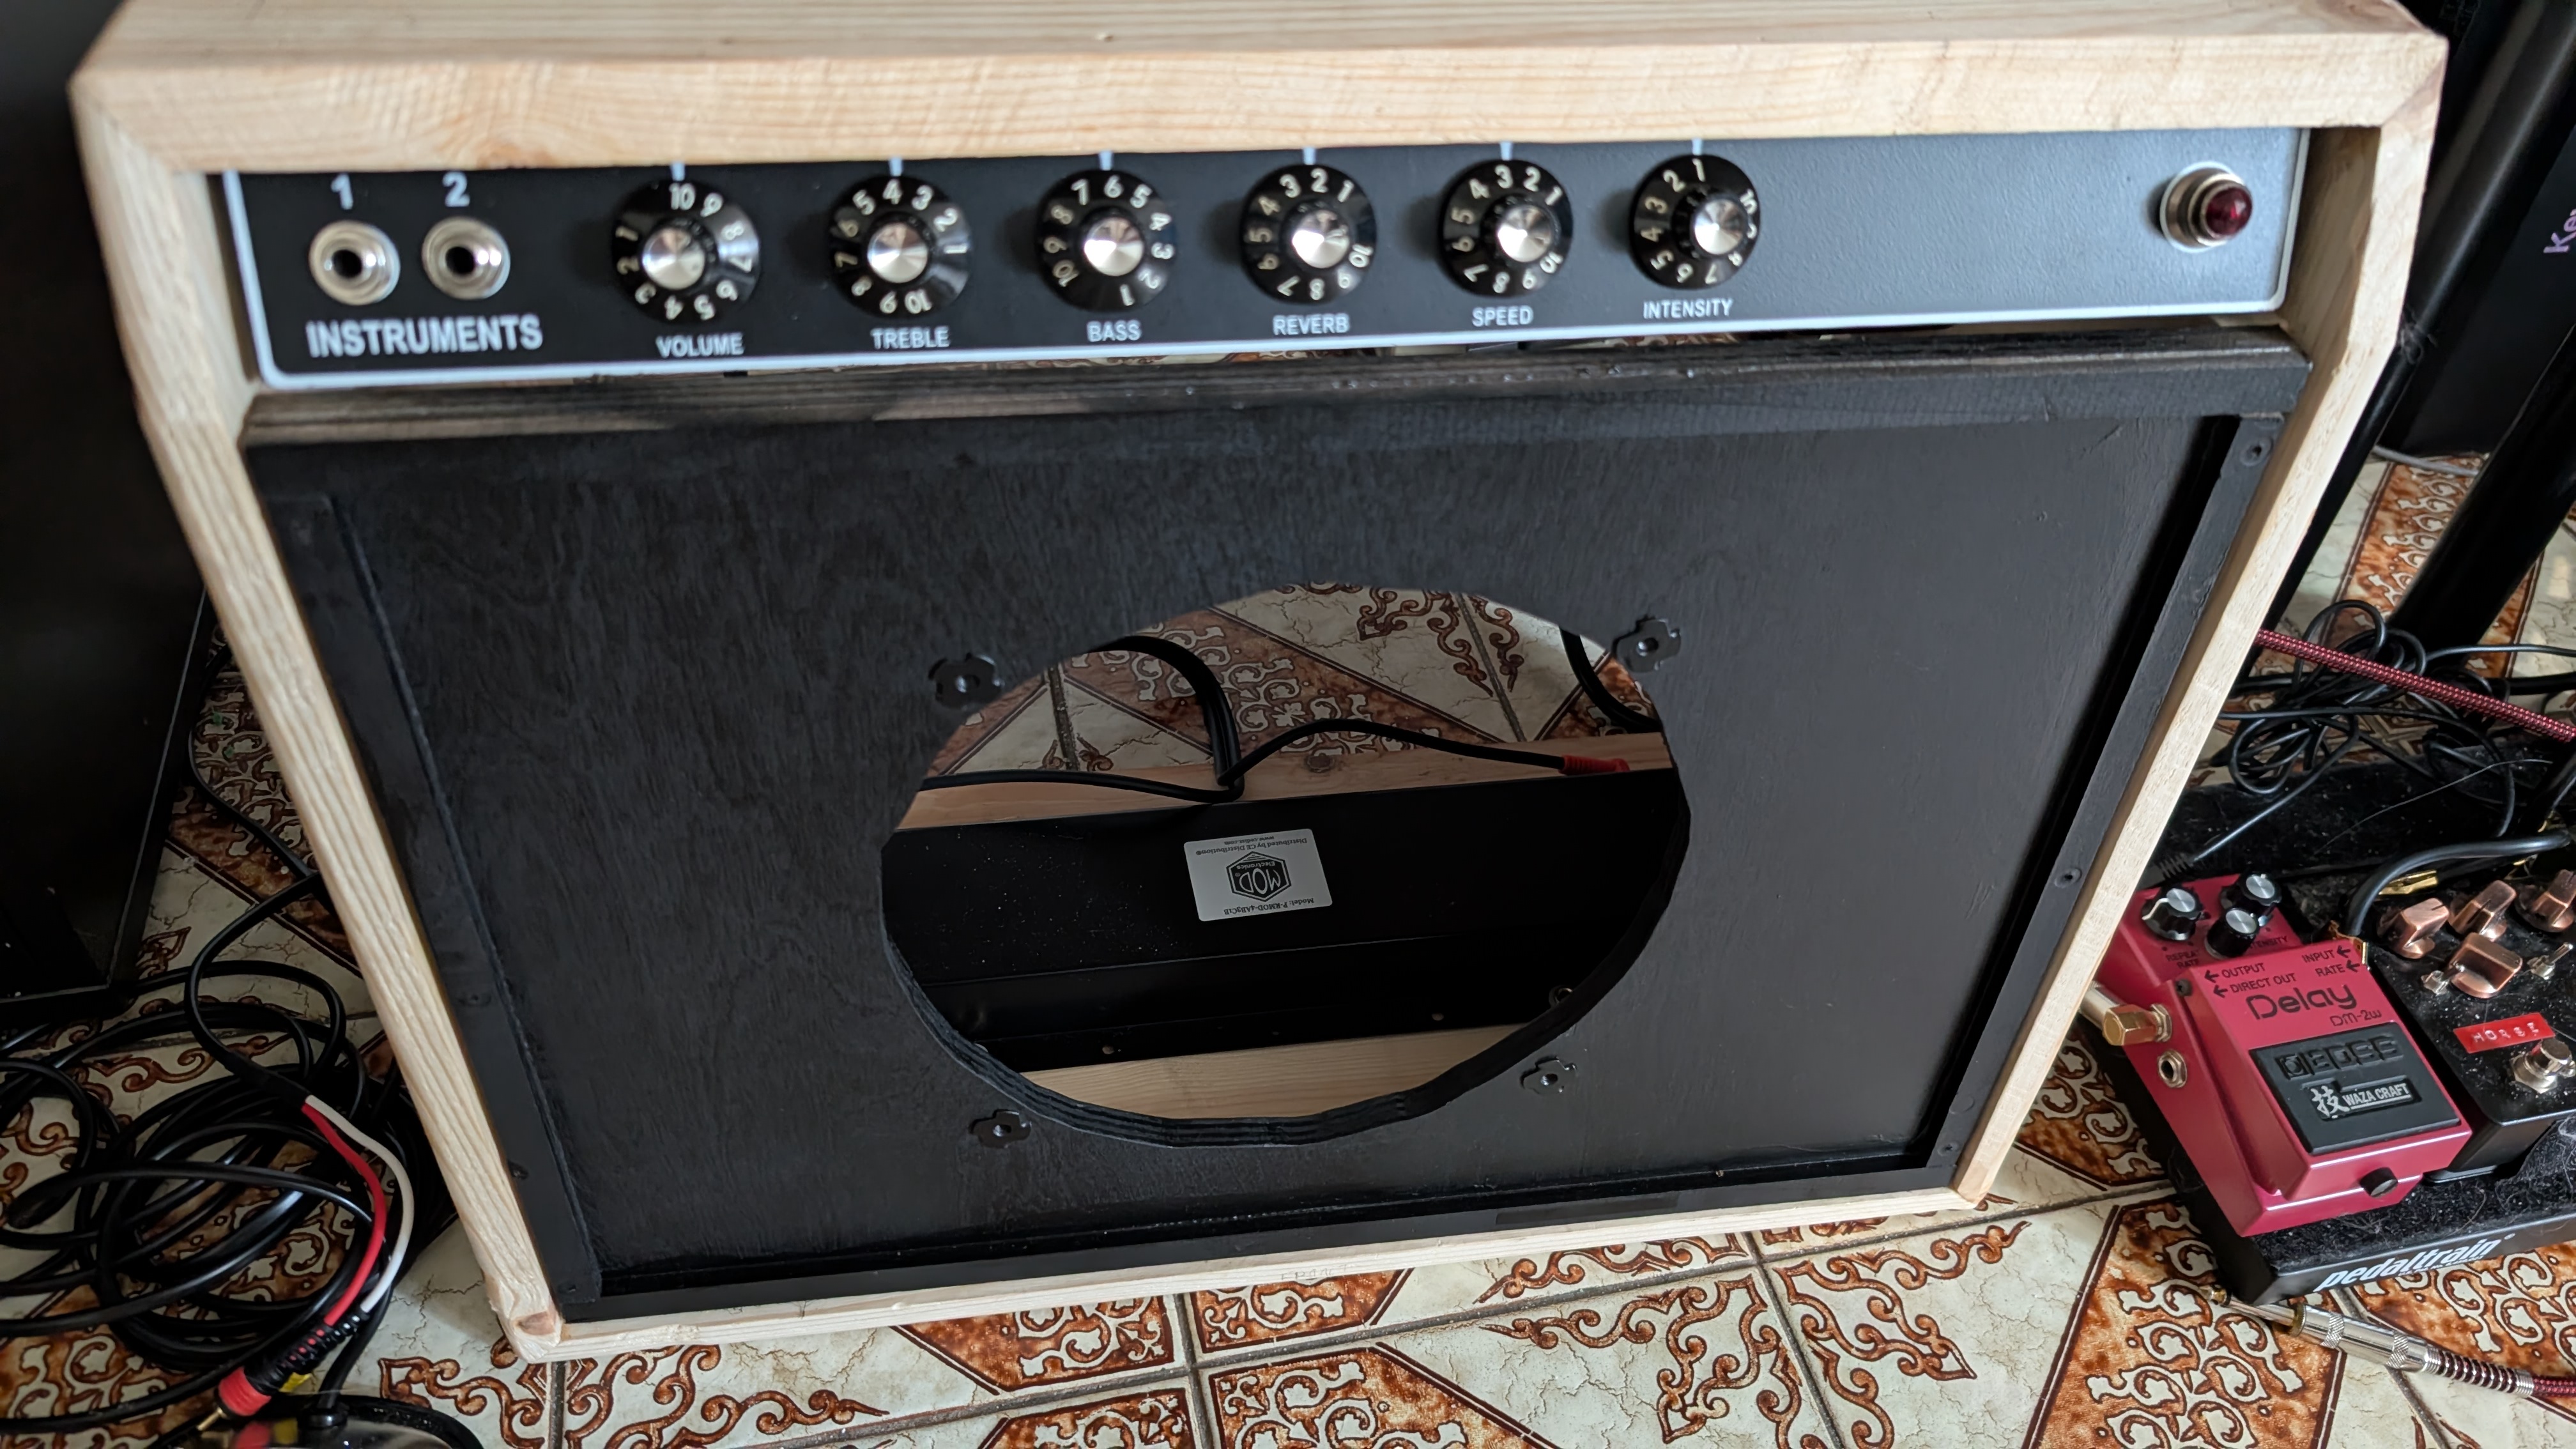 The cloth is somewhat see-through so having a black background makes everything look uniform with the speaker.
Next up was covering the baffle with cloth. Thanks to Uncle Doug on youtube for the thorough step-by-step on doing this properly.
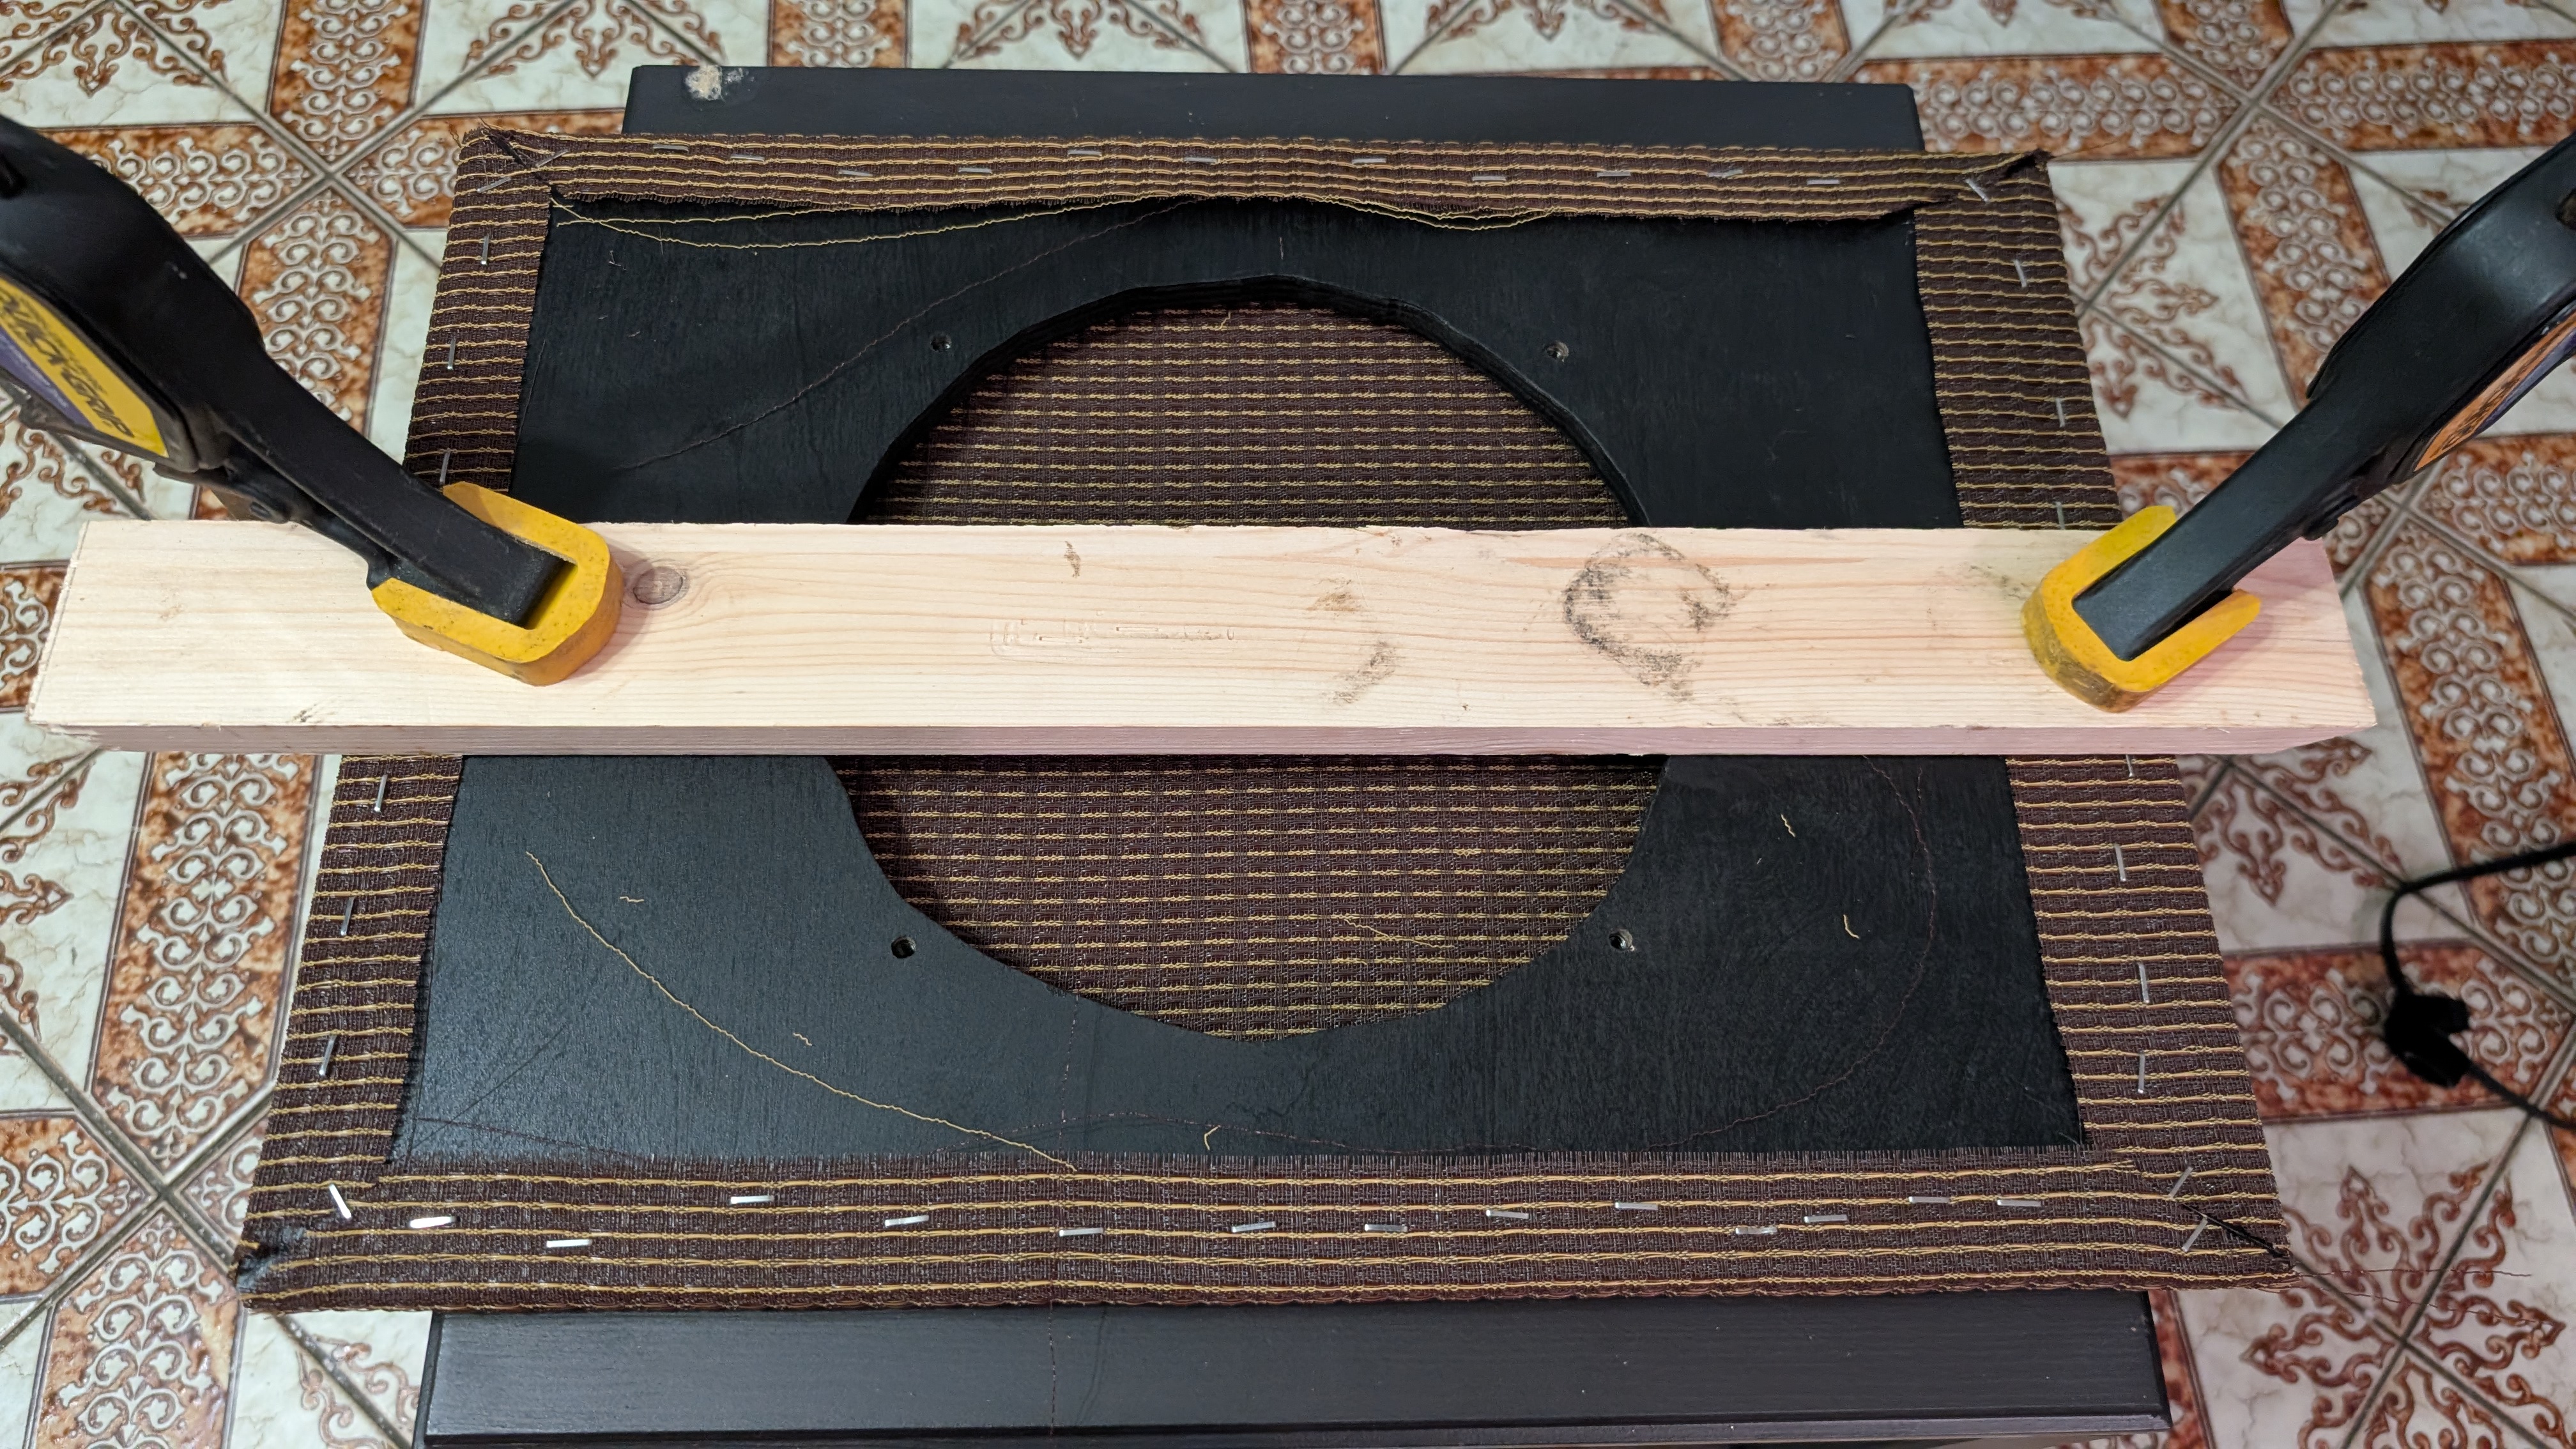
First up I measured and cut out the square of cloth to cover the wood. Then, using clamps and a piece of wood I clamped it down to the table, just hard enough to keep it in place but with some slack to move the cloth around.
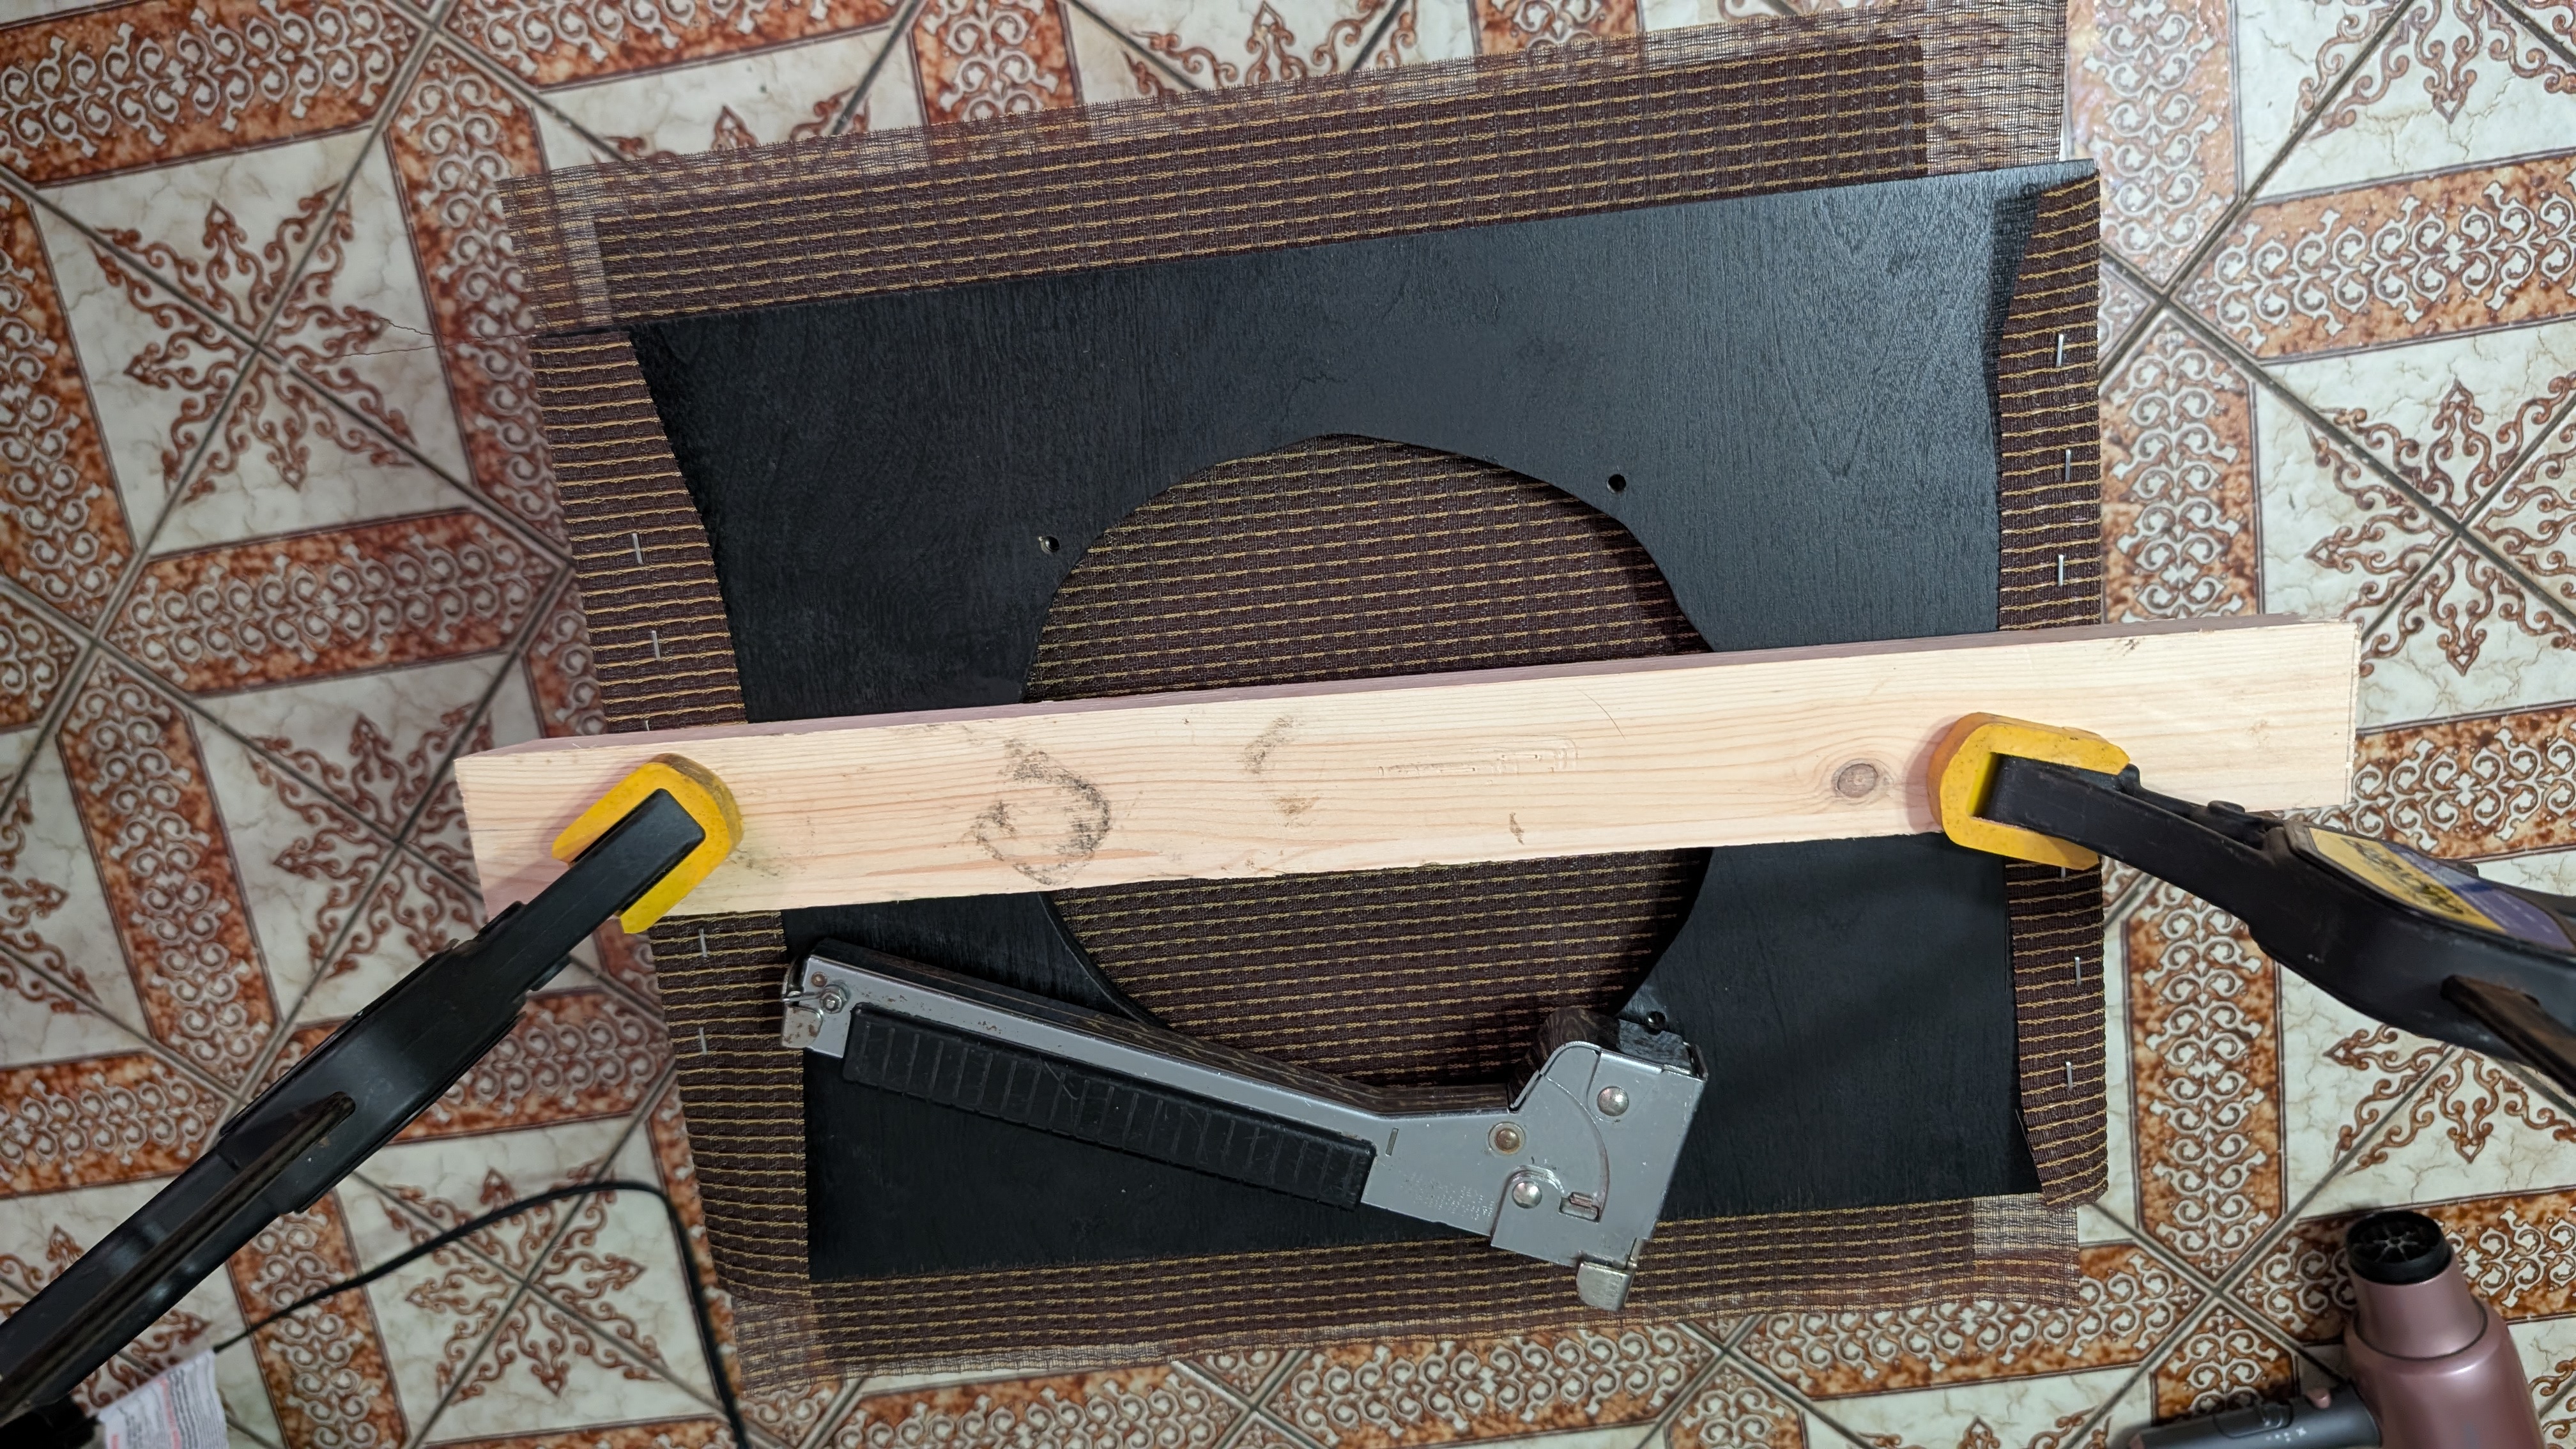
Using the hair dryer, I heated the cloth to make it a bit more malleable. I then pulled it as tight as I could on one edge as tight as possible and stapled it. Then I did the same to the other side.
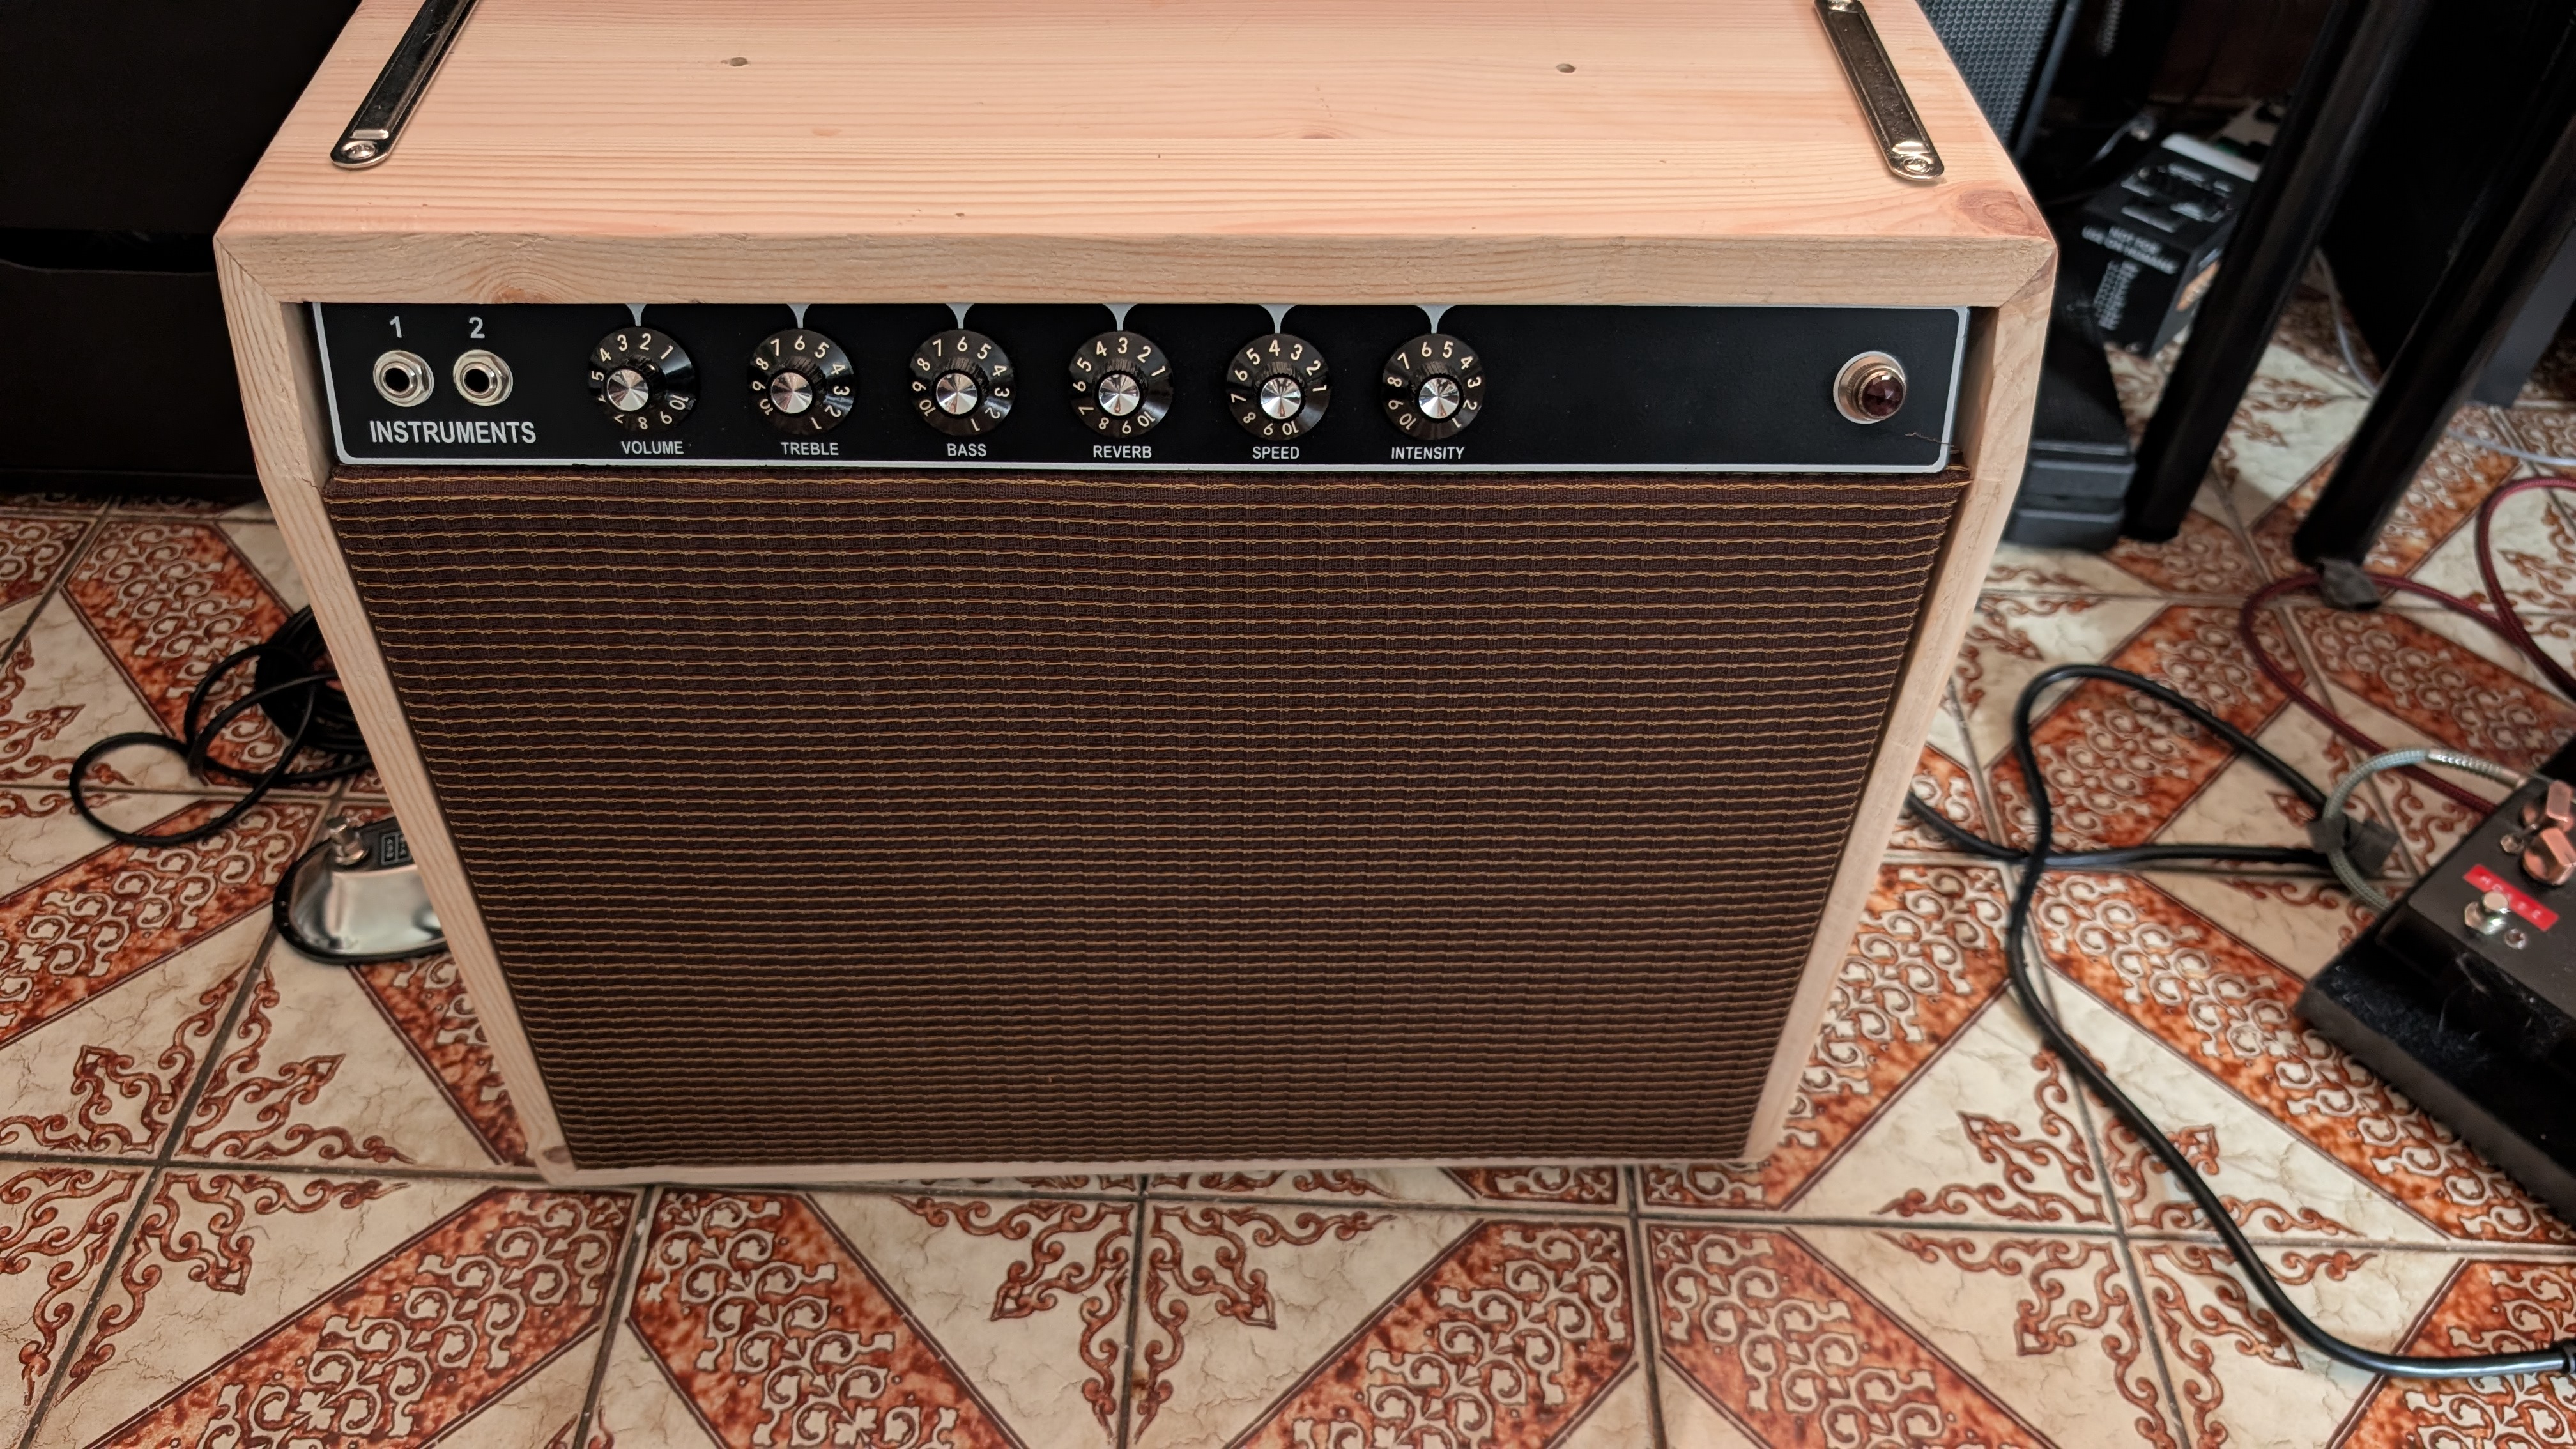
Here’s the finished baffle.
After that, I drilled new holes for the chassis. It’s actually quite difficult to line up, and I’d love to hear if someone has a good way to do it. I don’t see it detailed in any guides, people just get it done in the background.
What I ended up doing was lining it up where it looked good and then measuring the back edge of the cabinet to the back edge of the chassis. I then flipped it over onto the top of the cabinet and measured and squared. The problem is the front edge is not perfectly straight because it’s the 45degree so I tilted it a bit to line that up. I then drilled the holes from the top after marking them through the chassis. The reason I had to do this is because I didn’t have a drill that fit inside the cabinet, I guess that would’ve helped.
After lining up the cabinet I sanded the entire exterior to smooth everything out.
Next weekend I will be tackling the tolex! Also side issue, I dropped the chassis and broke the rectifier tube - so now I won’t be distracted from playing the amp until I get that in the mail.