The moment we’ve all been waiting for!
The Wrapping
After the last blog post, the only thing I had to do was wrap the amp. Definitely not trivial, but thanks to the guidance of Uncle Doug on youtube I was able to work through it. If you’re trying to do the same, watch his videos on wrapping a cabinet.
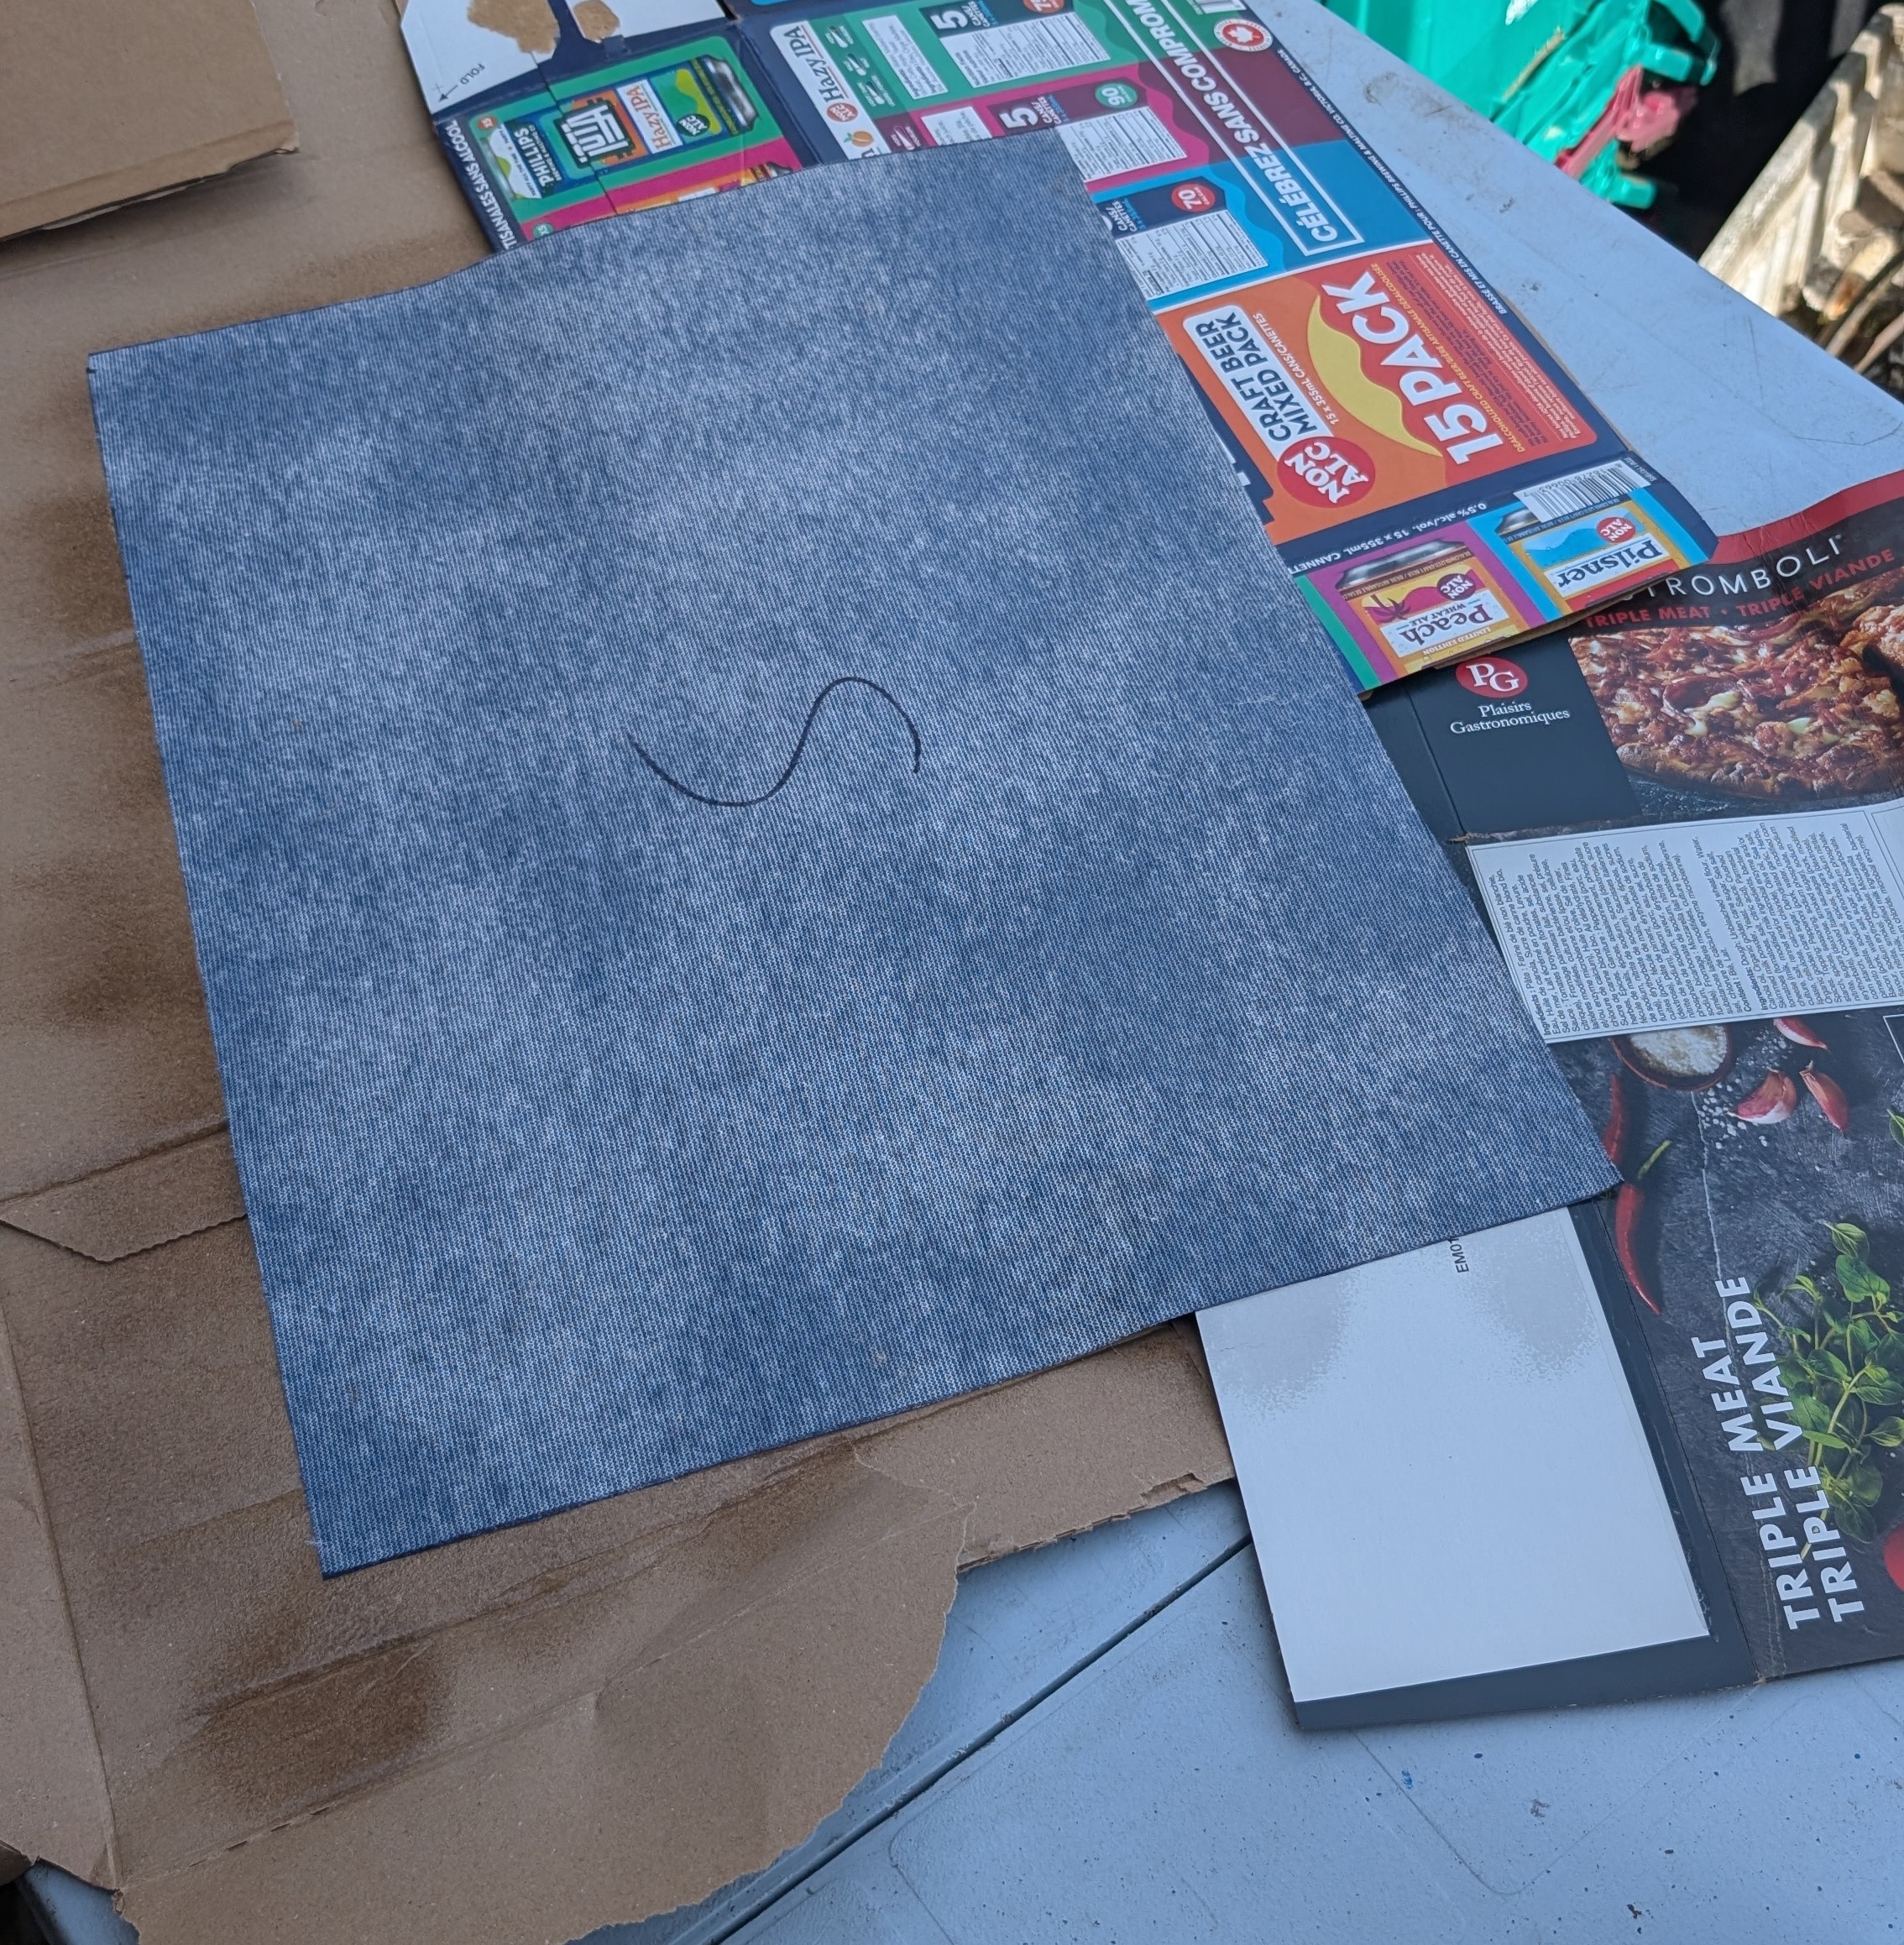
First up I wrapped the two back panels, this was an easy way to start. I cut out the area of tolex to fit the panels with plenty of room to wrap around. I then cut out the corners for wrapping.
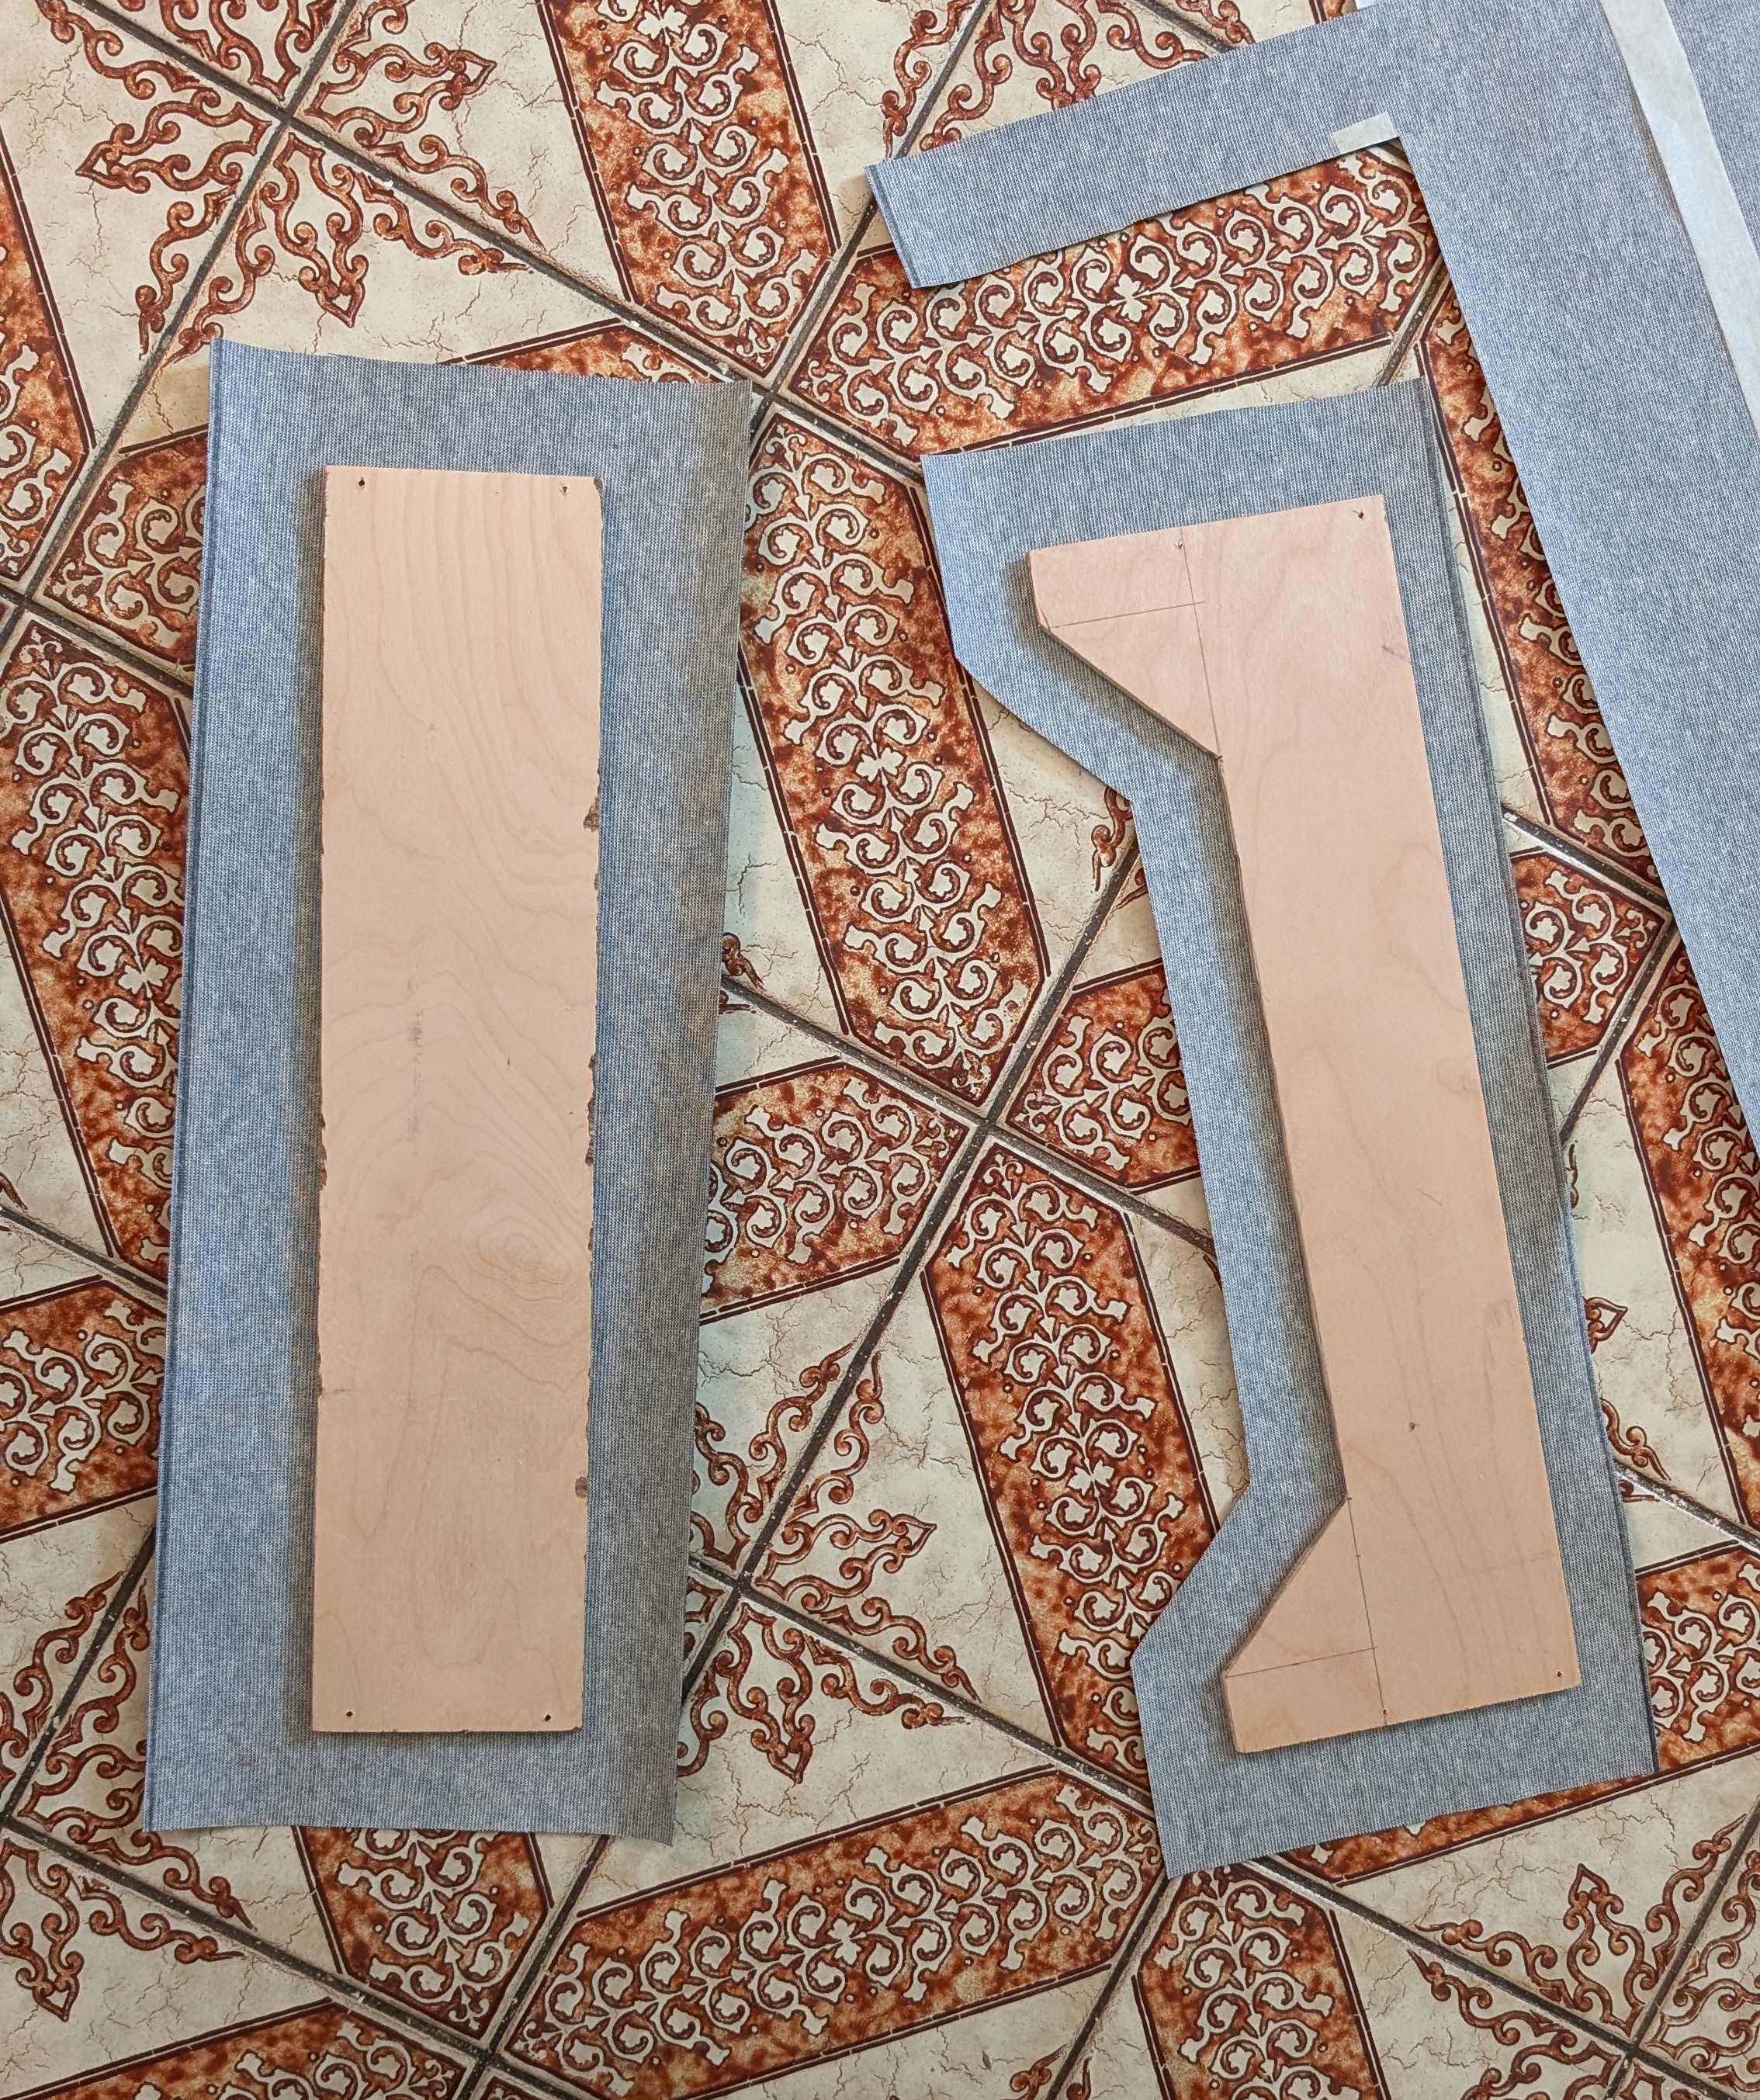
Then I coated them in two layers of contact cement. One layer to soak into the wood and a second layer to actually stick. After waiting for everything to dry, I placed the wood on the tolex. I didn’t take pictures of every step but see in the next picture how the corners are cut out to prevent overlapping and the obtuse angles have cuts to help wrap around.
After wrapping everything I cleaned up the corners and let it all dry.
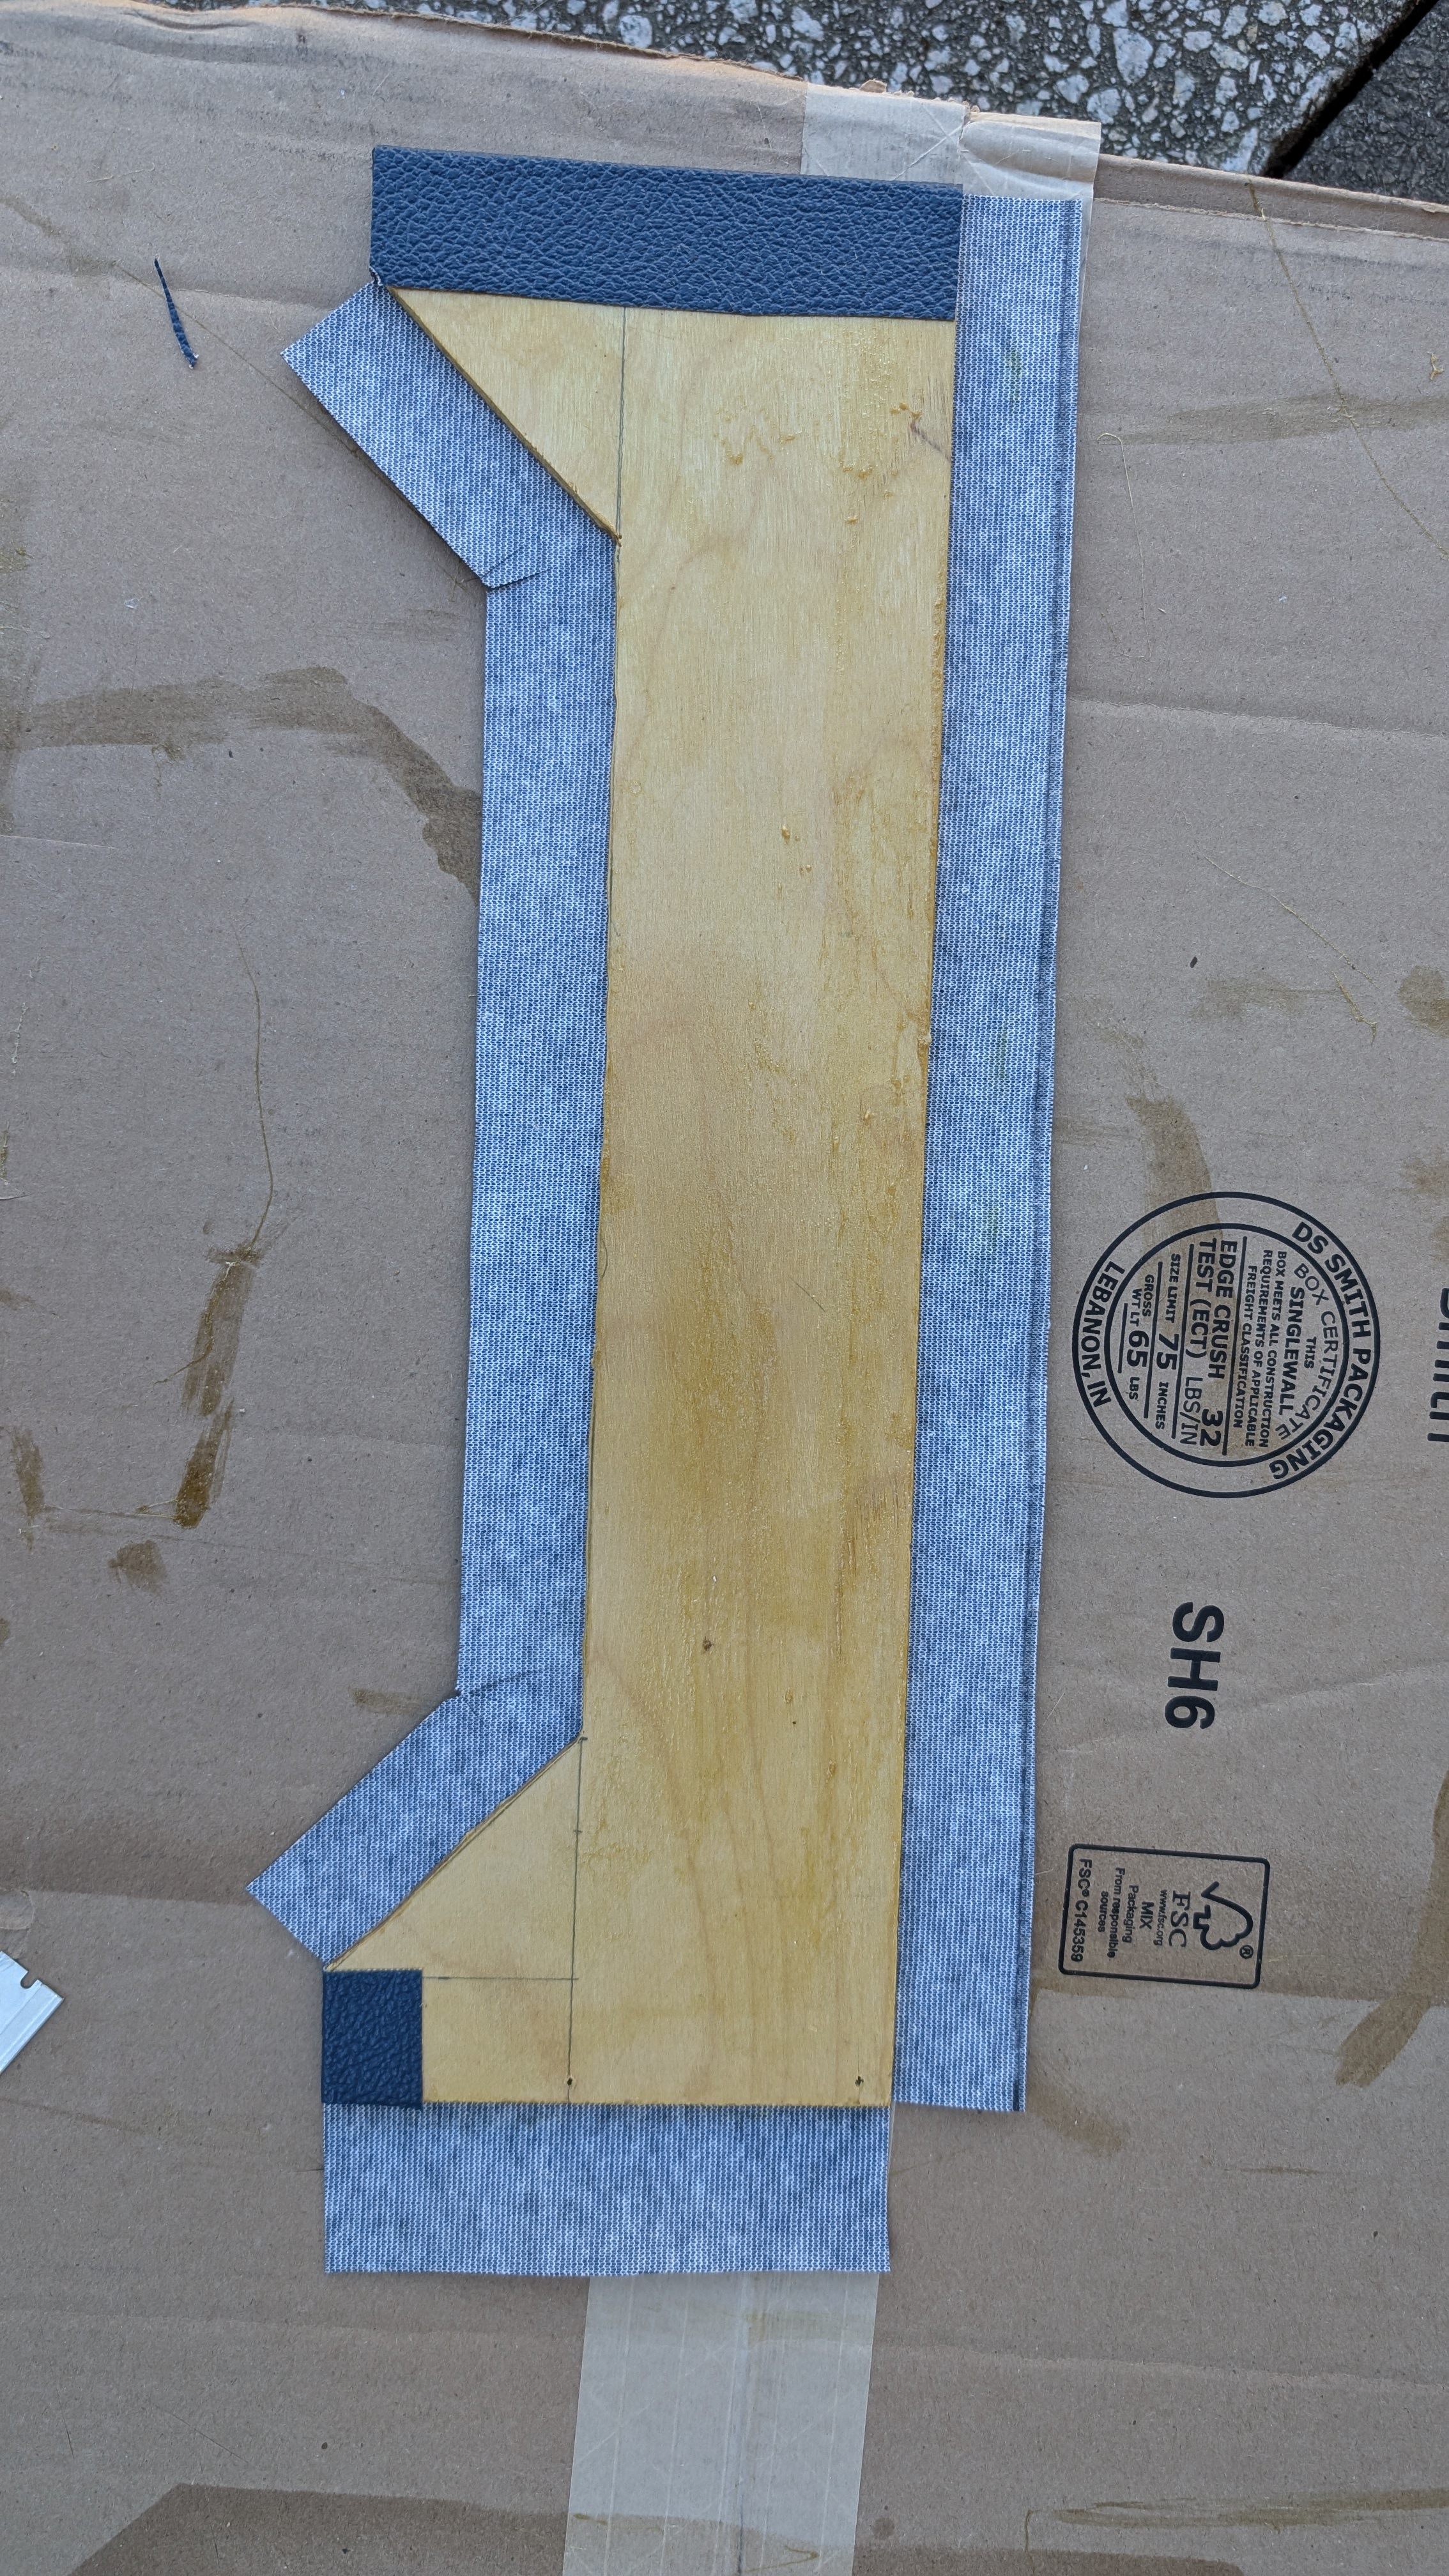
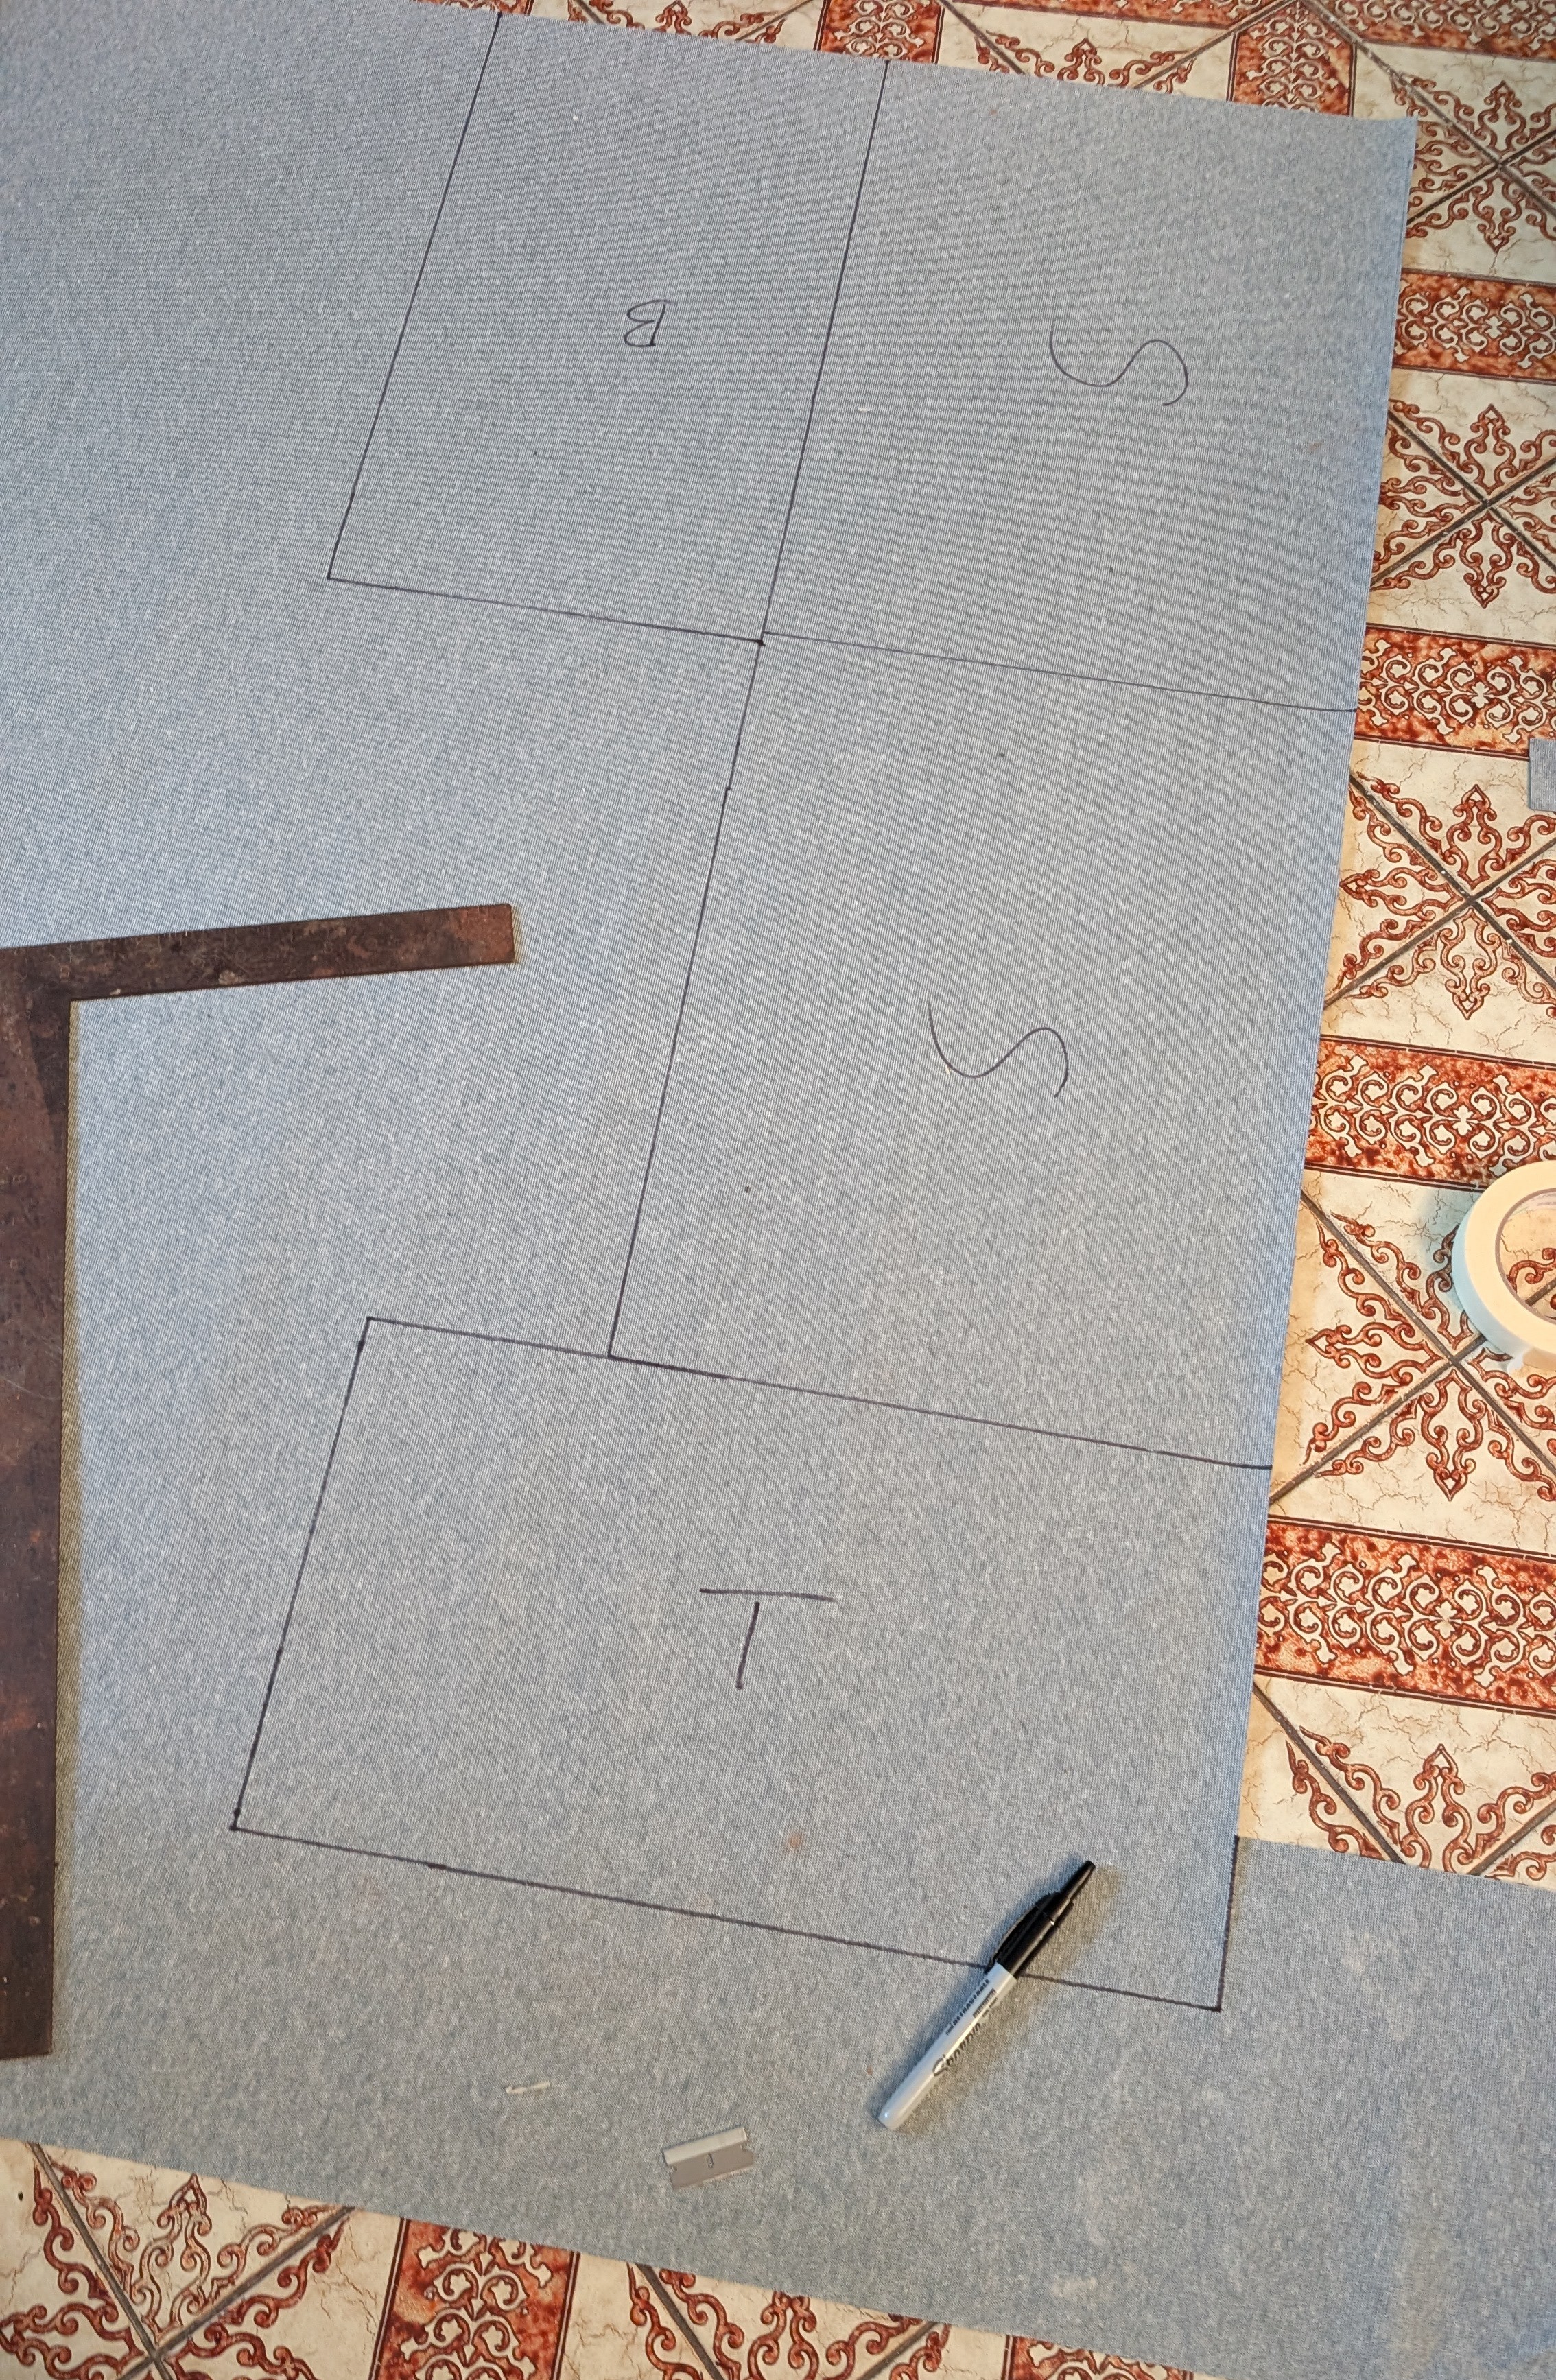
Next on to the main cabinet! I first measured out each panel. I’m not wrapping the entire cabinet in one piece, I’m cutting out two sides, a bottom, and a top piece to wrap. This makes the process easier overall and still looks quite clean. I used masking tape to measure exactly how long each proportion was and then measured the tape length after unsticking. This helps with the angled edges and the inside corners.
 (There was an error in this picture, I mixed up measurements and cut the bottom piece too thin. Always have extra tolex available!)
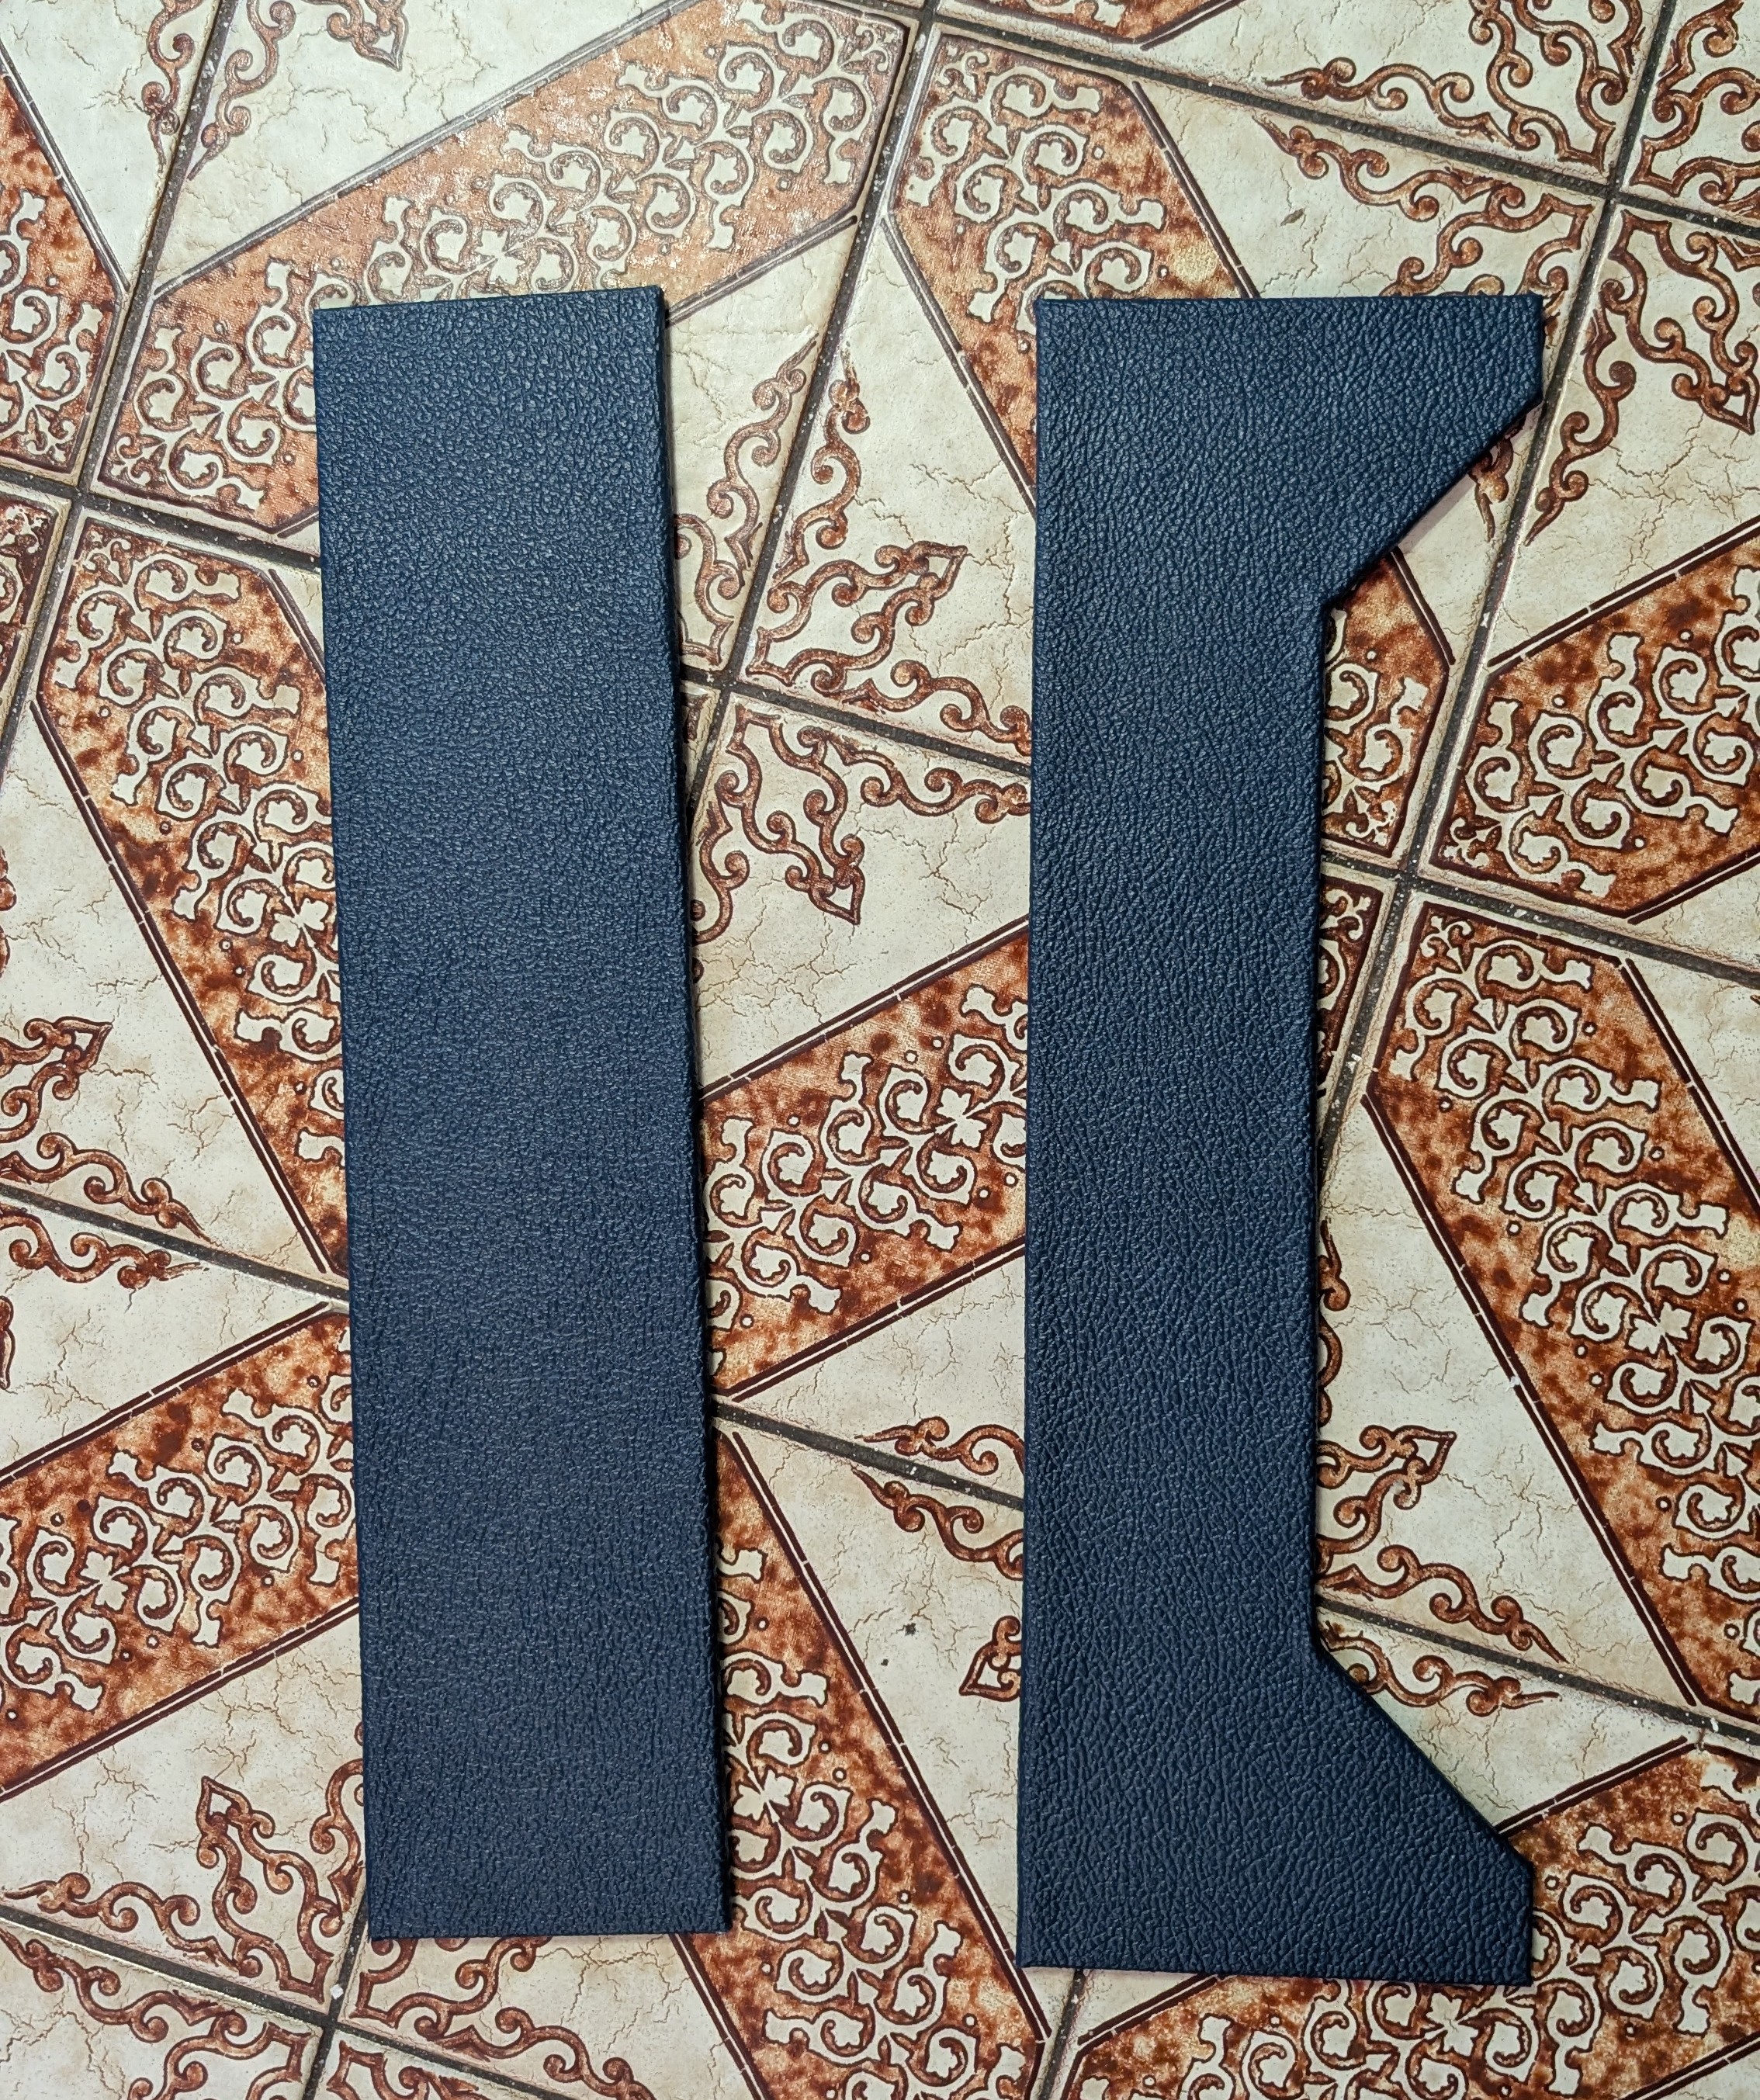
Each side of the amp I wrapped in two sections. I covered one section with contact cement, let it dry 15 minutes, then did a second layer, let it dry 15 minutes, then applied the tolex. Then I did the second half of the side, two layers with 15 minutes in between. Essentially each of the 4 sides had 1 hour of waiting on top of the time it took to apply the tolex. On the back of the tolex I also used spray adhesive.
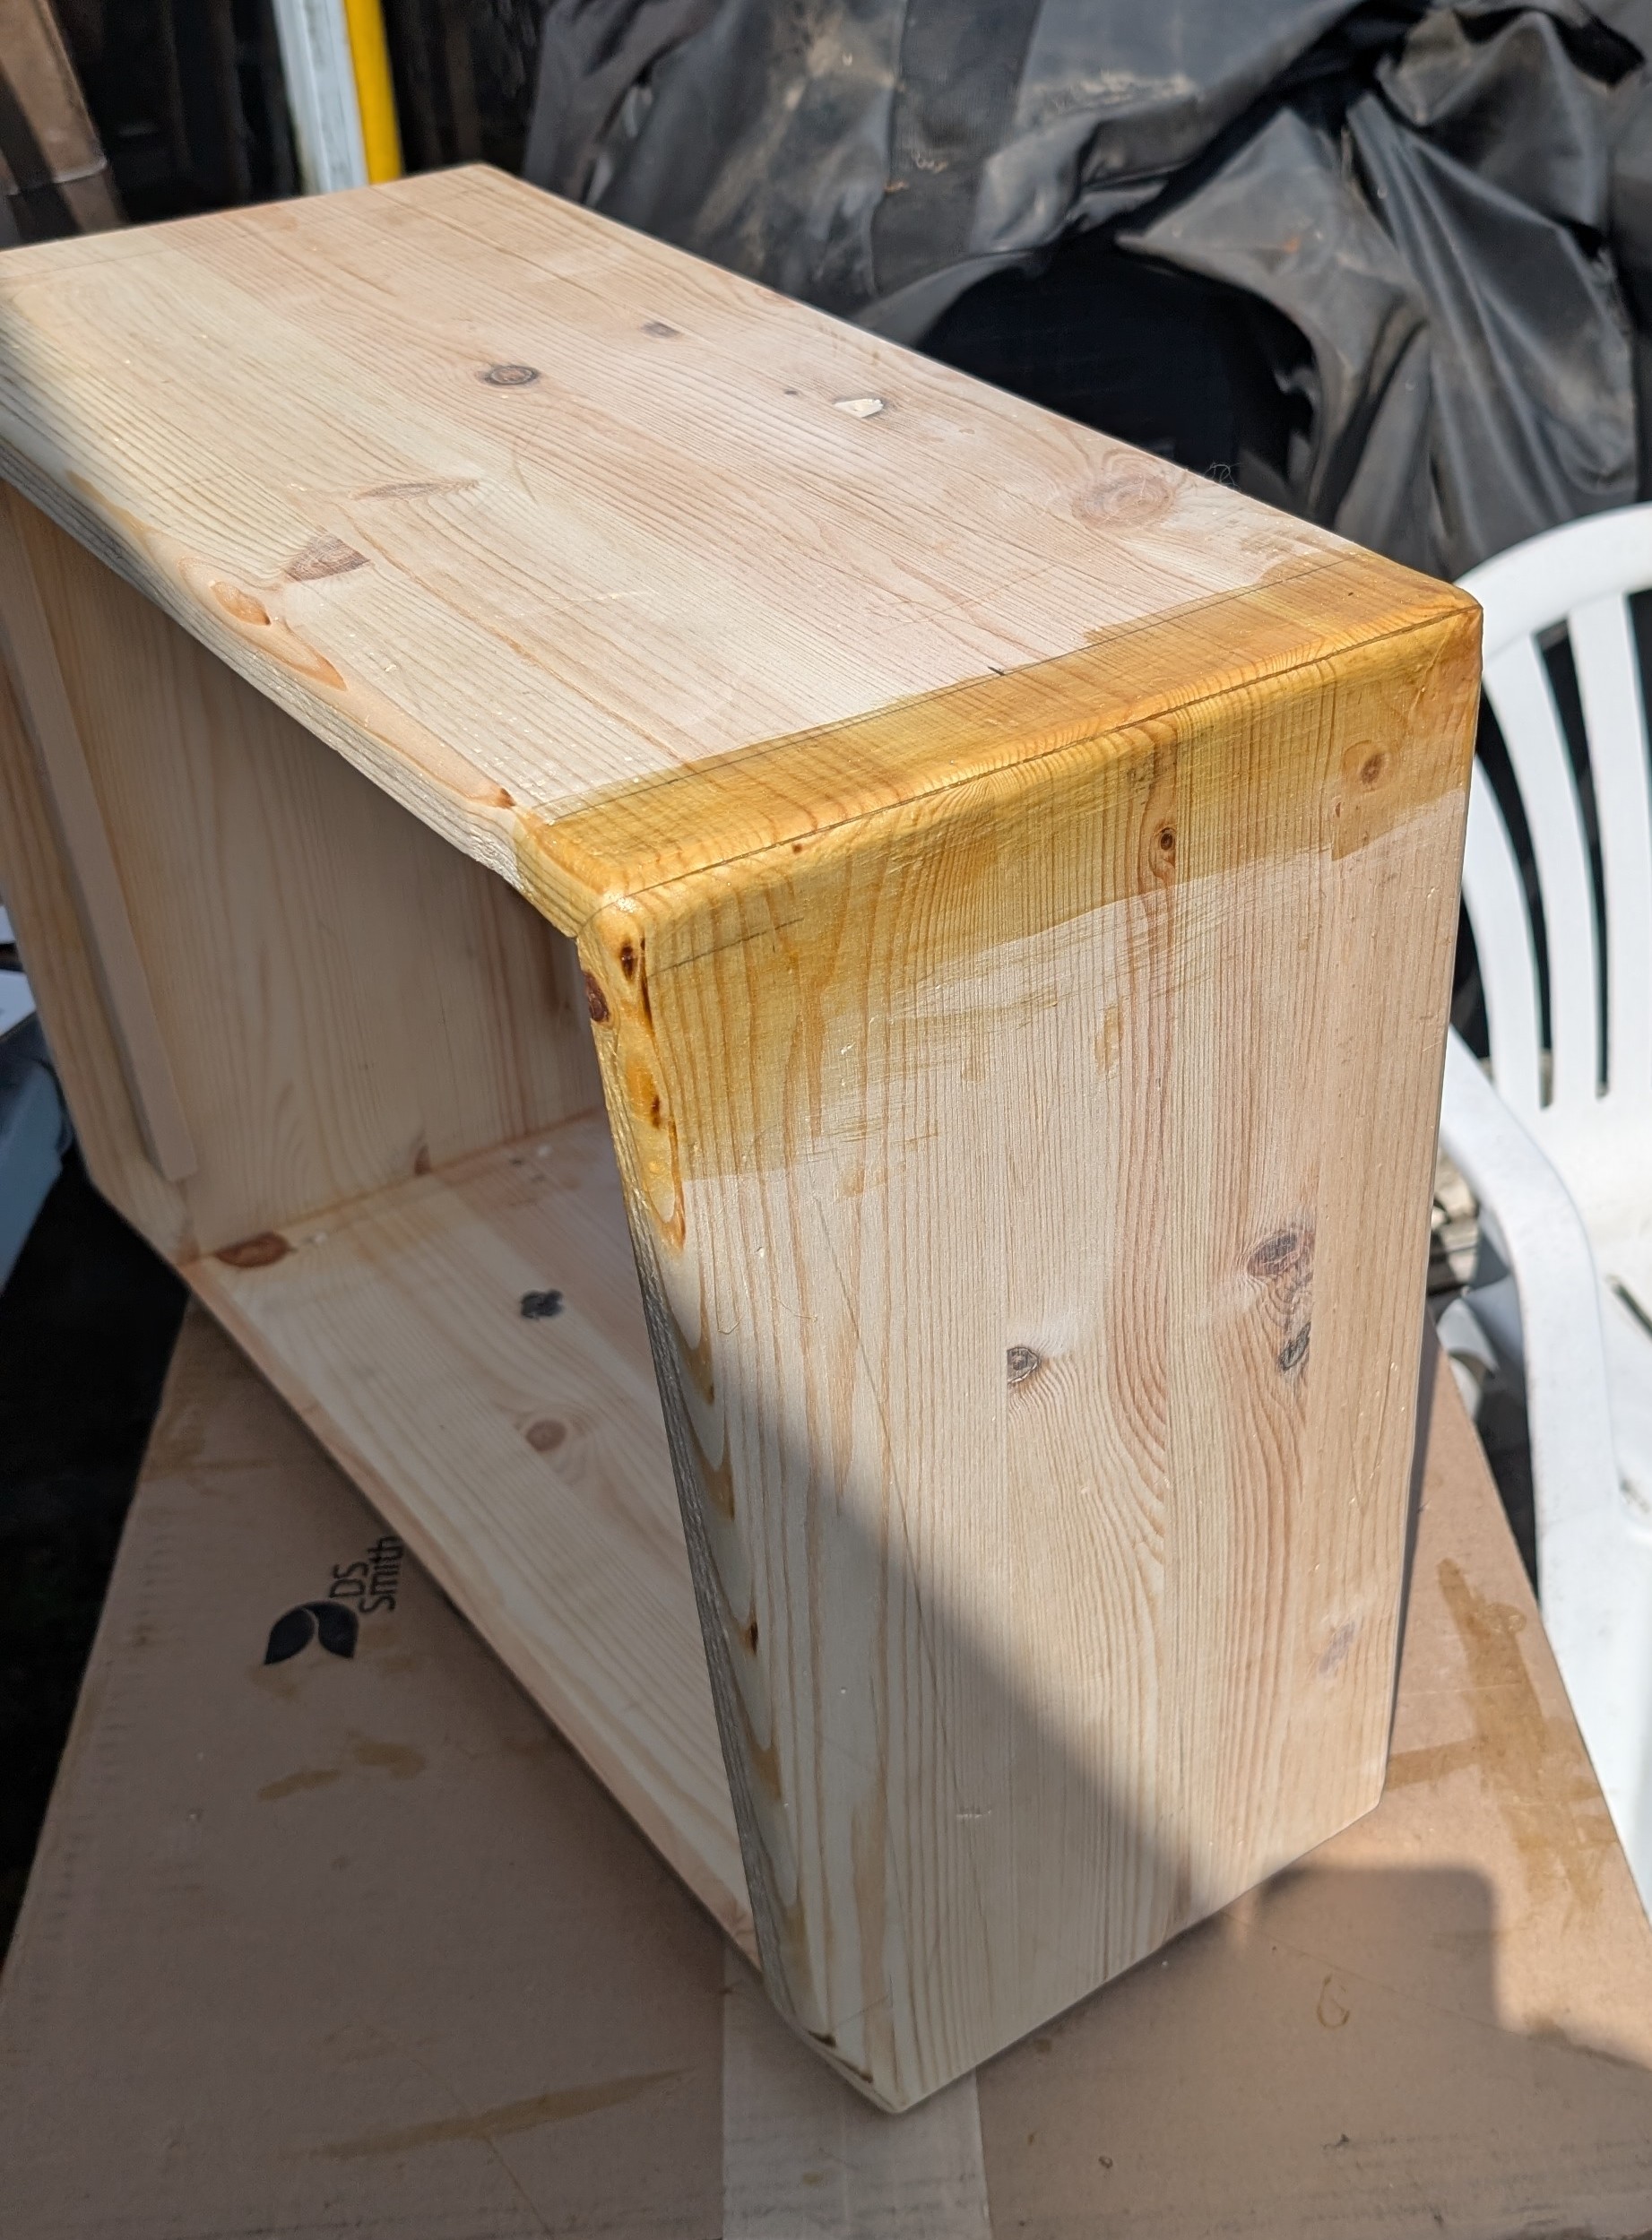
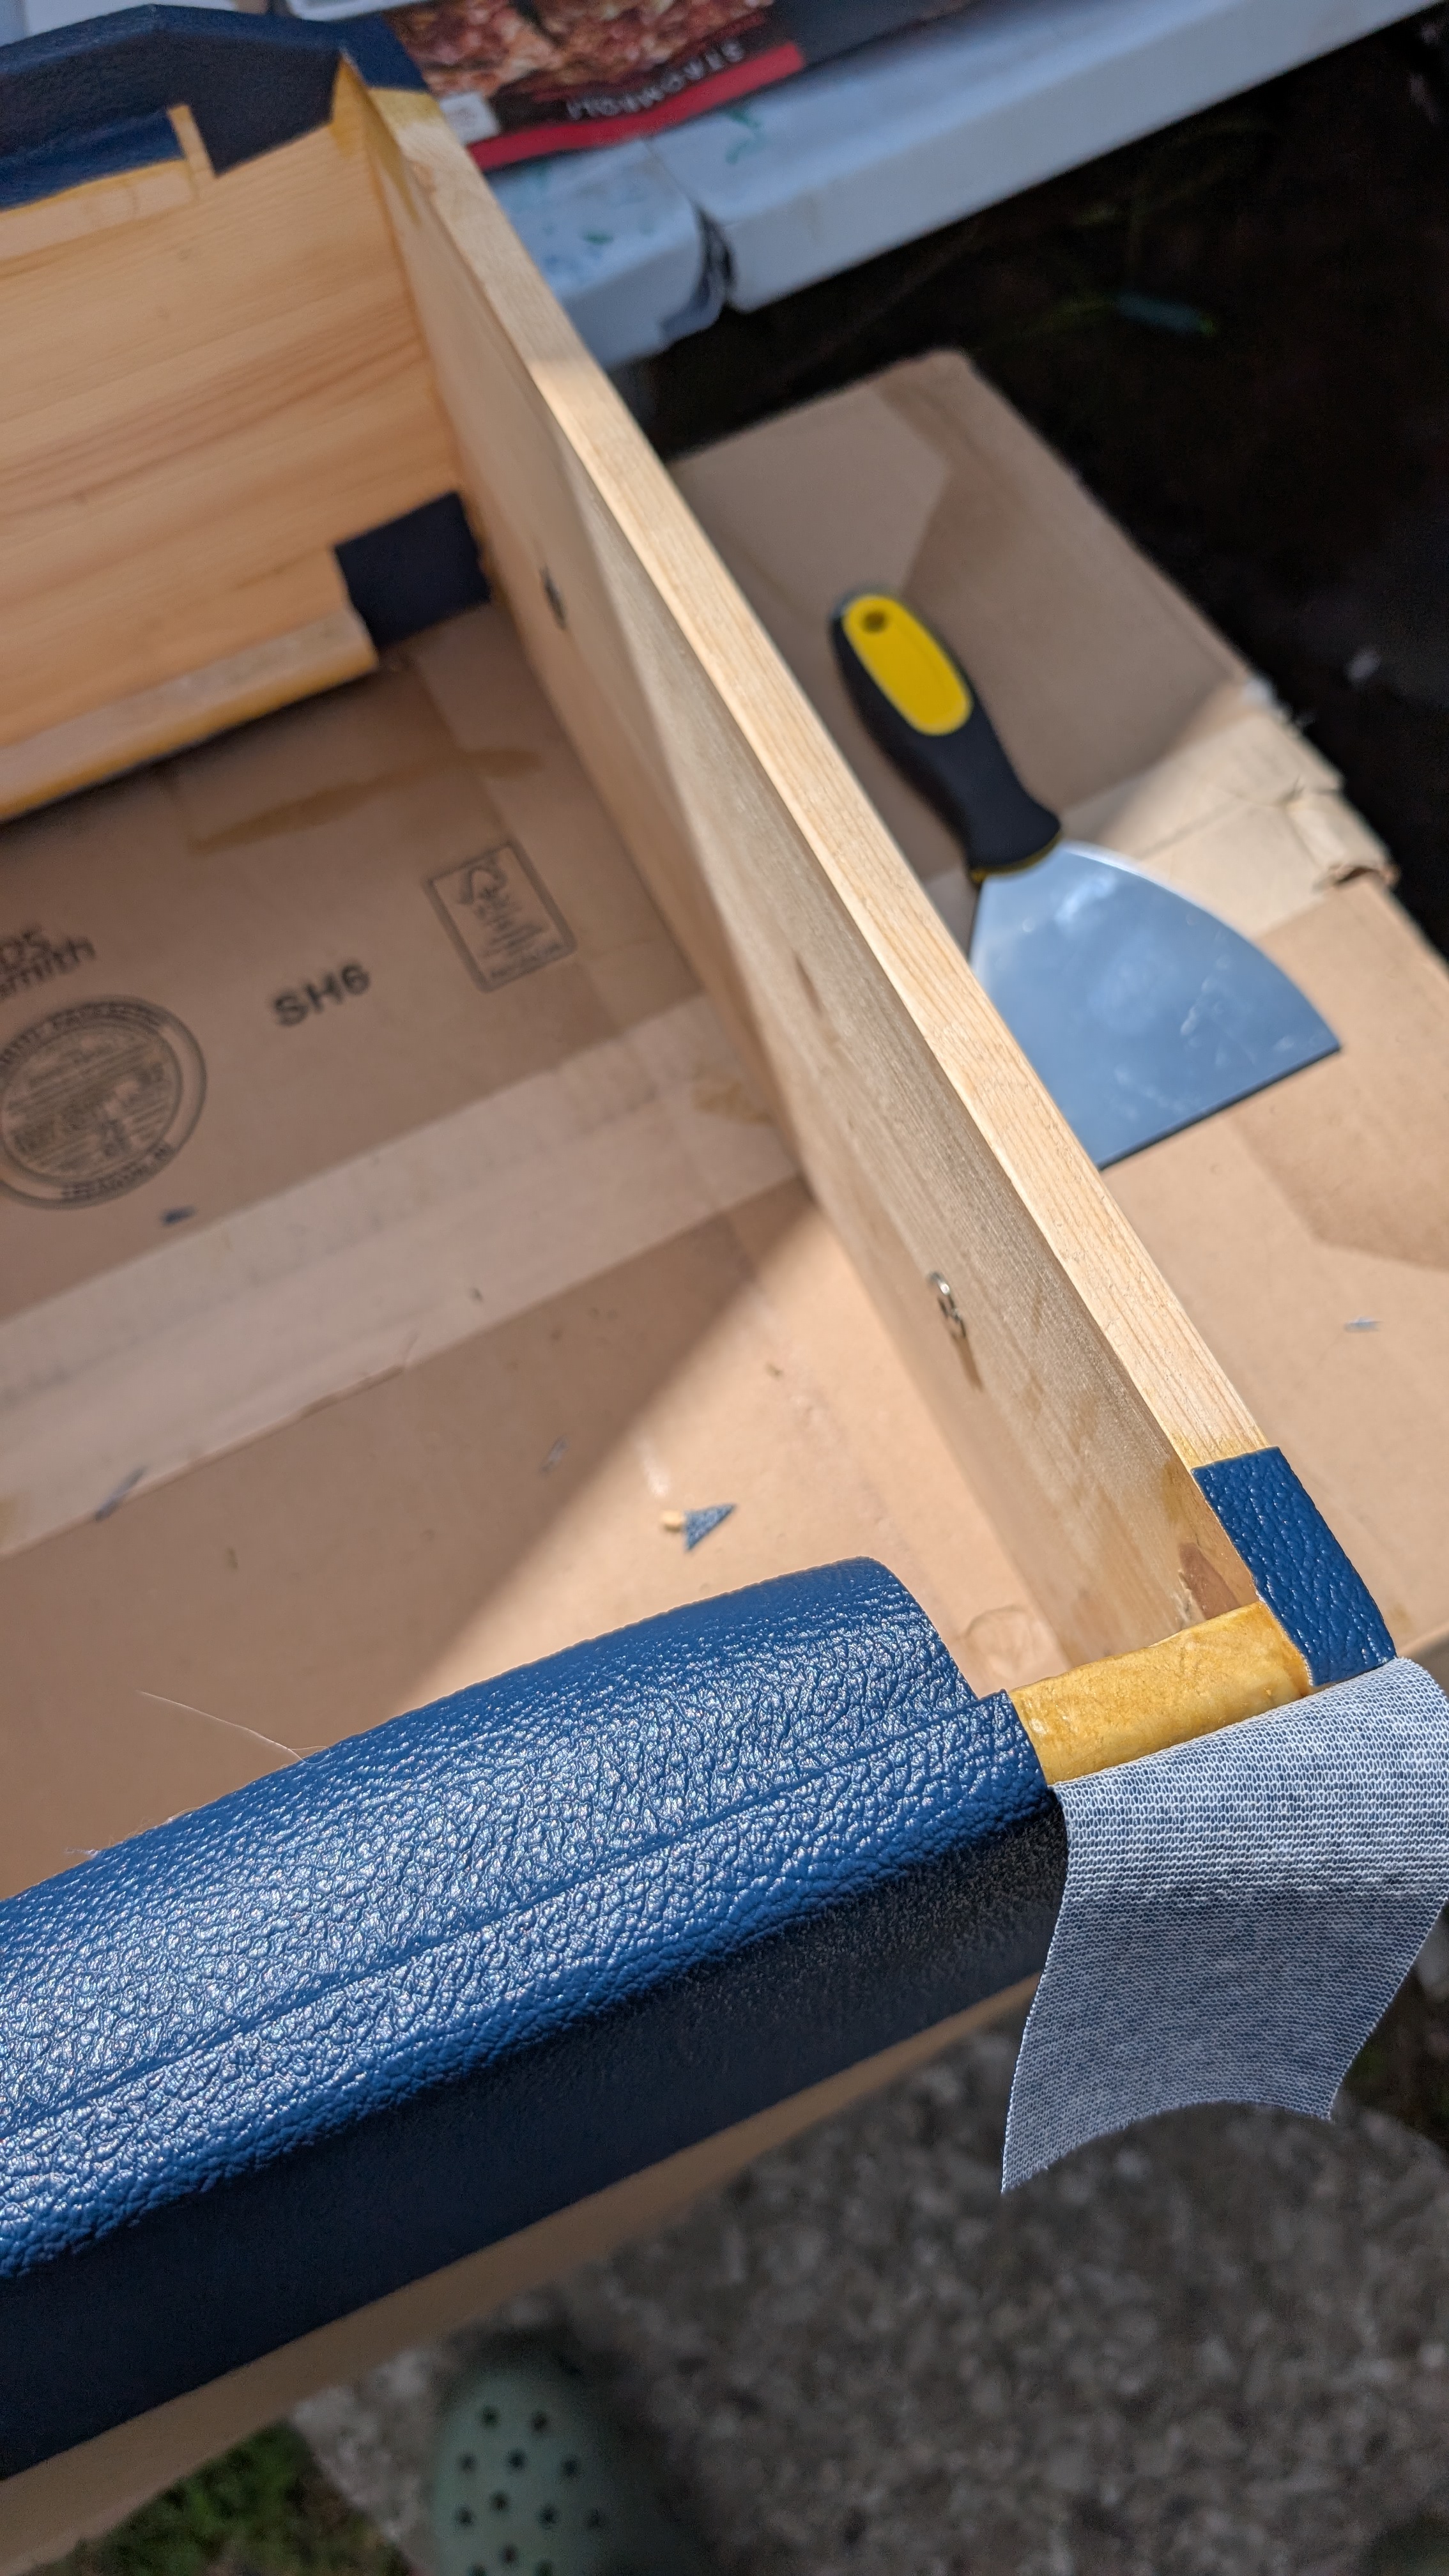
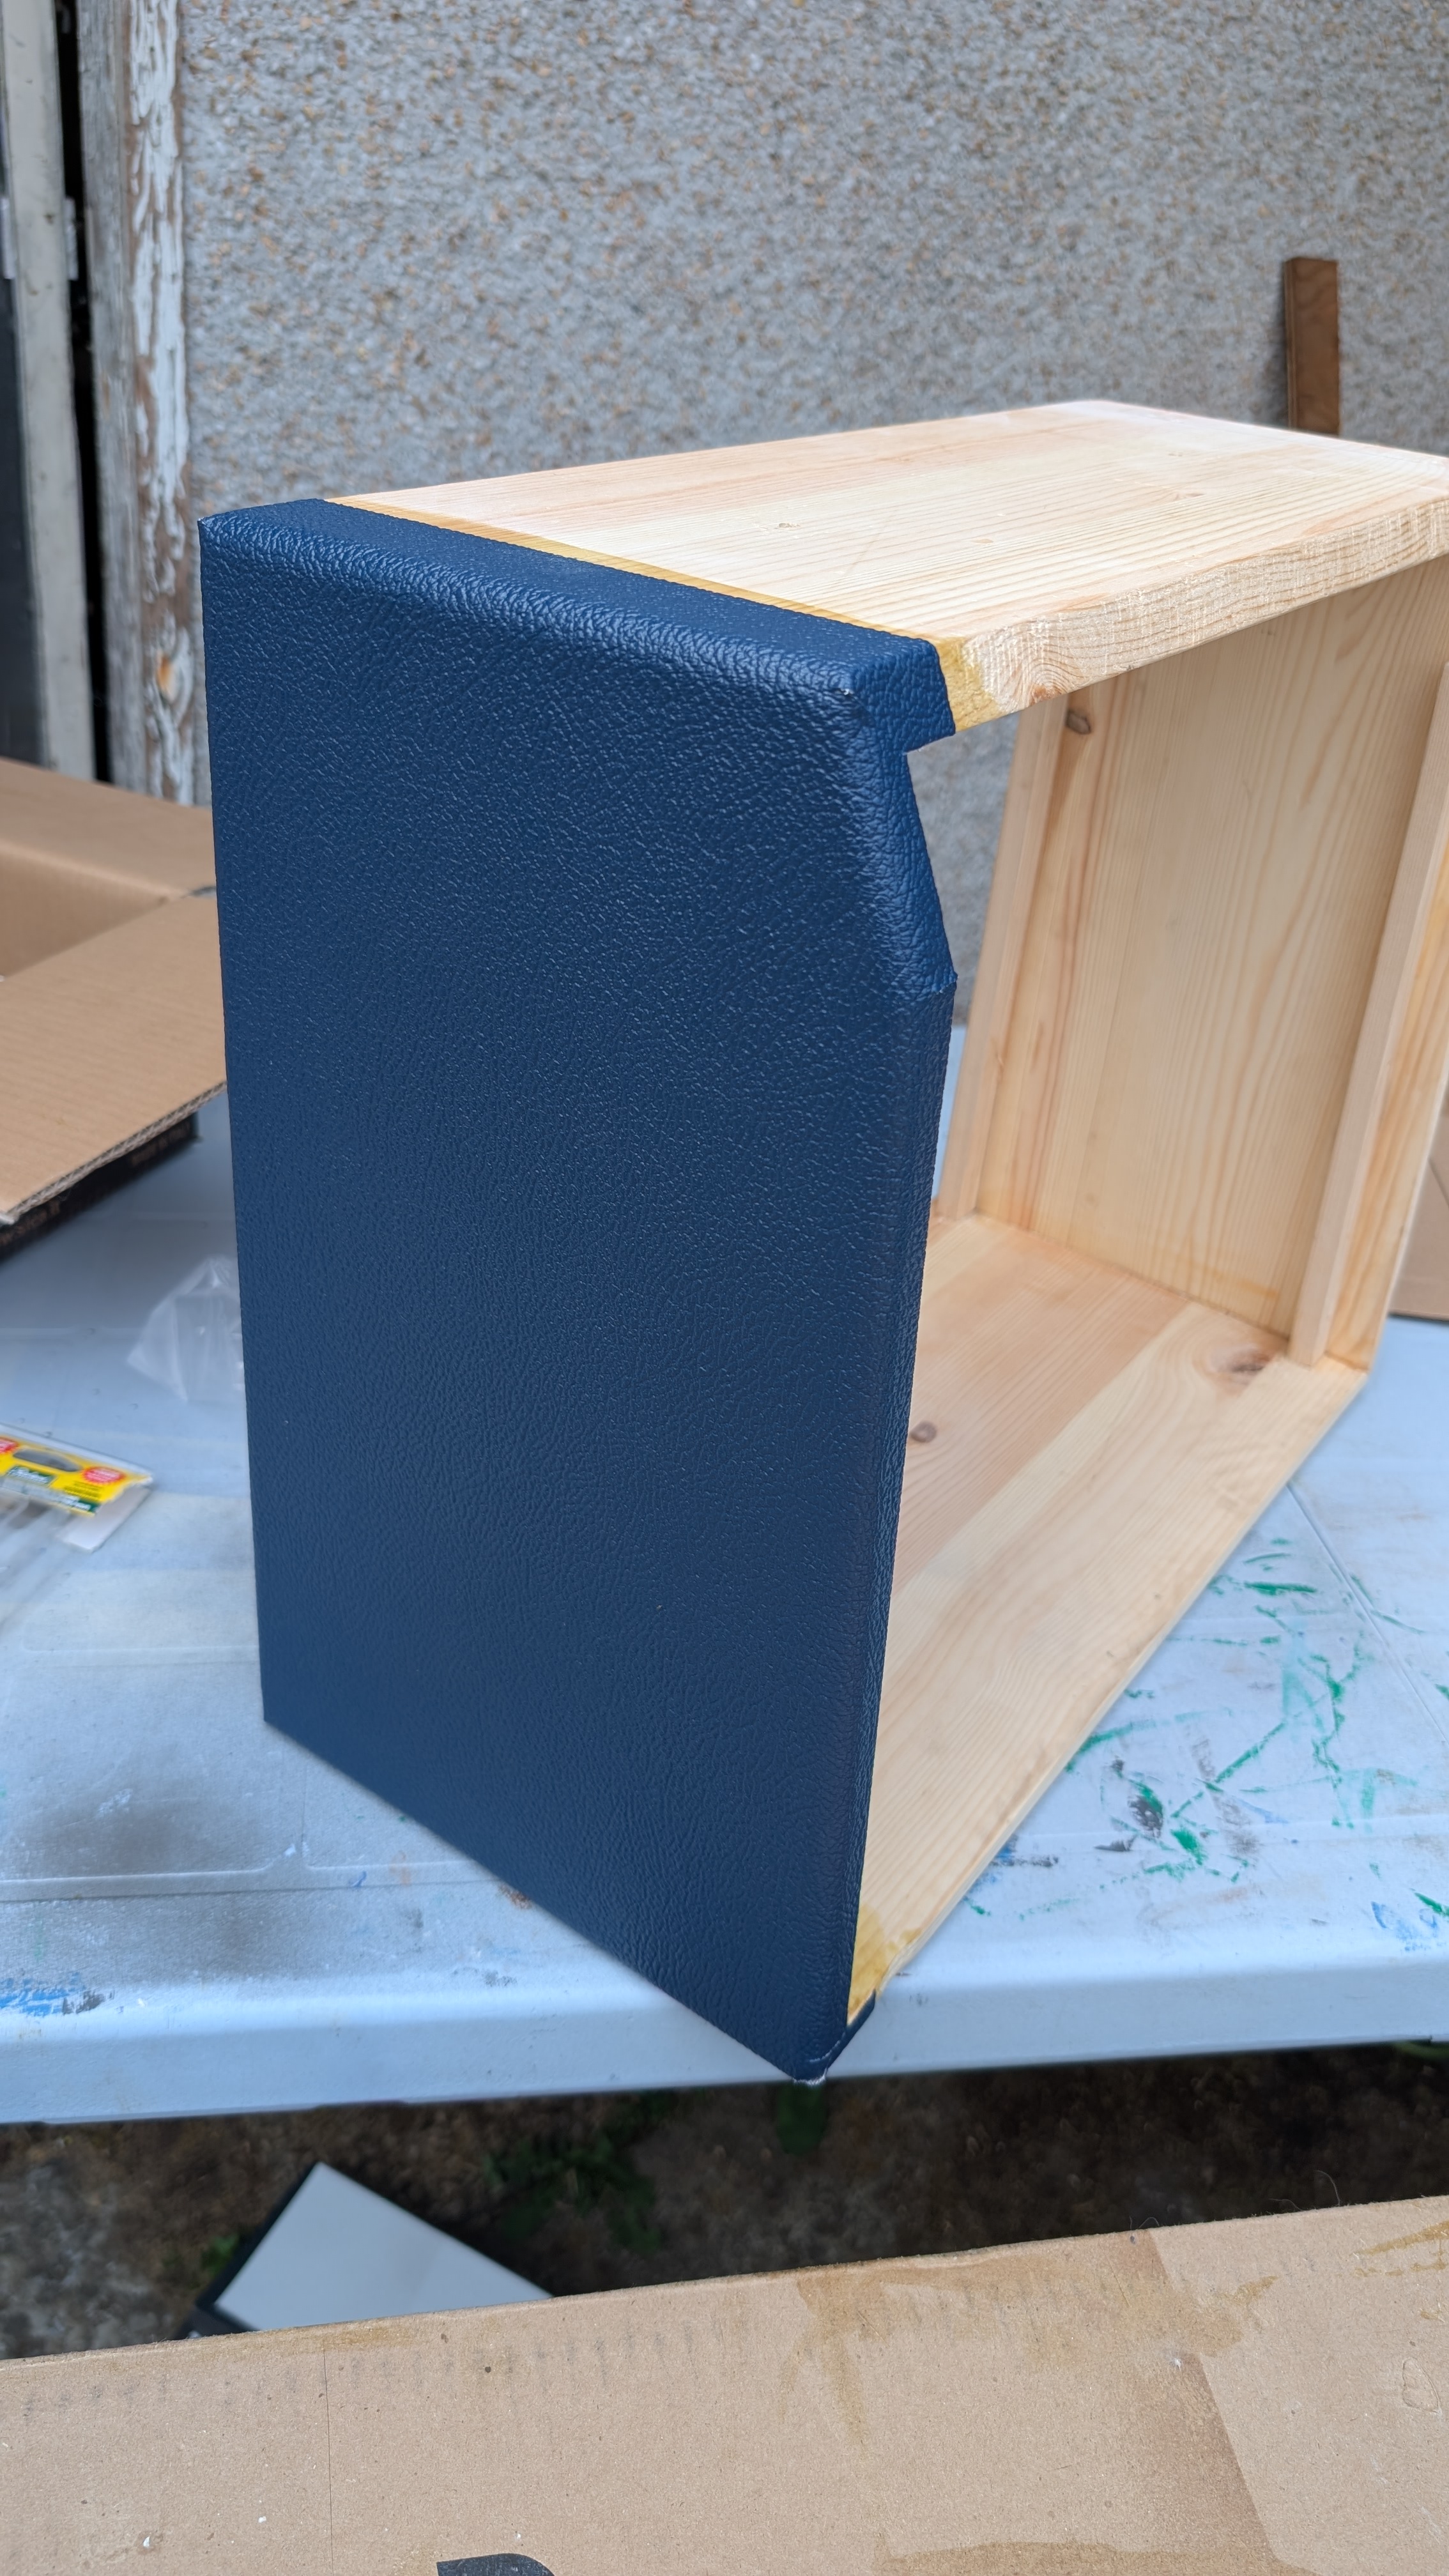
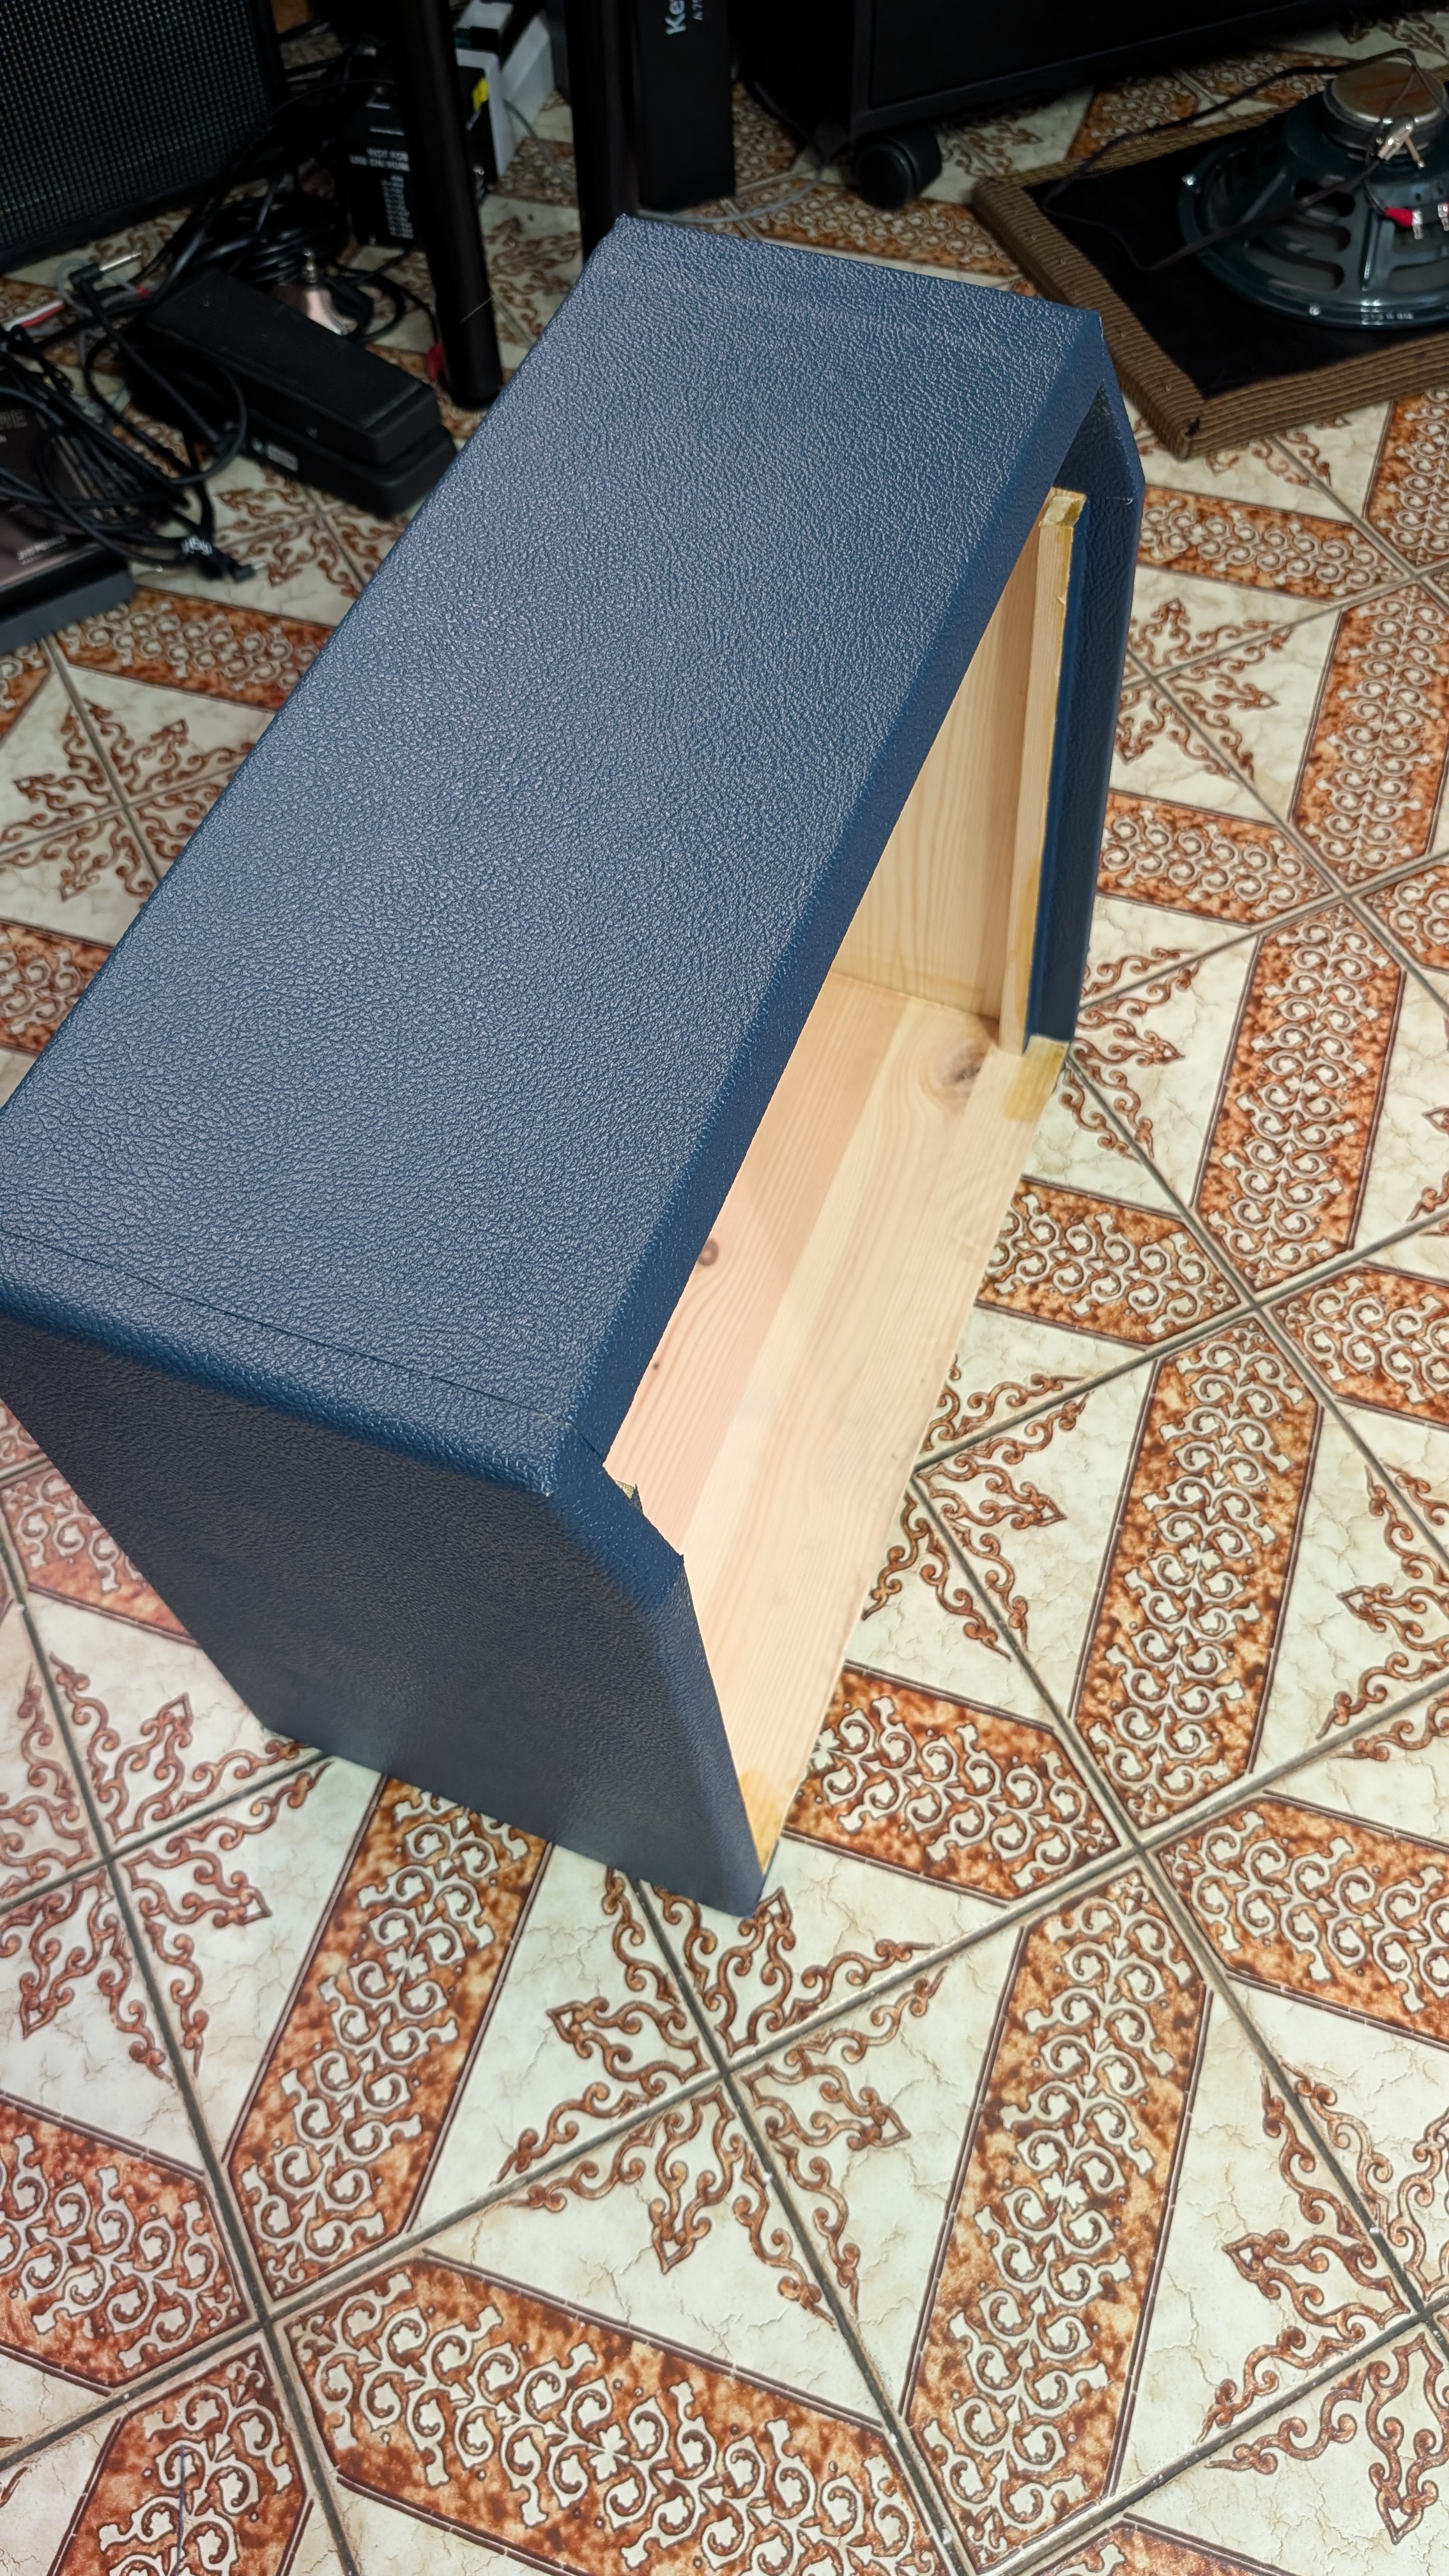
So in those pictures you can see the first section painted, this way just made it super easy to align the tolex properly. Once the tolex is applied to the side and pressed on, I wrapped it around the edges and made careful cuts to keep everything sharp. The 3degree edge along the front didn’t end up being a problem at all, but the larger angle where the chassis is was tricky and not covered in Uncle Doug’s guide. I ended up carefully slicing right at the corner so it could fold over itself cleanly. Ended up looking quite nice!
This was the first side, on to the rest.
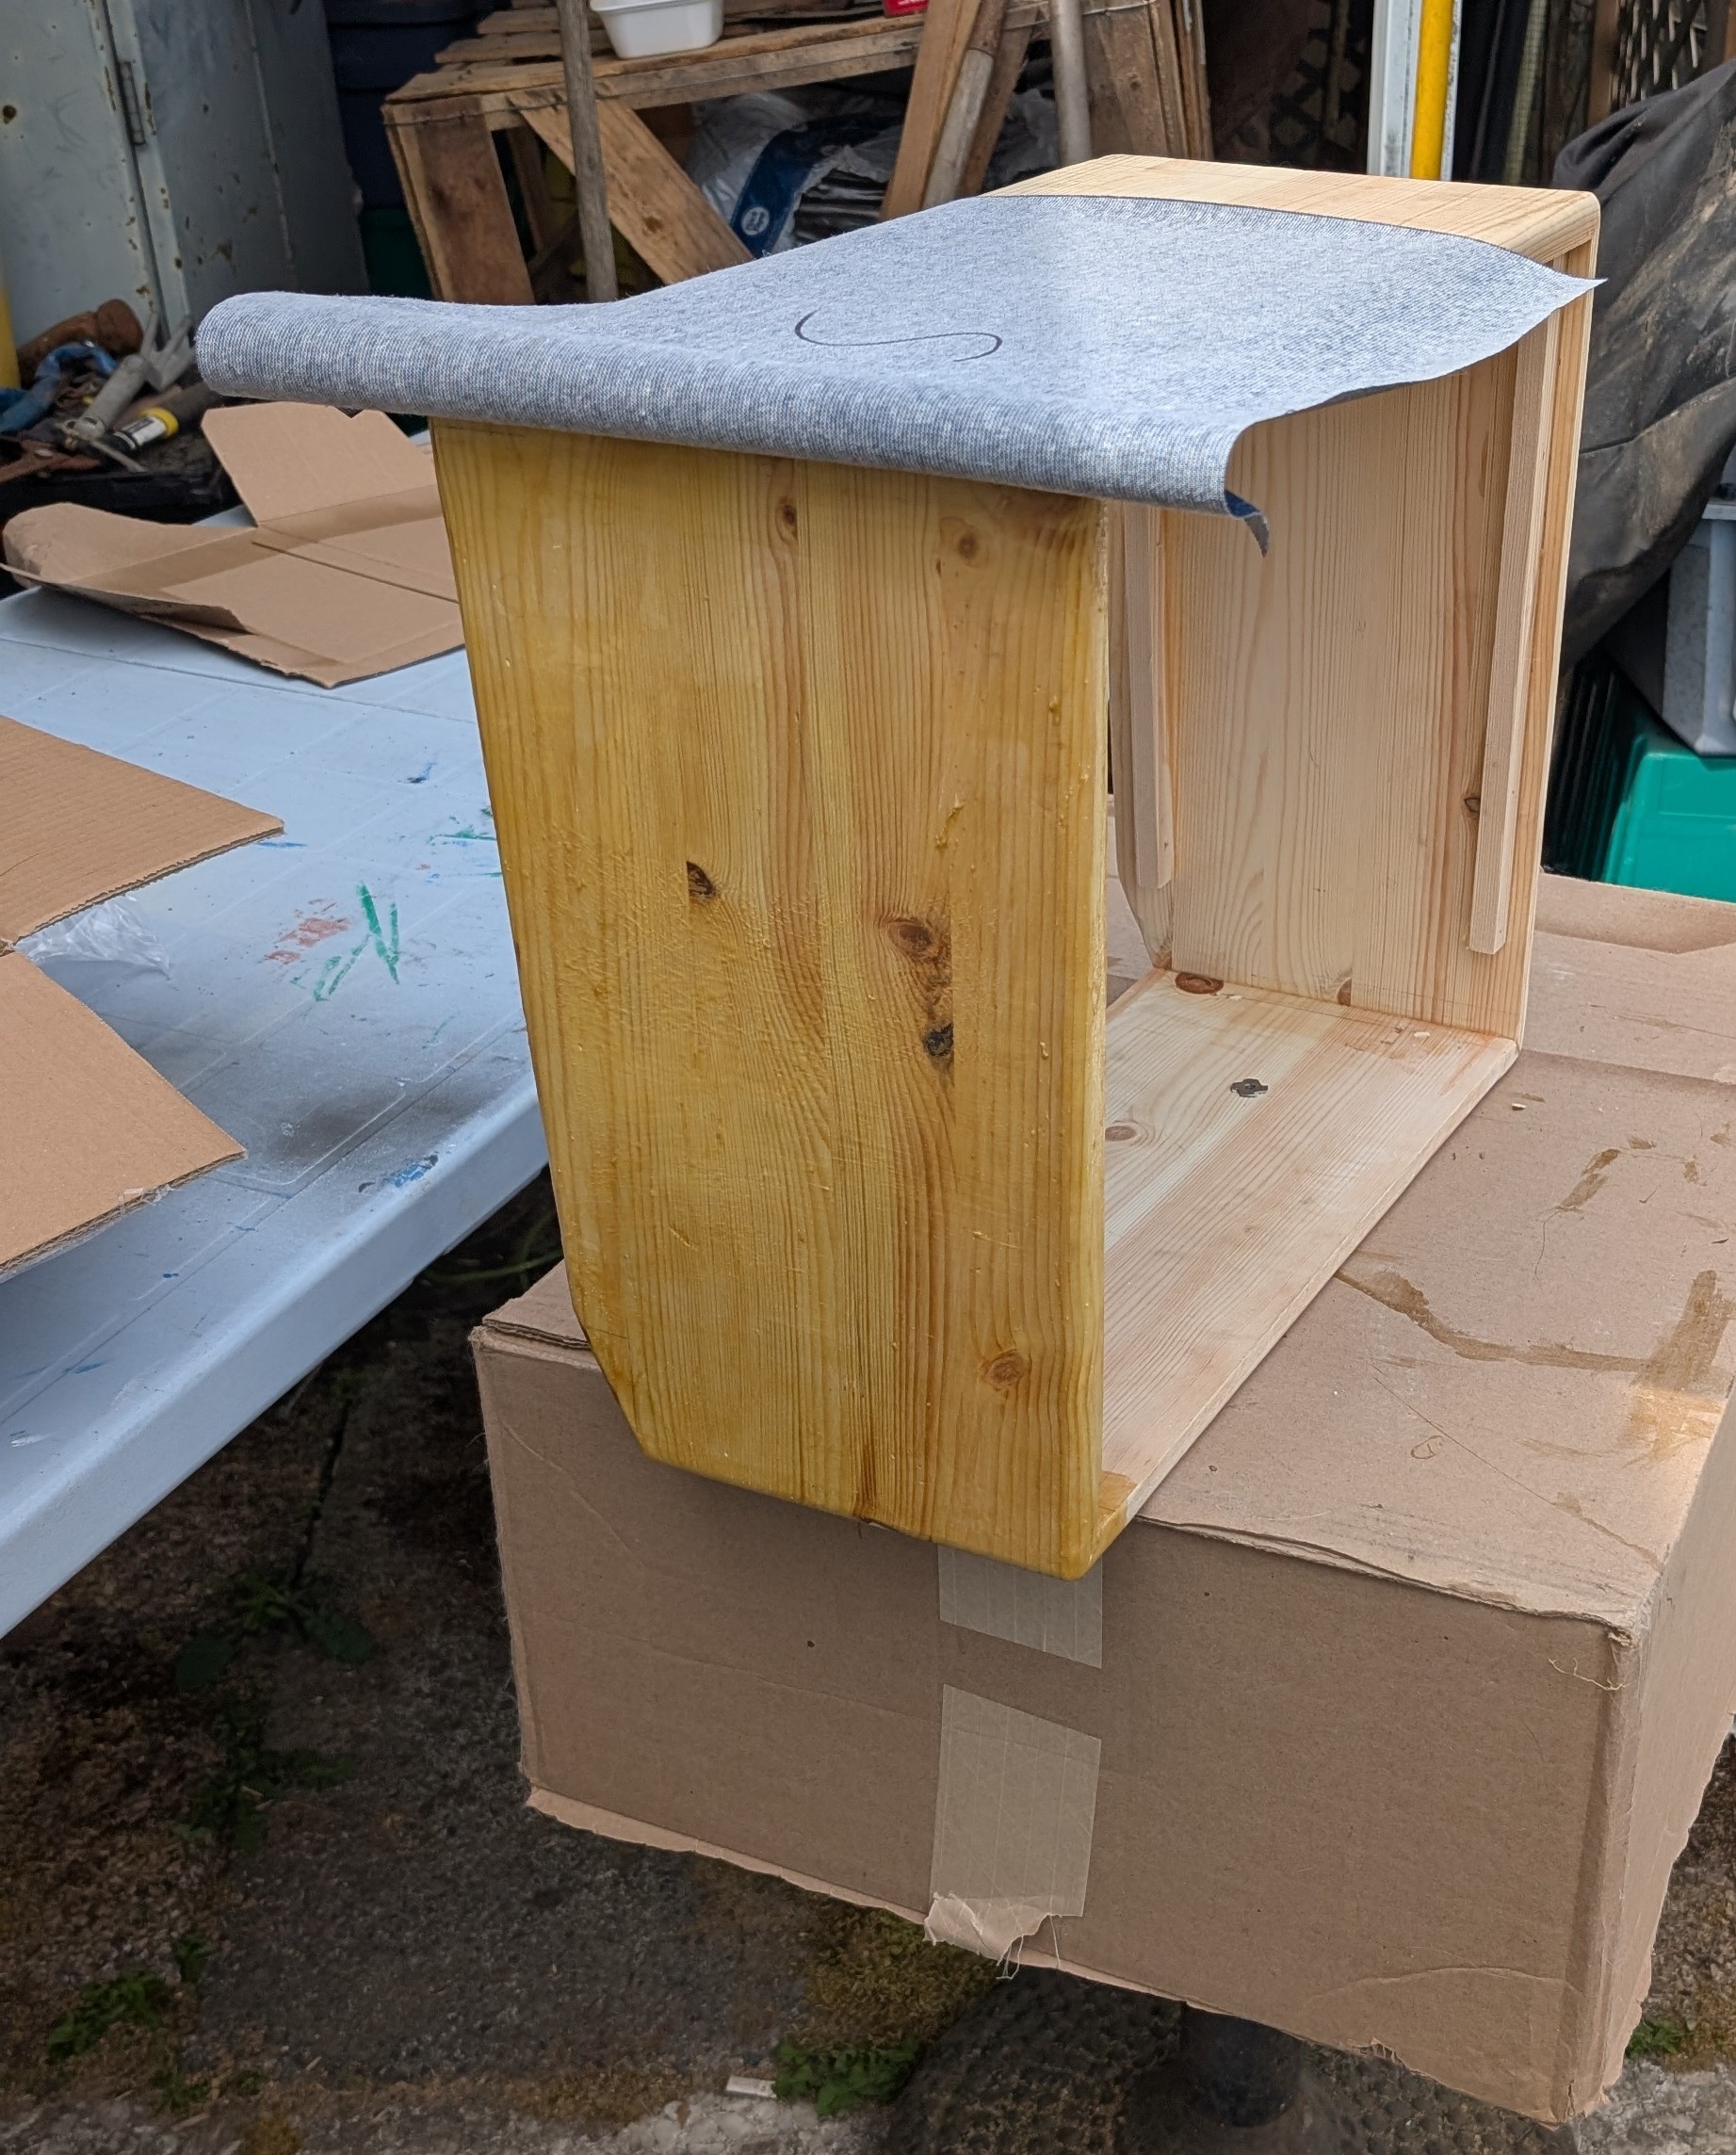
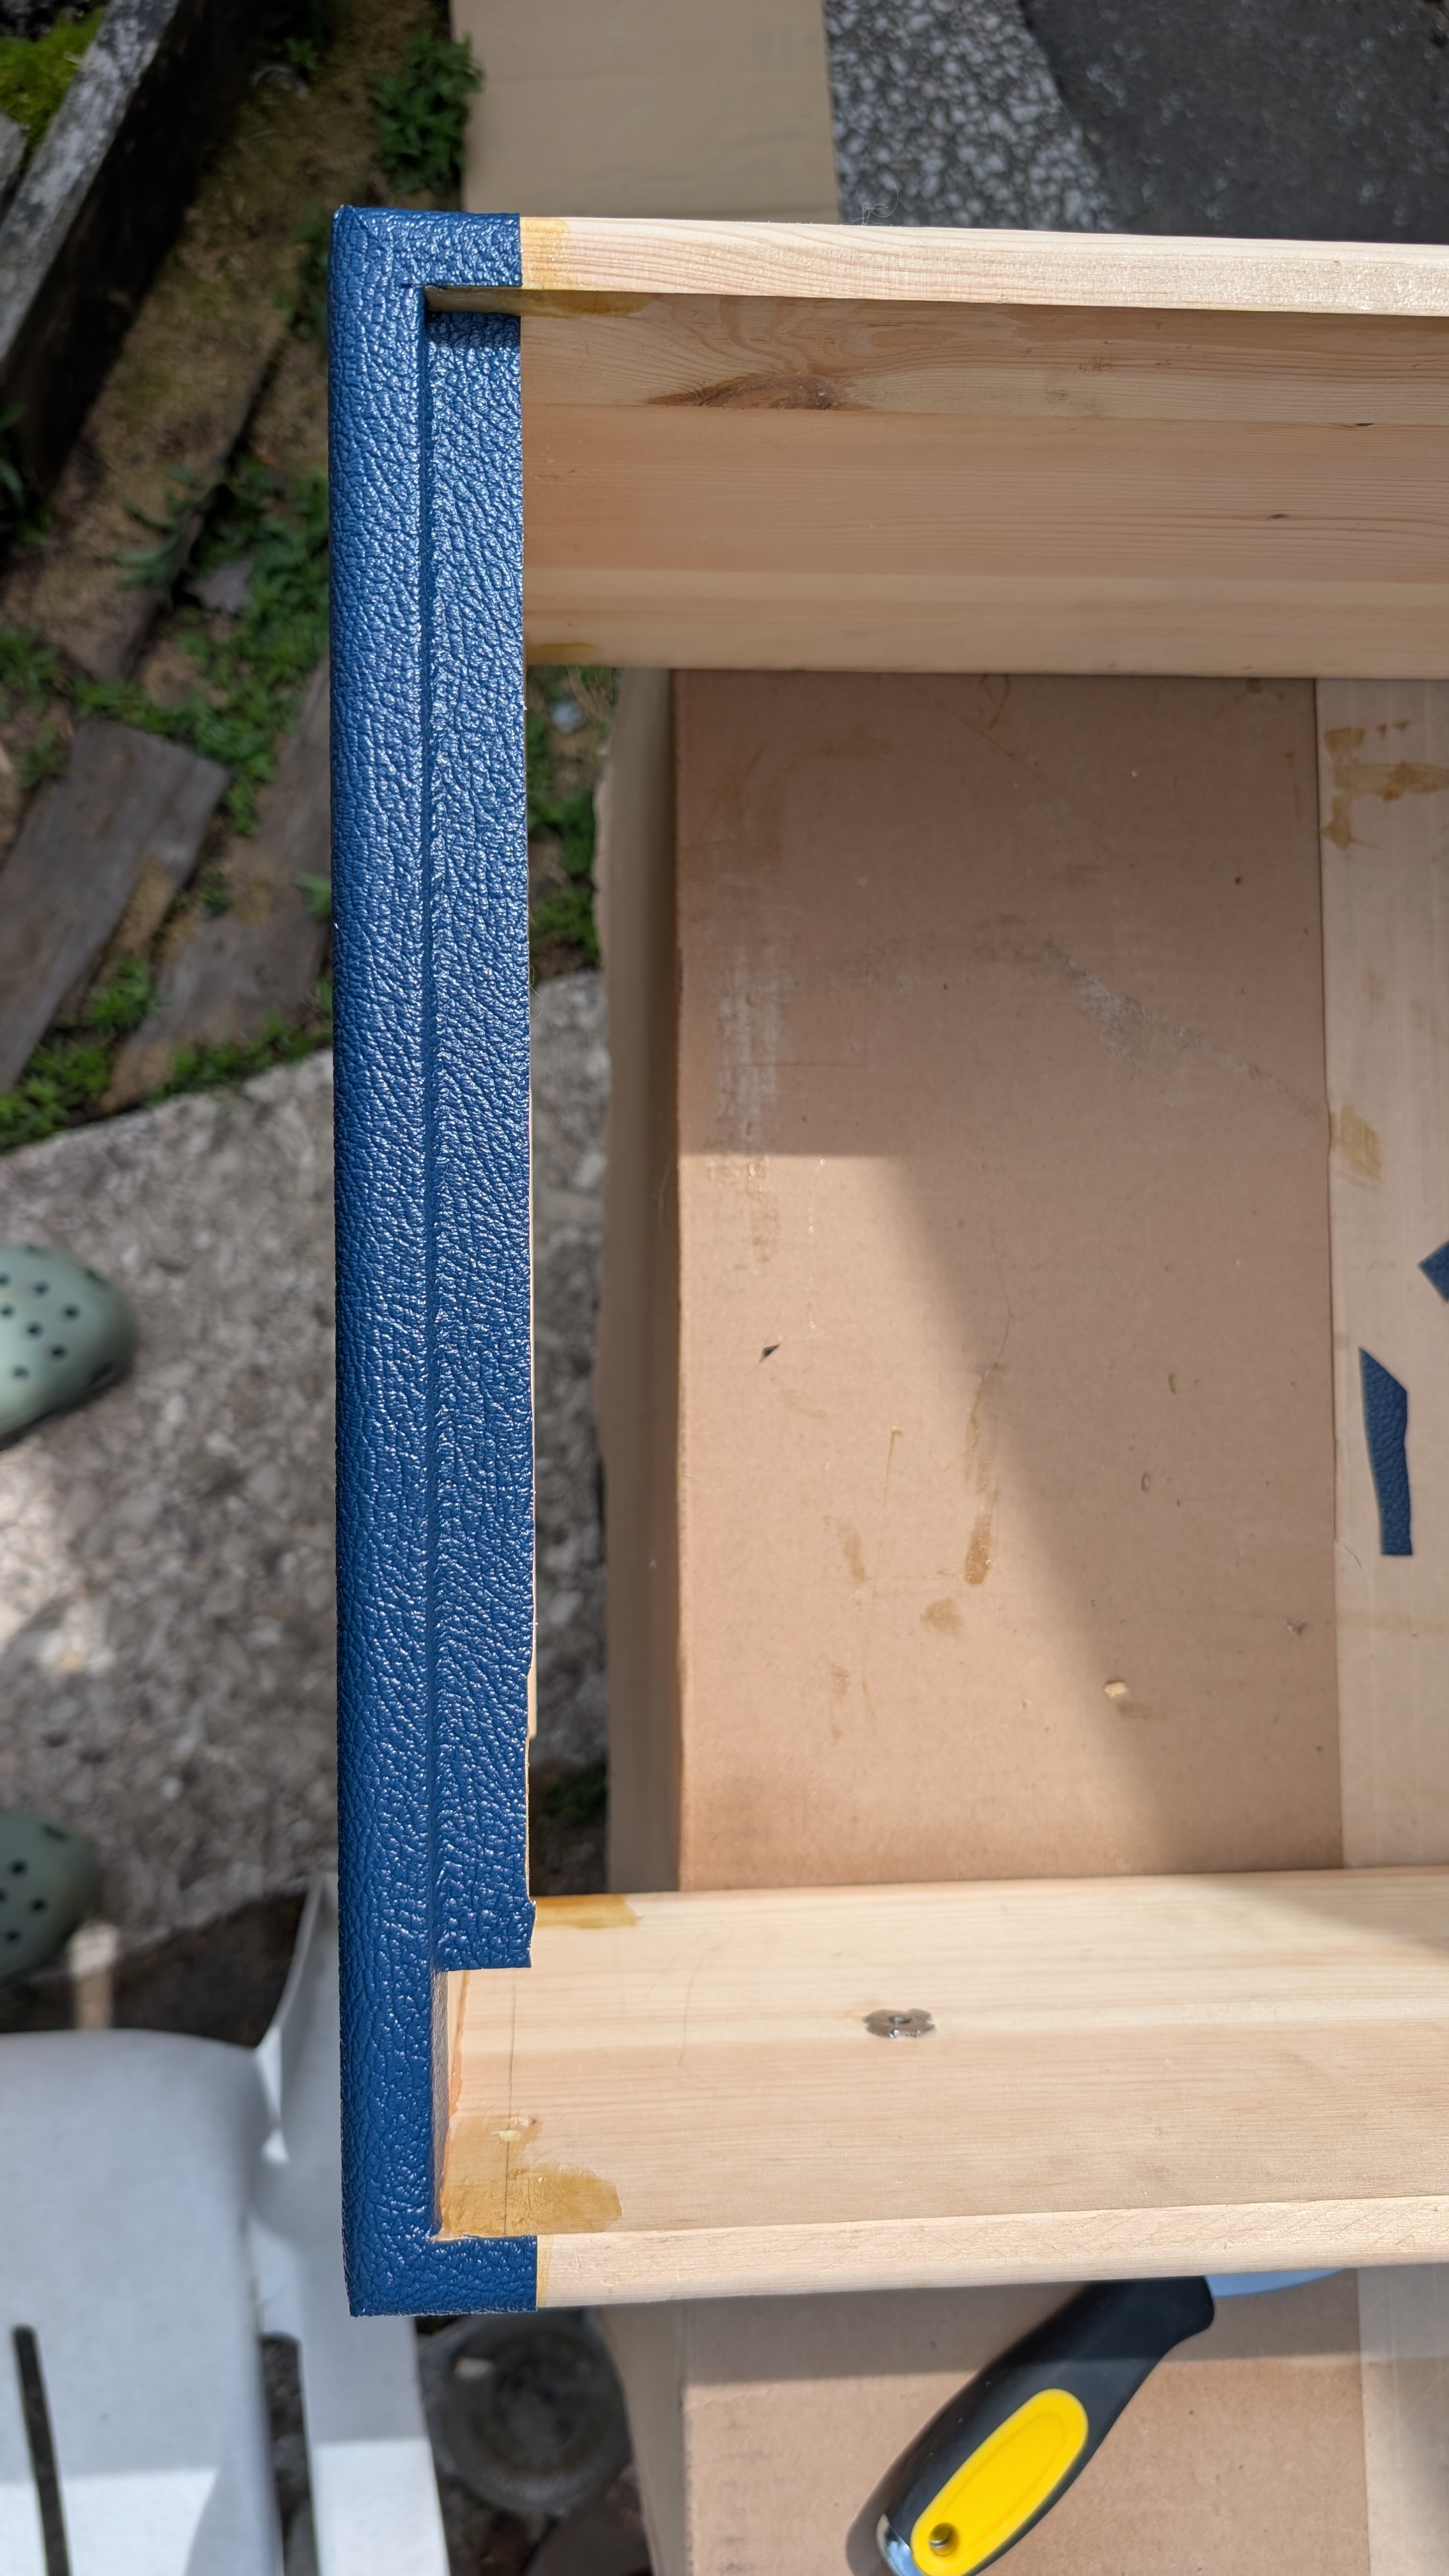
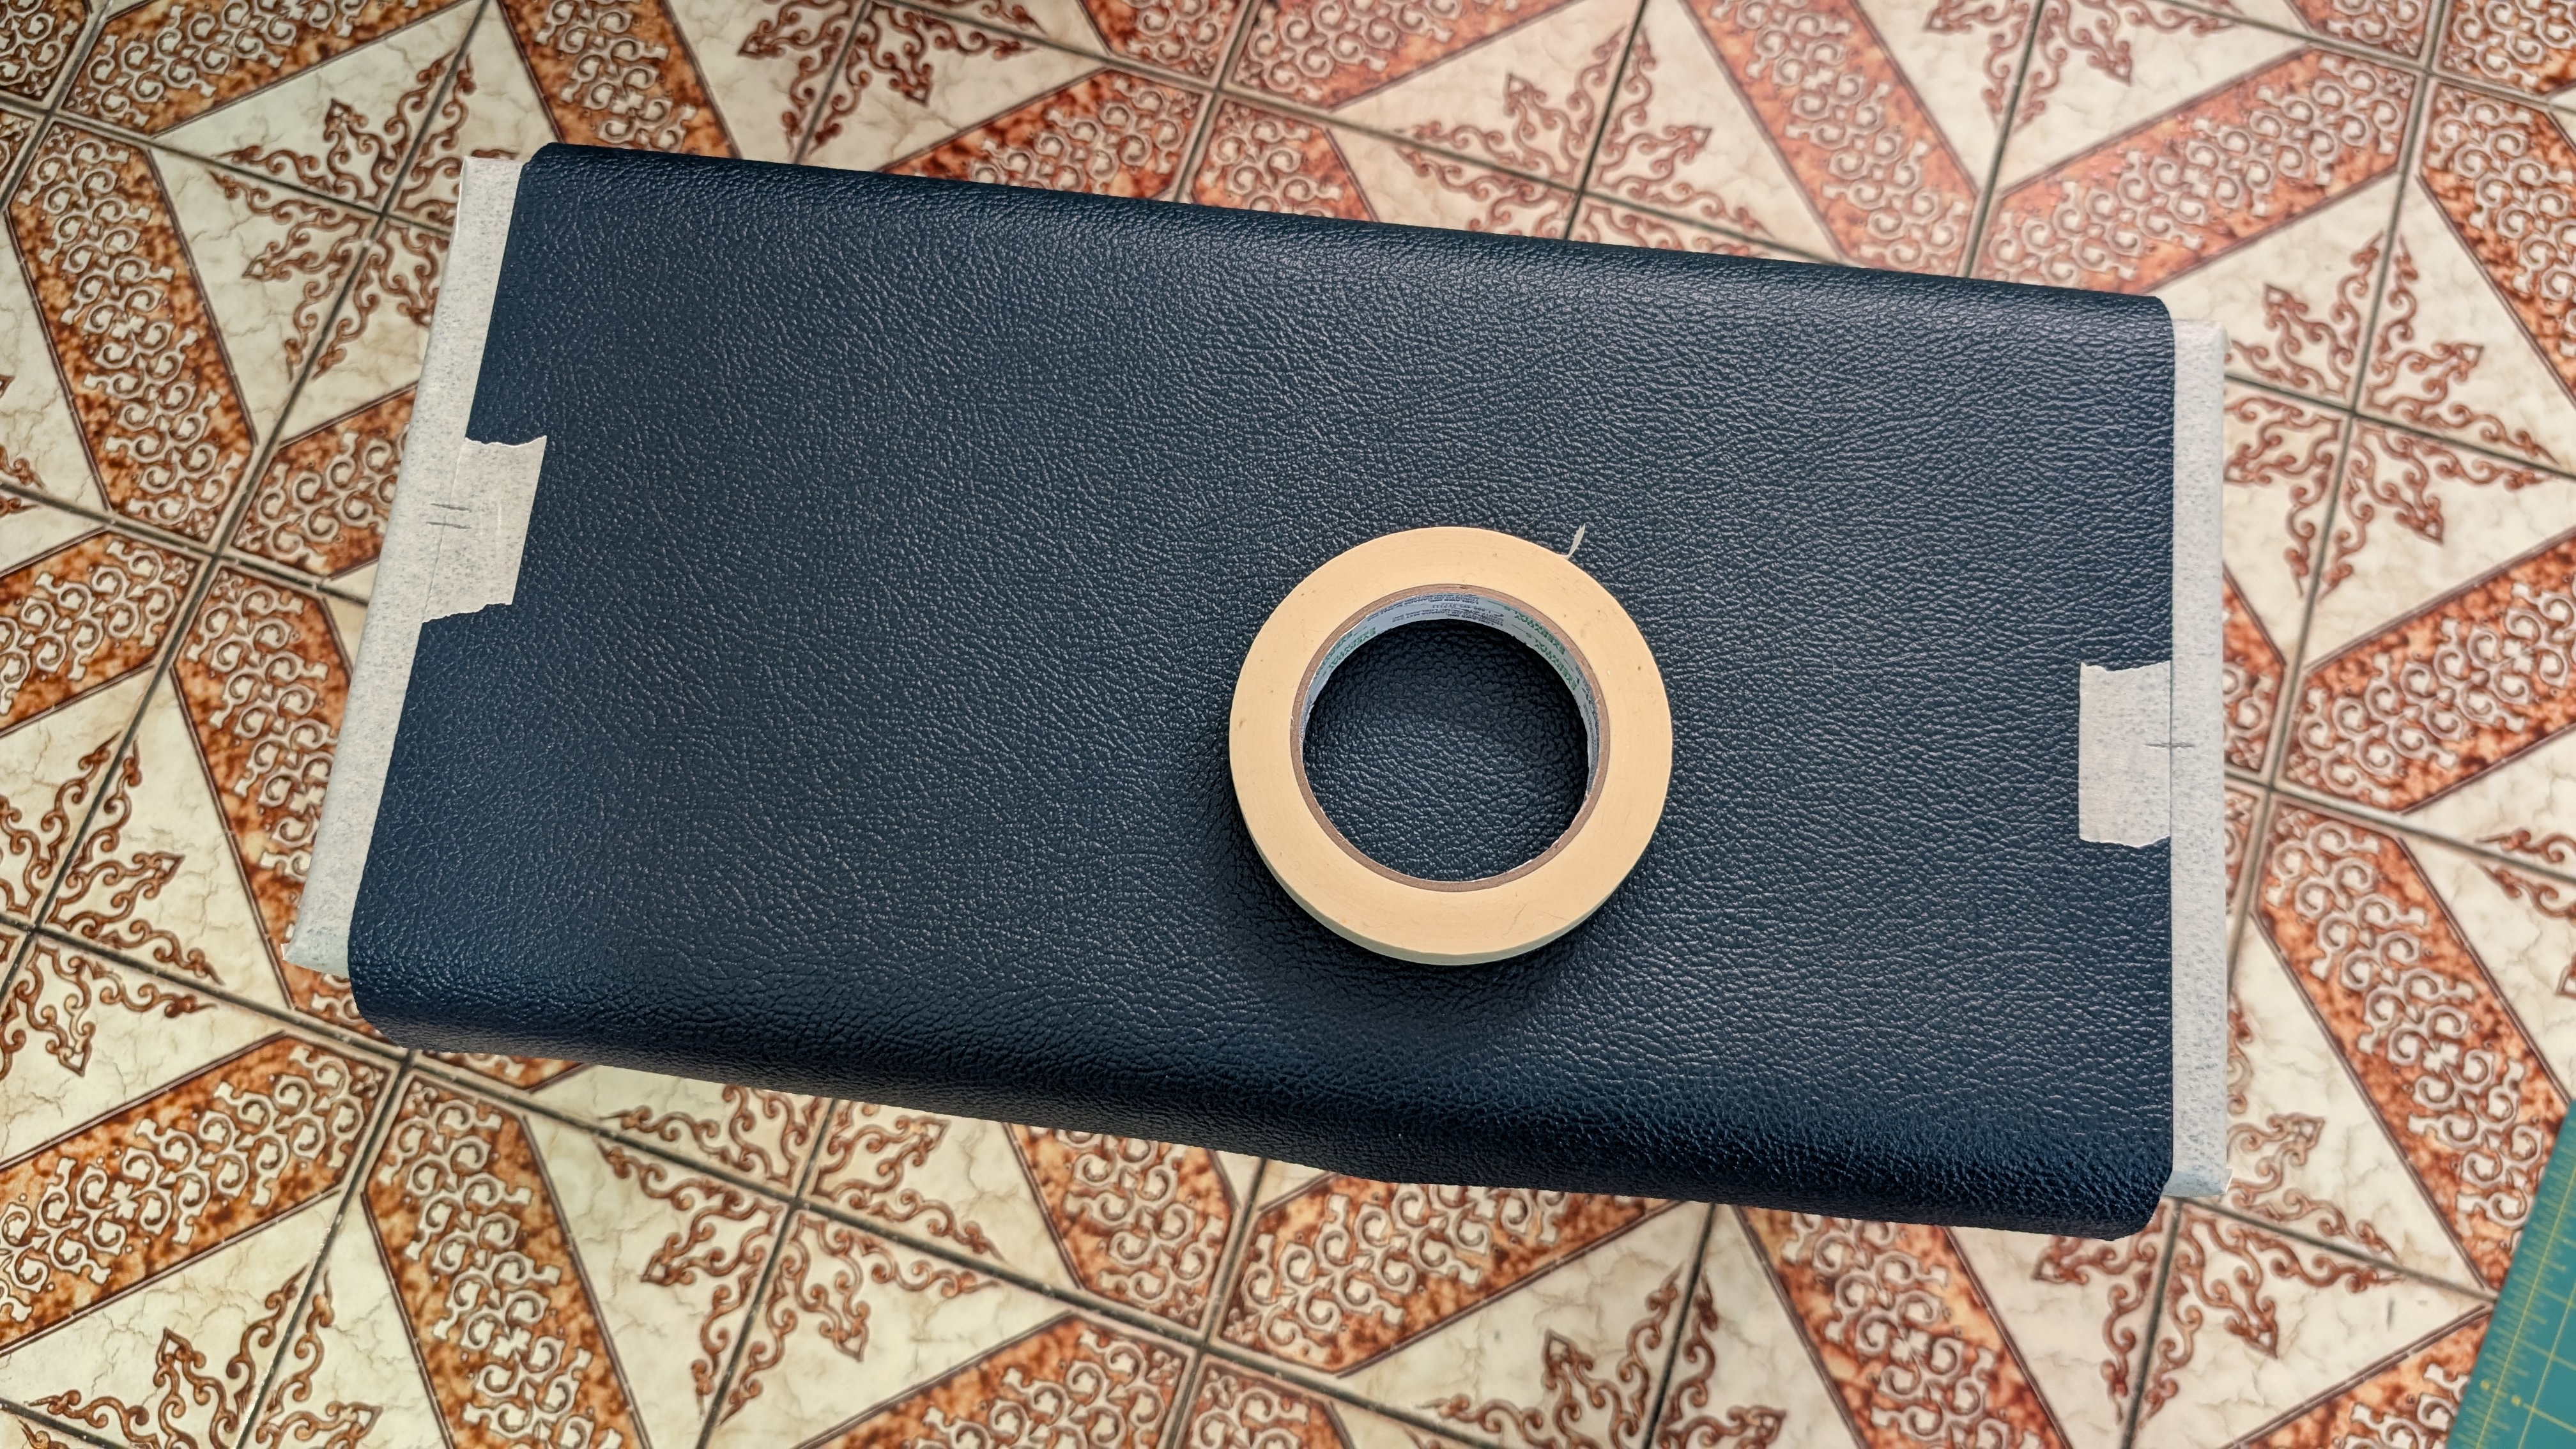
The top was quite easy, it actually overlaps the edge tolex as you can see. The picture below is an insight into how I was lining up the panels, I used masking tape and pencil to draw lines that I could line up once the adhesive was applied. The masking tape along the edges of the wrapped amp is because I was applying contact cement to the already wrapped tolex, so those kept it clean and straight.
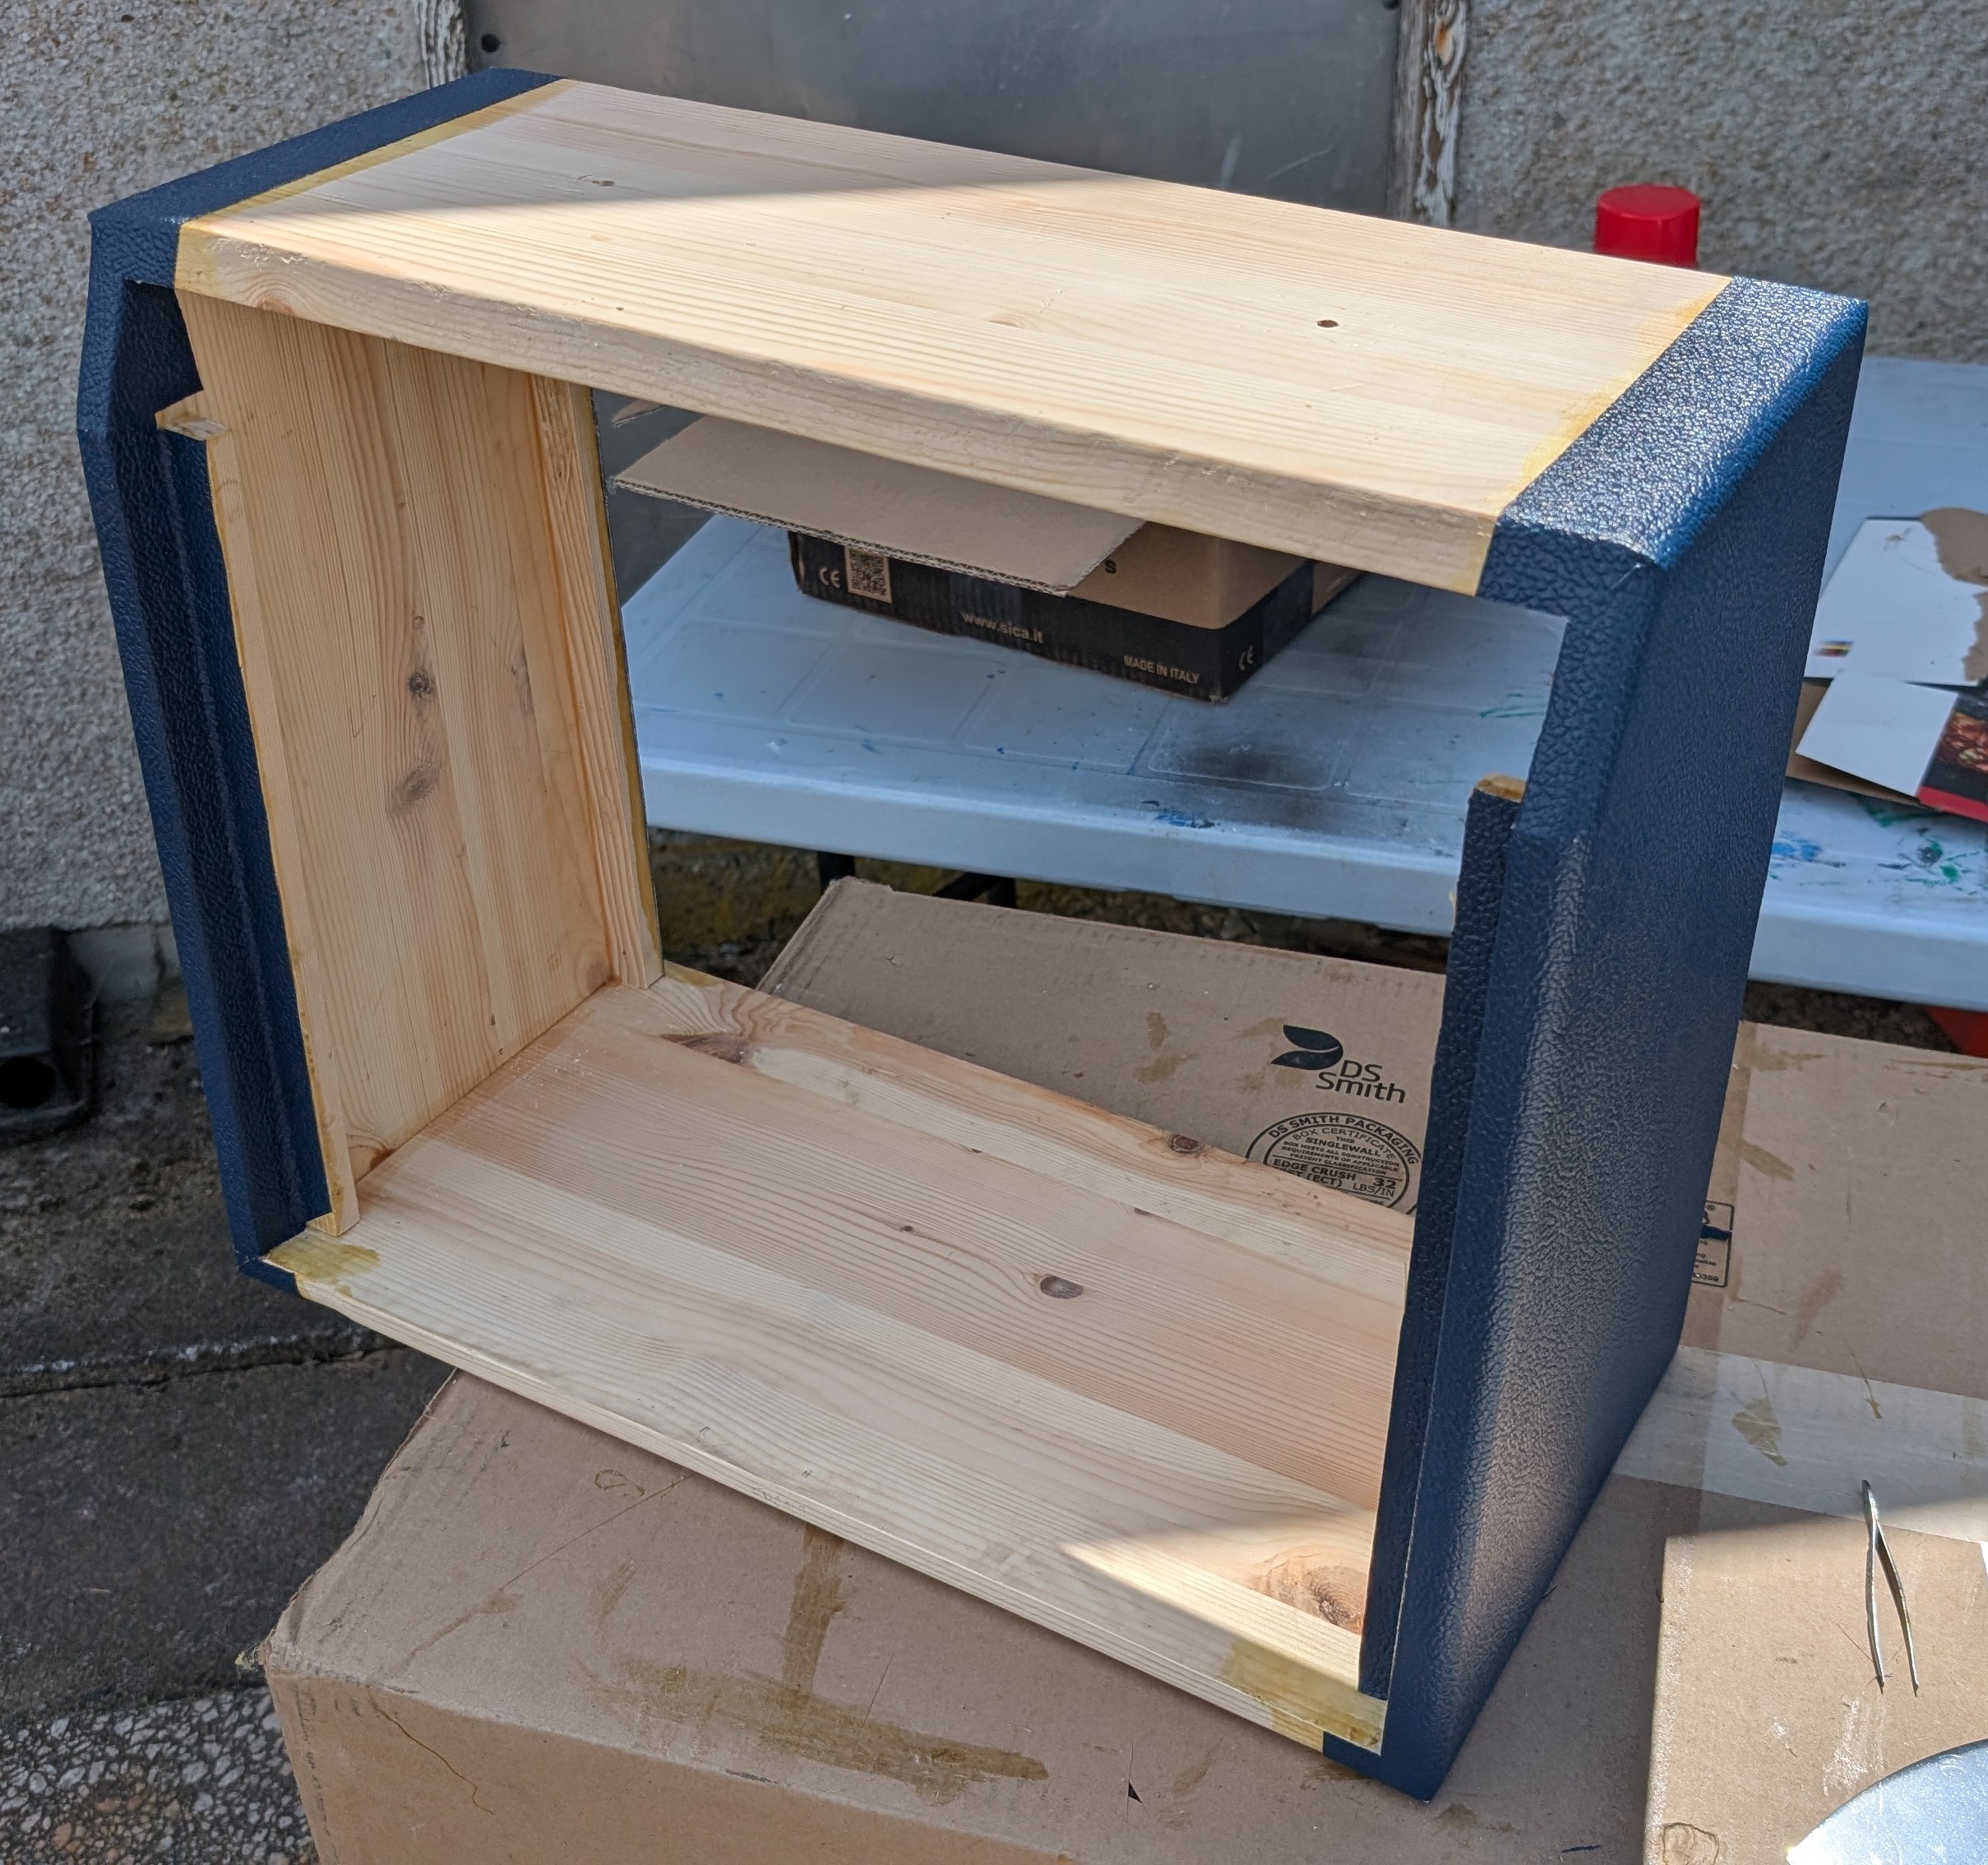
Once the bottom was wrapped I used an blade and a hot nail to poke holes in the tolex where all of my previous holes were drilled - the handle, chassis straps, back panel and speaker baffle holes. Then I just screwed everything in! I used wood screws for the back panels and speaker baffle.
Finale

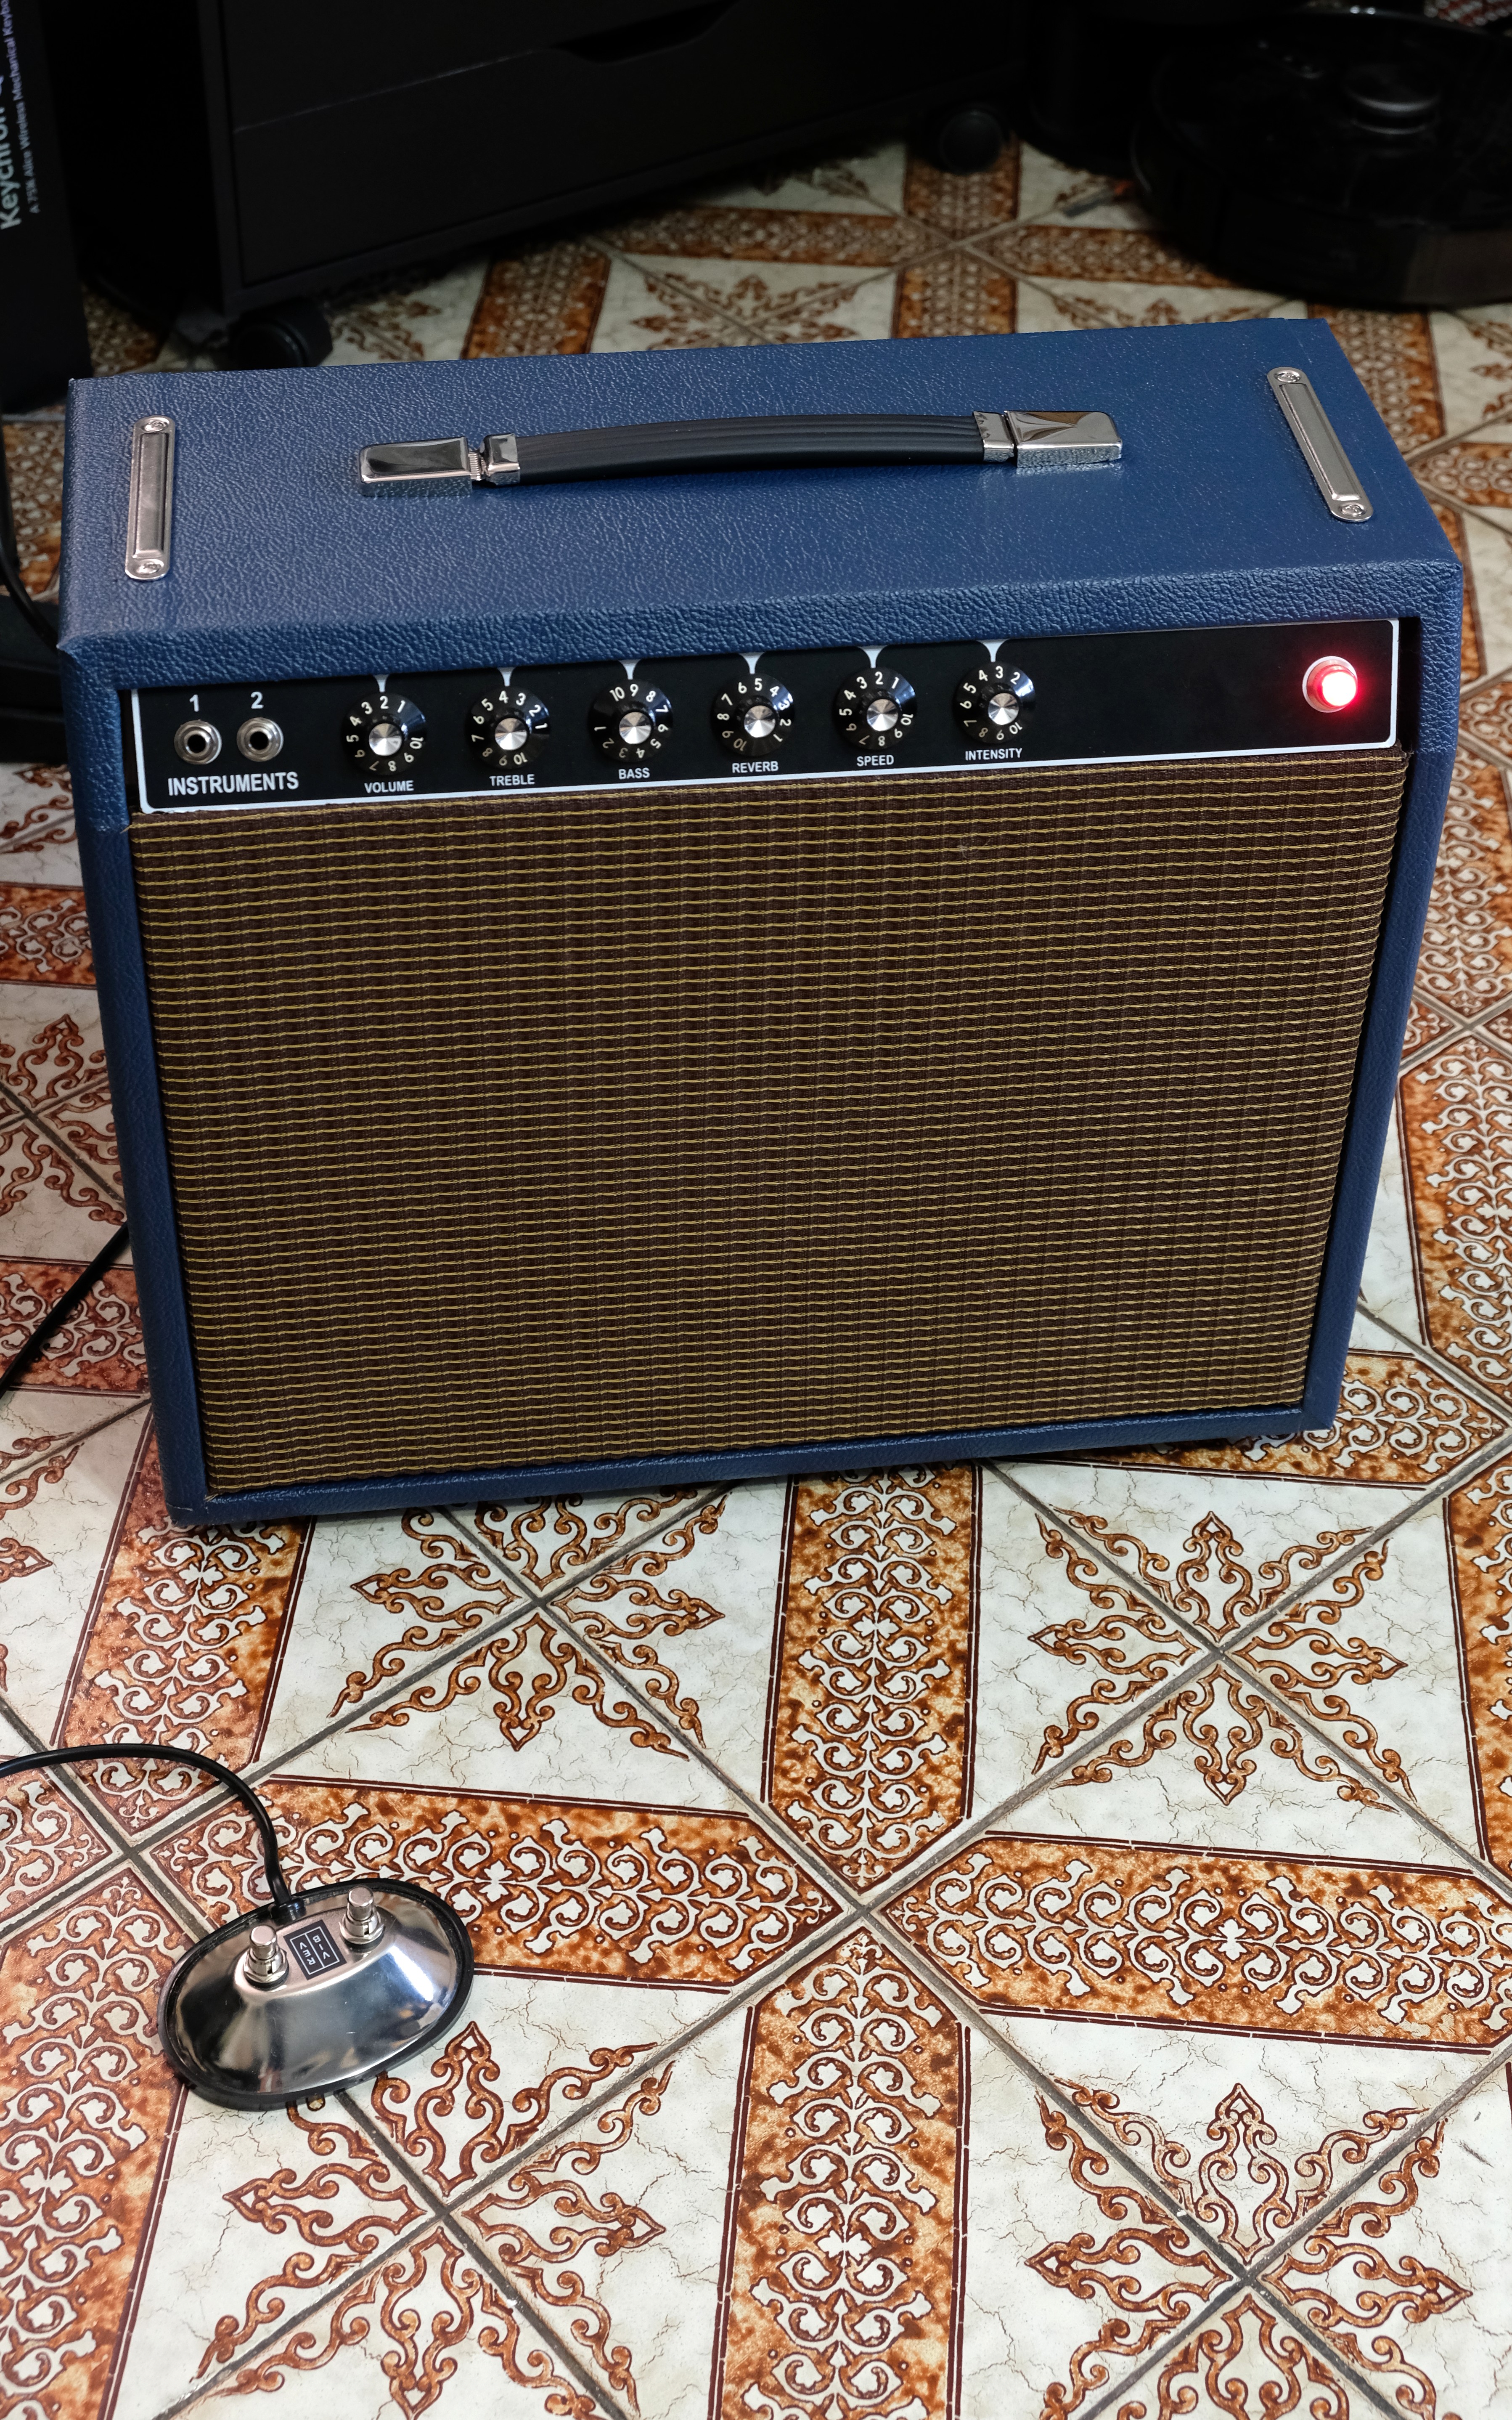
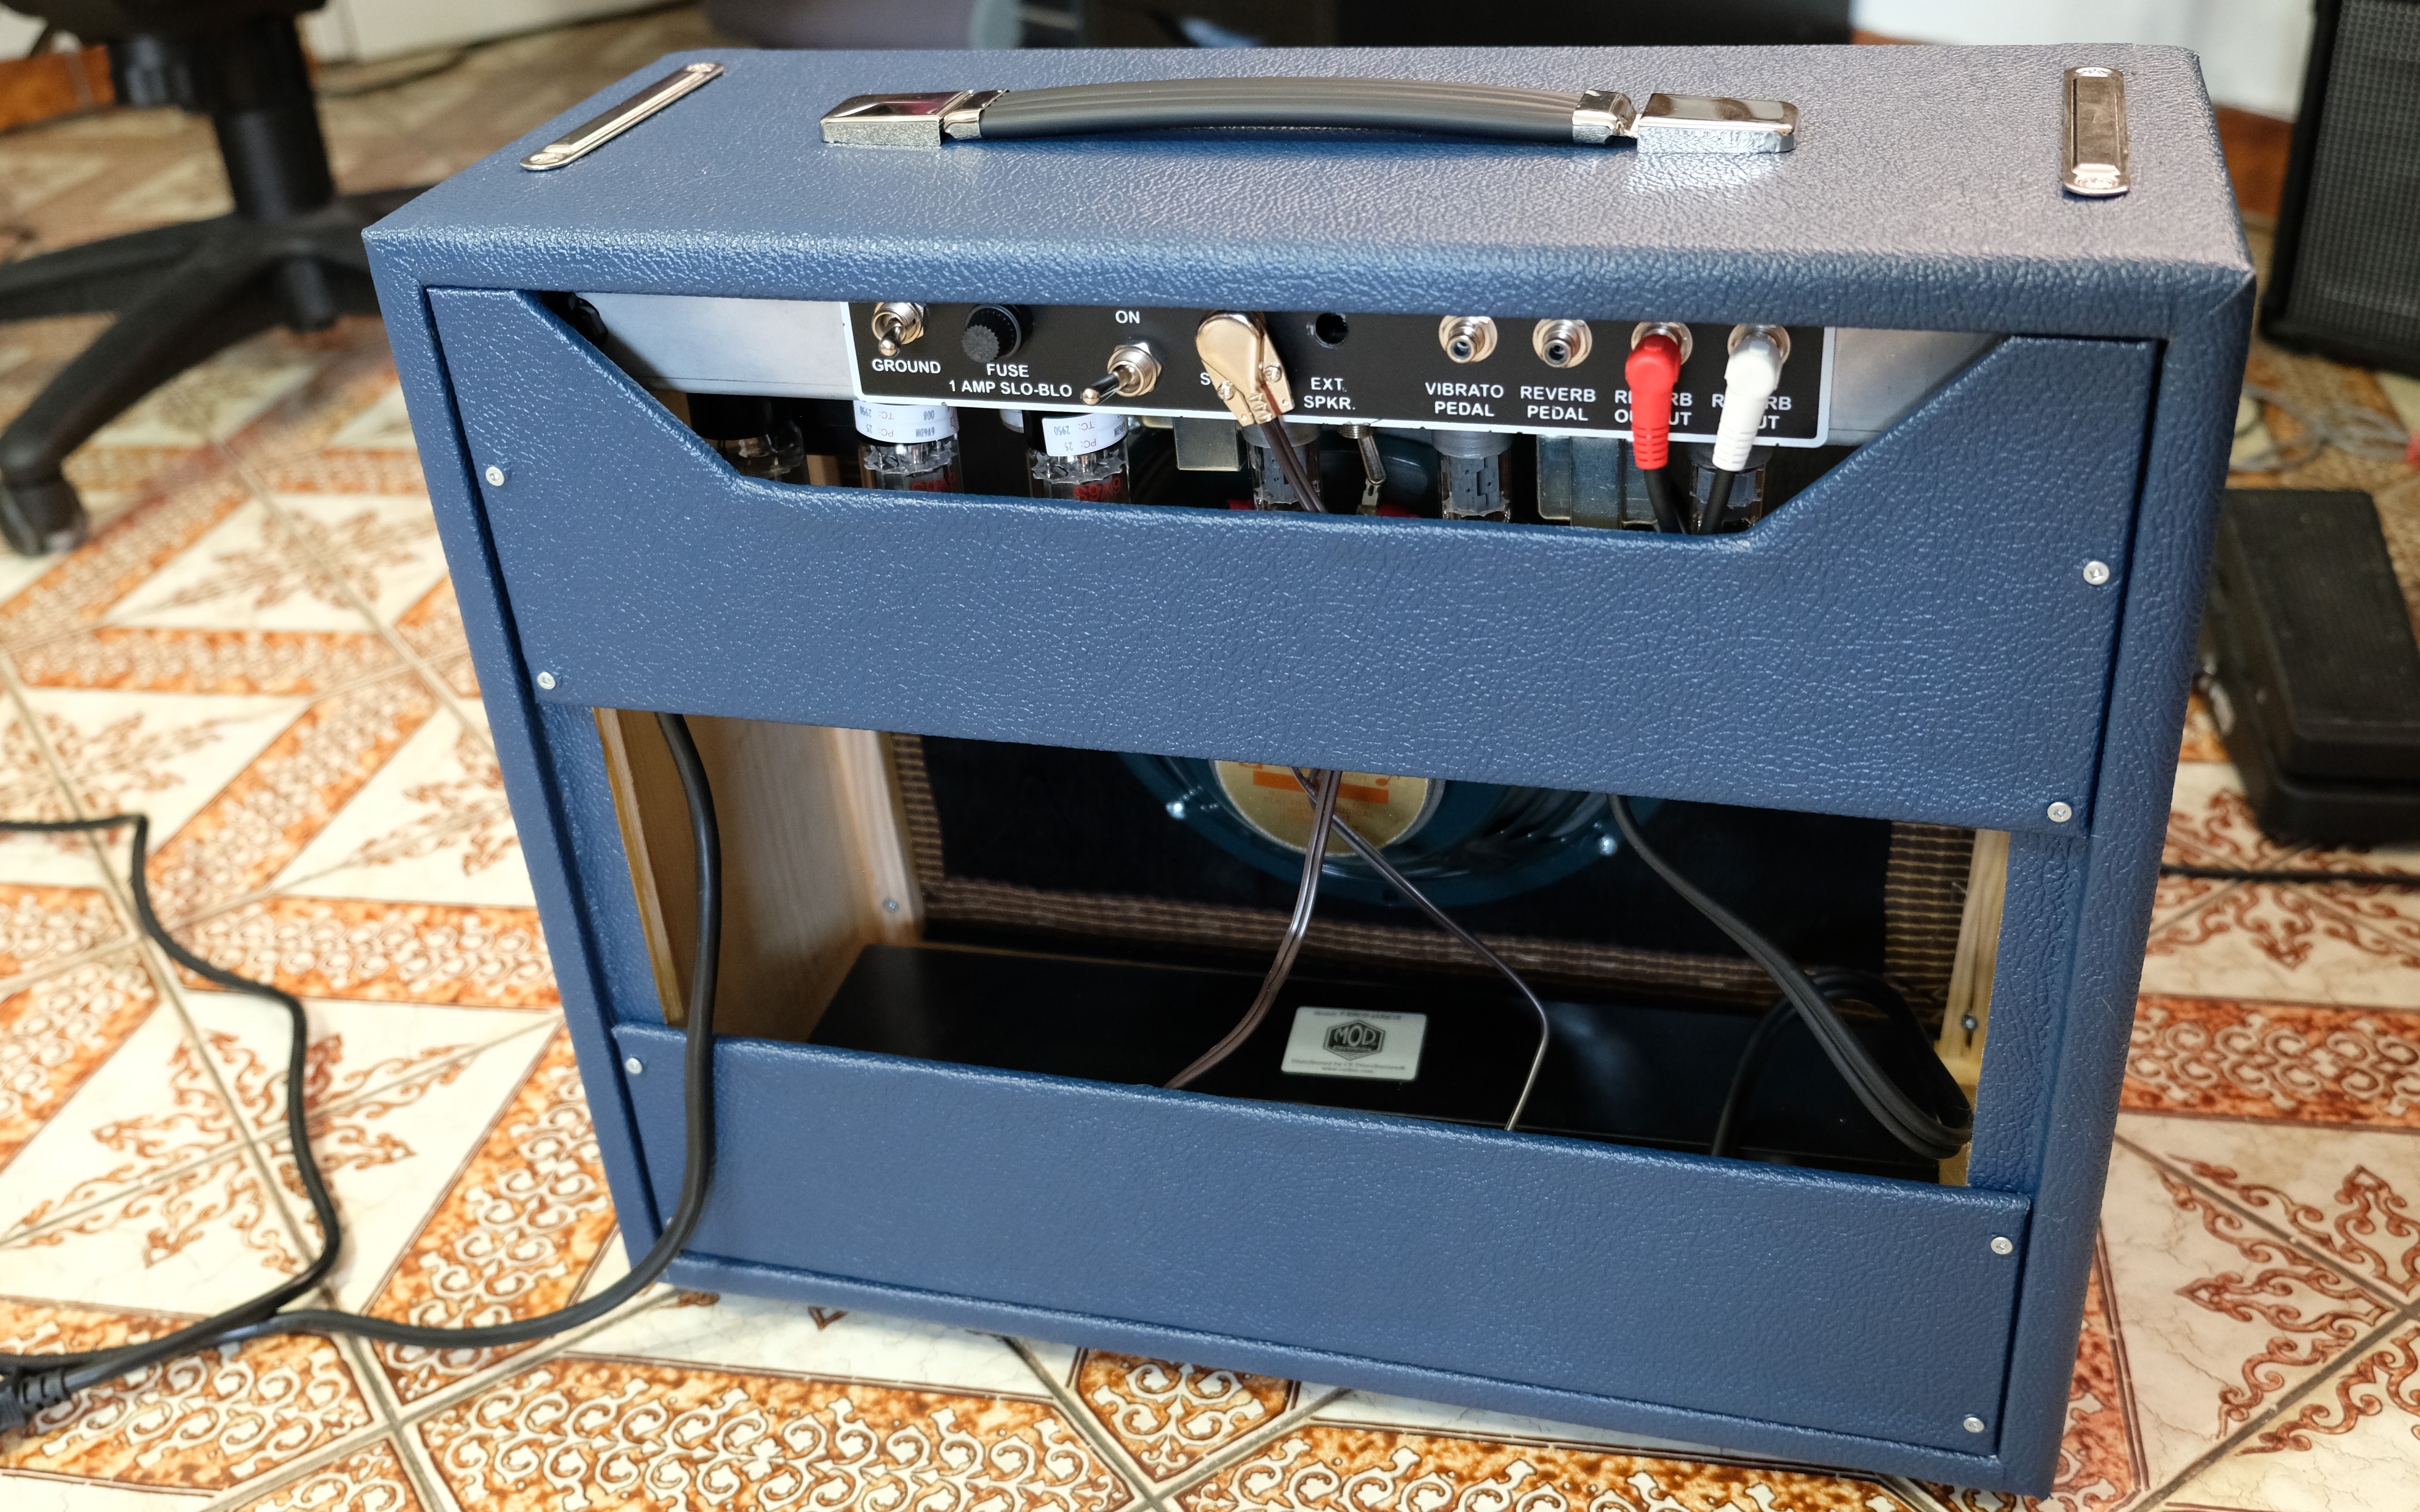

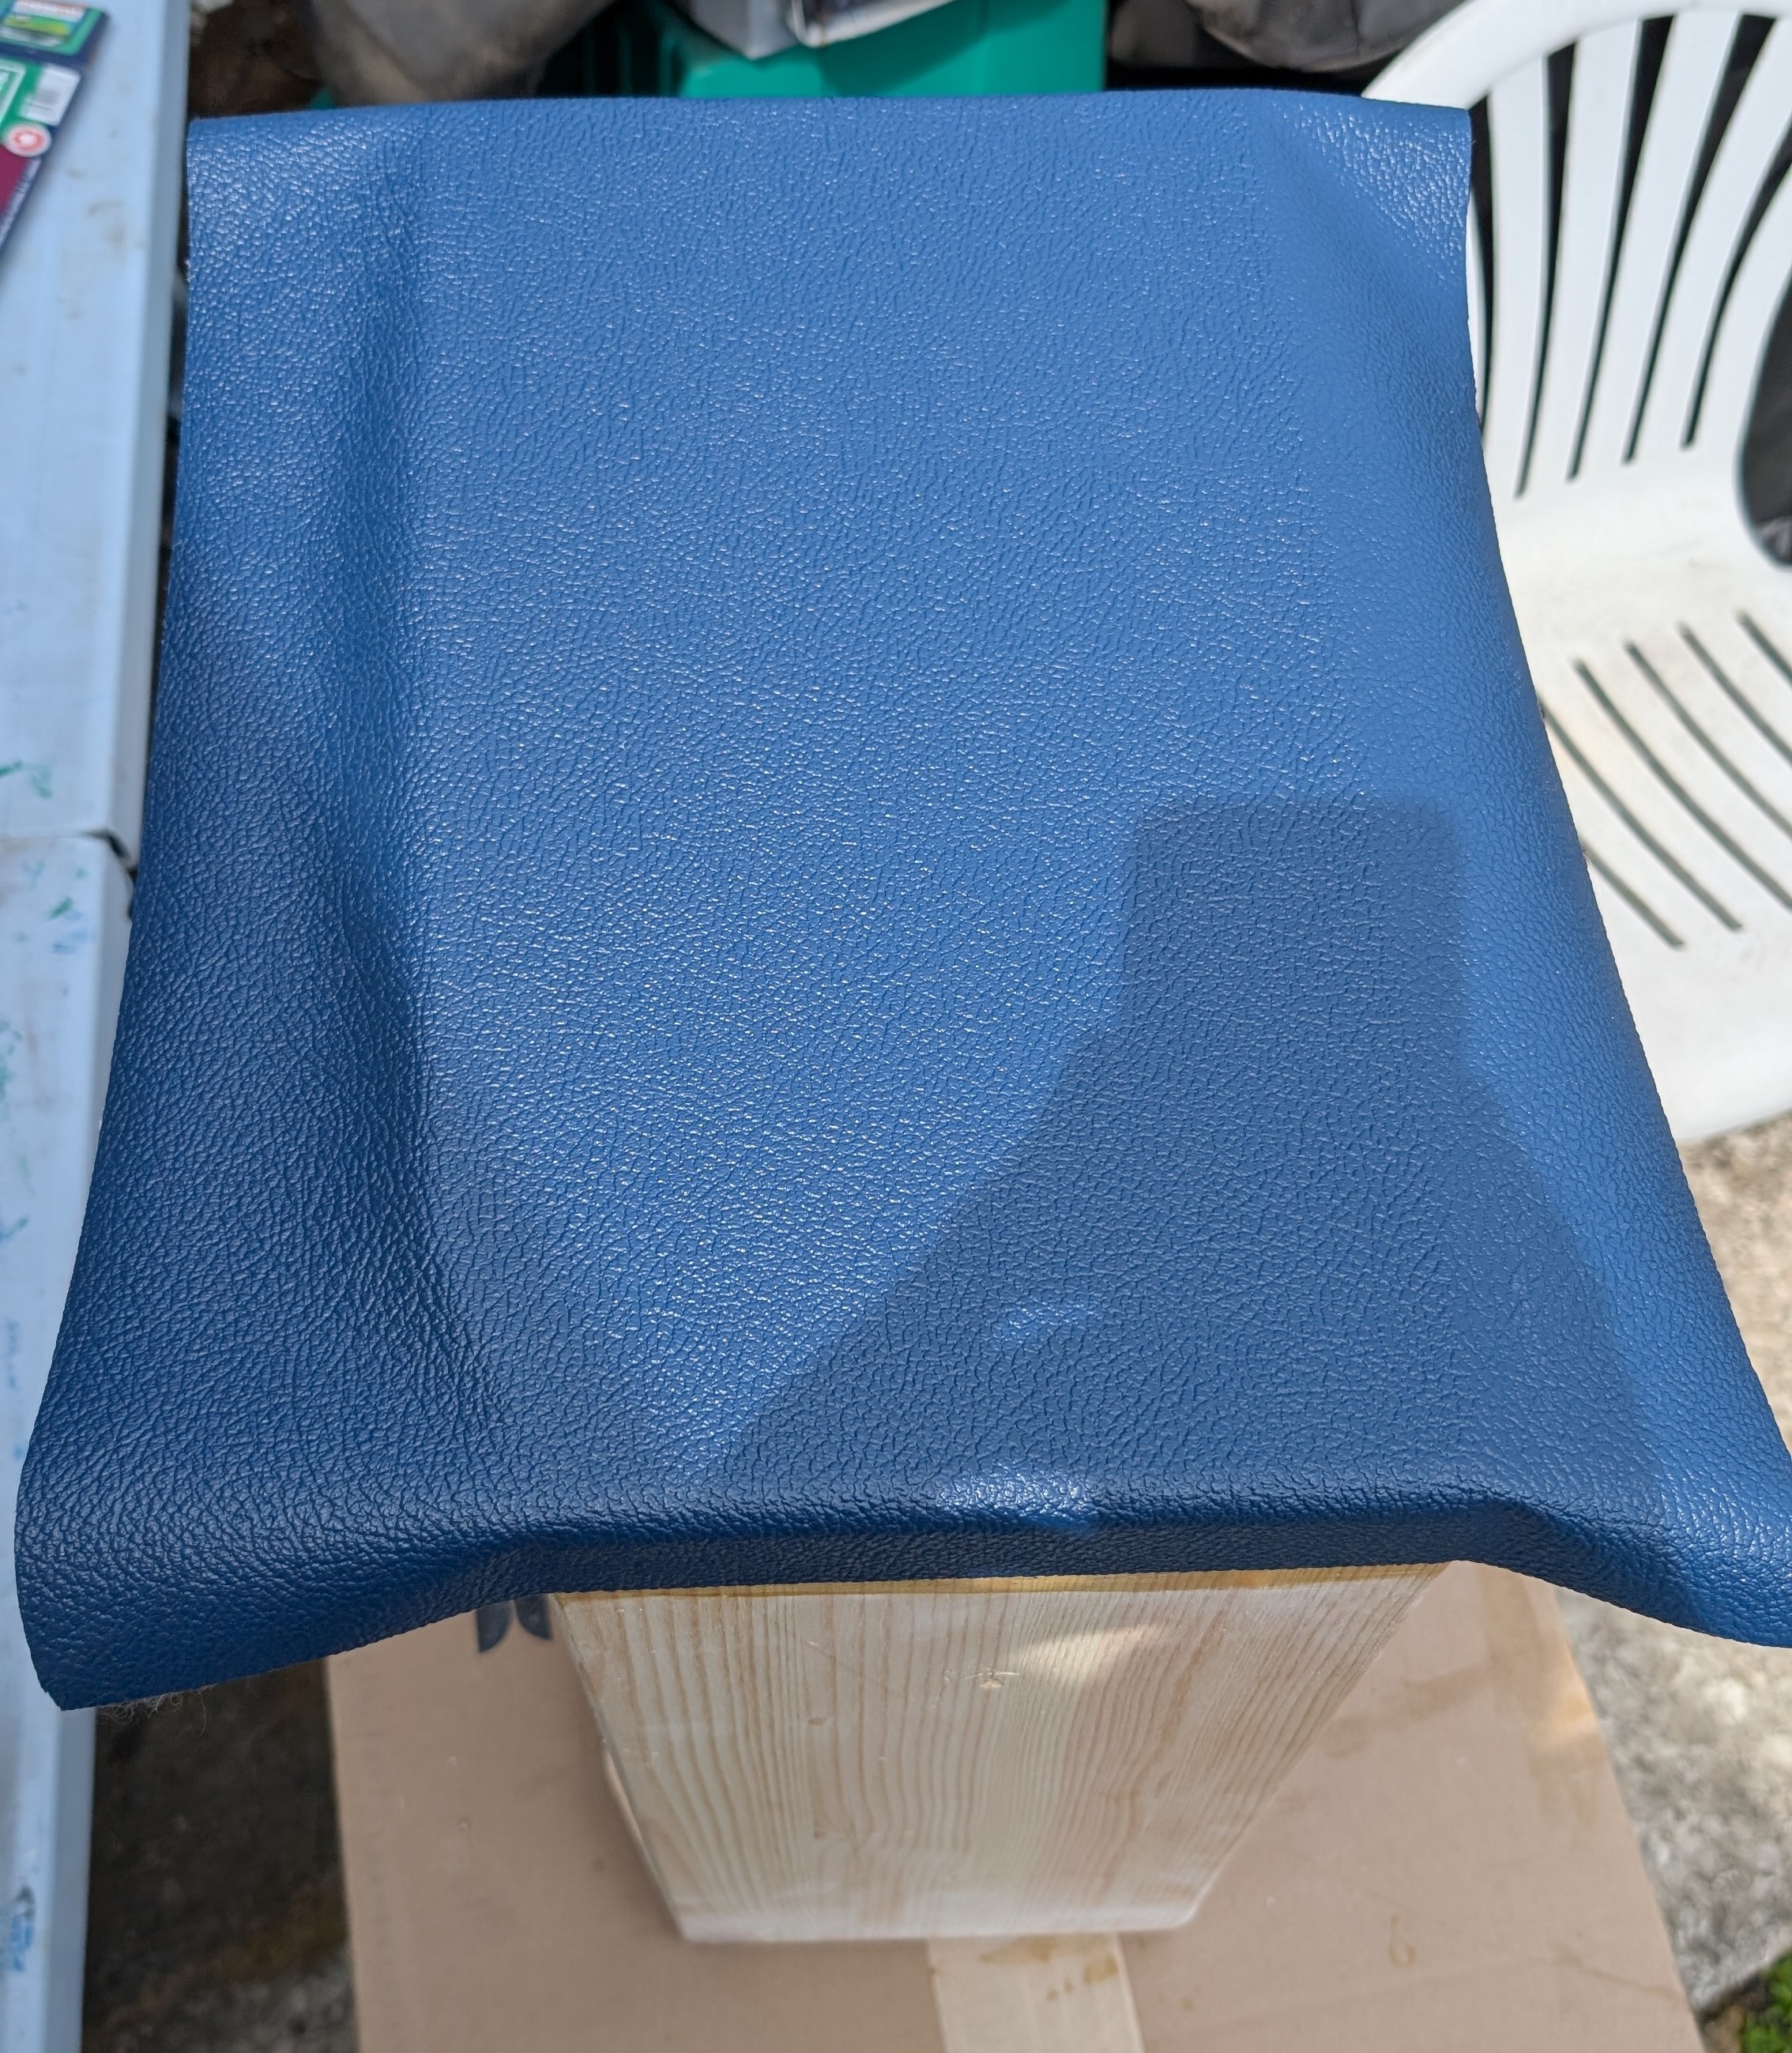
The final product came out way better than expected! Once I wrapped it up it instantly transformed into something that looks store bought. There’s certainly some janky areas, but from a casual viewing those don’t stand out much.
Thanks for following the blog posts! I may do another recap post when I have more time about lessons learned and rounding up resources. If you want to hear it in action, check out update 6: The Magic